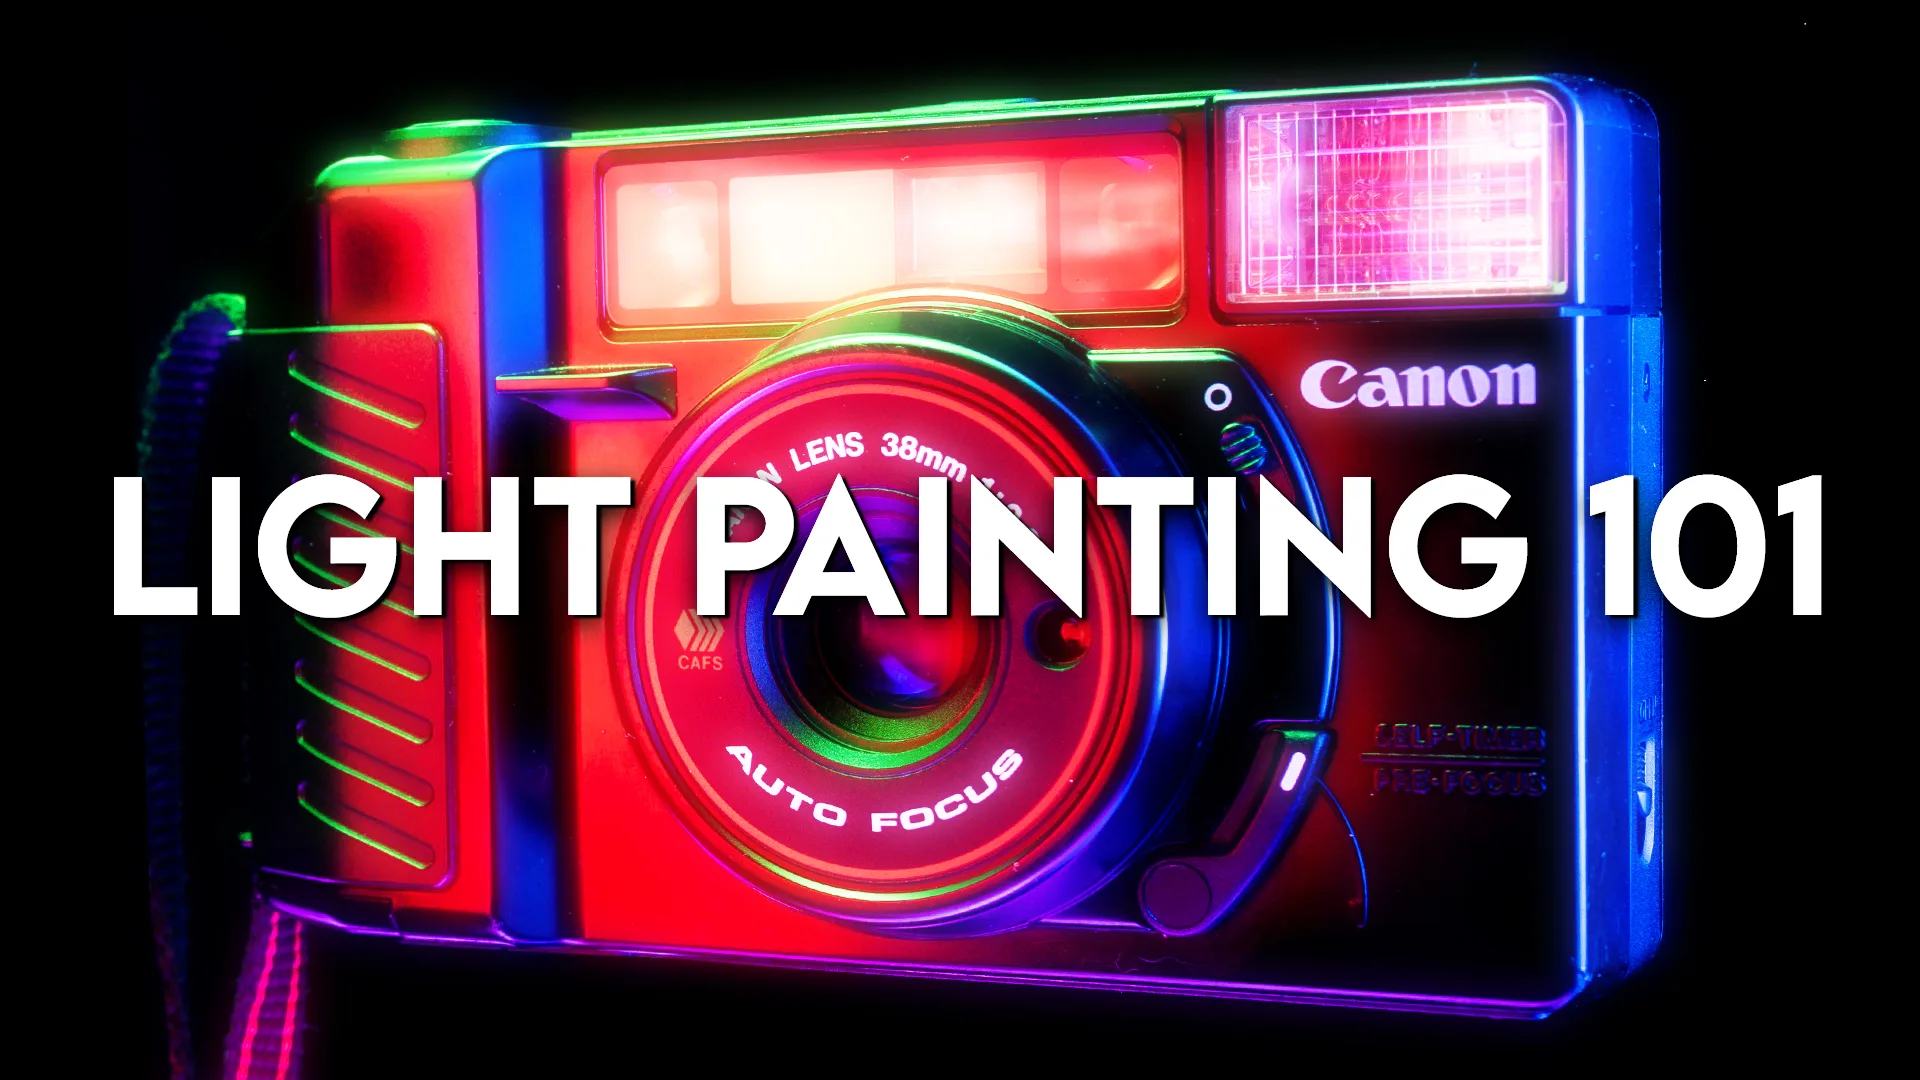
Want to give painting with light a try and not quite sure where to start?
Welcome to Light Painting 101! This is the first part in a new Photography 101 series I’m working on for new photographers. I don’t want newer photographers to feel left out, so I’ll be focusing more tutorial videos and blog posts for beginners.
What You’ll Need to Get Started:
A Dark Backdrop
A Subject to Photograph
A Camera & Tripod
A Dark Setting (A dark room at night works best)
A Light
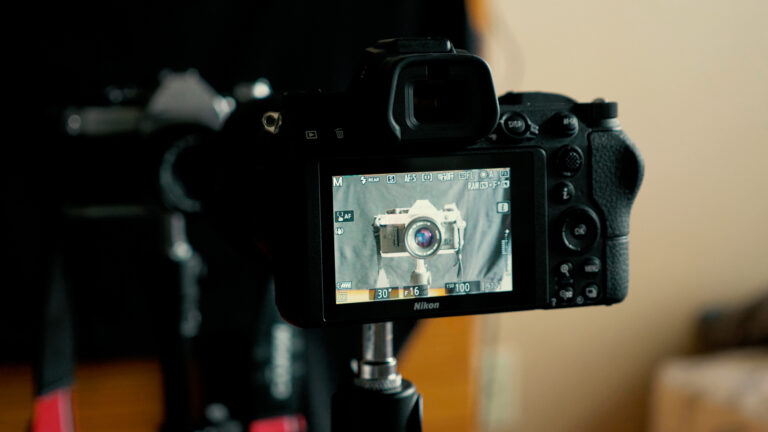
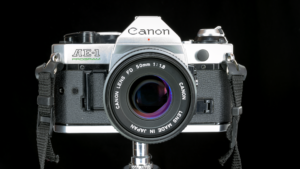
The first step is to setup your scene. Place the subject you’ll be photographing in front of your dark background. You can use a black t-shirt if you don’t have a photo backdrop. In my example, I used a Canon AE-1P as my subject to paint.
When your scene looks good, it’s time to get your camera setup. You’ll need a tripod or solid surface that won’t move or vibrate. Keeping your camera completely still is critical.
Lock your camera to a tripod and compose your scene. For safety and visibility, make sure that you have some lights on in the room for this part. This will also help you or your camera acquire focus.
When you’ve composed the shot to your liking and set the focus, Lock your Focus. This is another critical step to ensure your camera isn’t searching for focus in between shots.
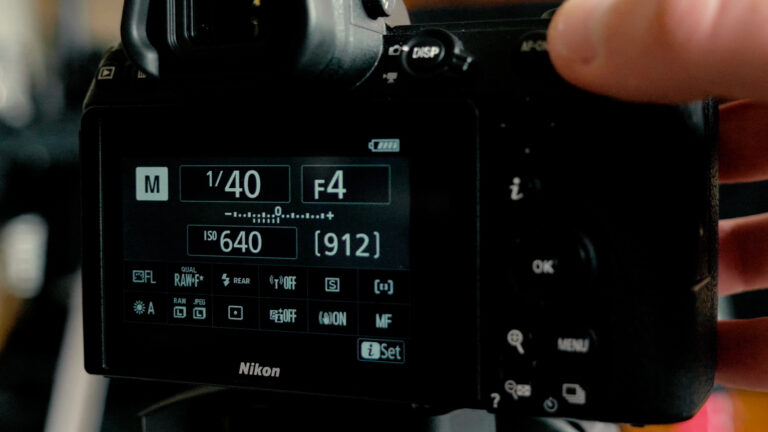
It’s time to get your camera settings locked in. These are my recommended settings to start with:
ISO: 100 (Or lowest your camera can go)
Shutter: 20 to 30 Seconds
Aperture: F/16
Focus: Manual
You may need to take a couple of test shots and experiment with minor settings adjustments.
Now that everything is setup, you can shut off the lights. Grab the light of your choice — it can be your phone, a keychain light, flashlight or even a lighter. Hit that shutter button and start “painting” your subject with your light.
Remember that anything you hit with light (including your body) will show up in your photo, and anything the light doesn’t touch, won’t. I recommend wearing dark clothes for this reason.
Pro Tip: Remember what your shutter speed is! If it’s 30 seconds, then you only have 30 seconds to paint your scene. Keep track in your head so you don’t waste any time.
Pro Tip #2: I used a free app called ColorScreen that is currently free for Apple and Android phones and tablets. It allows you to change the Hue, Saturation and Brightness of your screen.
This is where you can really have some fun. You’re only limited by your imagination and your shutter speed. If you have a remote release, you can shoot in BULB mode, which keeps your shutter open as long as you want.
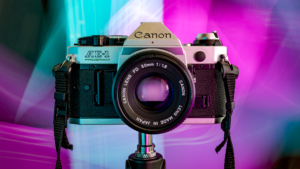
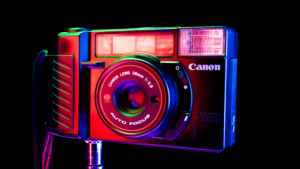
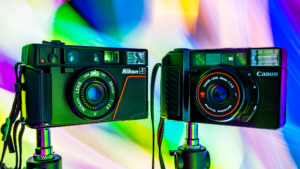
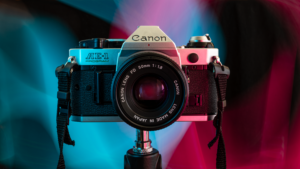
Below are a few examples that only took a few minutes to create!
Painting with light is really that simple! It’s really as much of an art as a science, because I think experimentation is key to success. Play with different lights, colors, subjects and settings. As I said earlier, you’re only limited by your imagination.
Get out (or stay in) and create some awesome light painted photos!