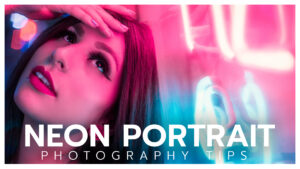
Do you want to photograph more flattering portraits? Want to turn a Hard Light source into a Soft Light? There are 4 basic ways to create or give the perception of Soft Portrait Light.
In this soft portrait lighting tutorial, we’ll cover the 4 ways to create softer portrait light for more flattering, natural portraits. With hard light sources everywhere we look, soft portrait lighting is the Holy Grail of Portrait Light. I’ll also be sharing a couple of my favorite DIY lighting hacks for making almost any light softer, if you’re on a budget.
You’ve been requesting more portrait lighting tutorials, and I promise I’ve been listening! Check out the video tutorial below, and as always, I’ll have some additional, high-resolution photo examples in the article below.
Hard Light vs. Soft Light
We can’t talk about light without also talking about shadows. Many photographers make it their goal to eliminate shadows in their photos, but they are just as important as highlights. Why? Because shadows give form, depth and dimension to objects — without shadows, your photographs would be completely flat.
We can easily tell the difference between a hard and soft light just by looking at the shadows! You can try this yourself, right now, with any light source. With a Hard Light Source, the transition between shadows and highlights will be sharp and defined. A Soft Light Source will have a soft, gradual transition between highlights and shadows. Pretty simple right?
How to Create Soft Portrait Lighting
There are a few sinple ways you can take a hard light source and soften it, or at least give the perception of a softer light source.
1. Large Light Source
One of the first rules of soft light is: the larger the source, the softer the light. For example, let’s breakdown how a softbox works. A strobe or flashbulb by itself is a relatively small (hard light) source of light. A softbox spreads this small source across a larger piece of white fabric, softening the light.
Remember that when you’re spreading your light across a larger area, also known as diffusing it, you’ll need more power to maintain the intensity of the light.sources.
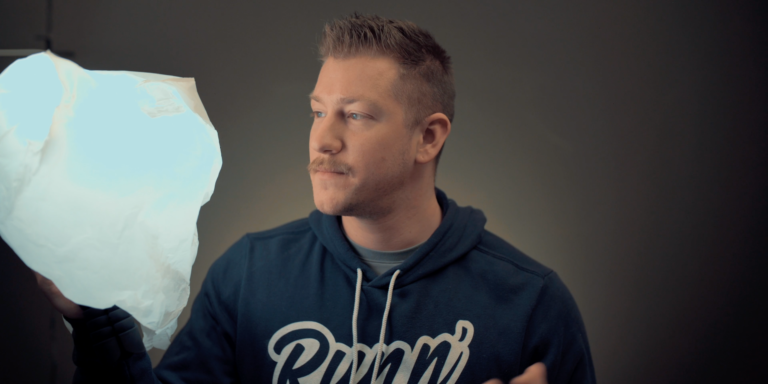
Quick DIY Light Hack
If you’re on a budget and can’t afford an expensive strobe and softbox setup, there are some household objects you can use to diffuse your light. A plastic shopping bag, pillowcase or a t-shirt are 3 quick ways you can diffuse many hard light sources.
2. Close Light Source
The second rule of soft light is: the closer the light source is to the subject, the softer the light. Think of the Sun for example. The Sun is 91 million miles away from the Earth, and a small point of light in the sky. The Sun is a small, distant and hard light source that creates sharp, dramatic shadows.
Now imagine a cloudy, overcast day. The shadows will be very soft because the clouds spread that tiny point light across the entire sky, acting like a massive softbox.
Being a few million times closer to the Earth, the diffused light passing through the clouds will fill in shadows and the light will be much more pleasing, especially when shooting portraits.
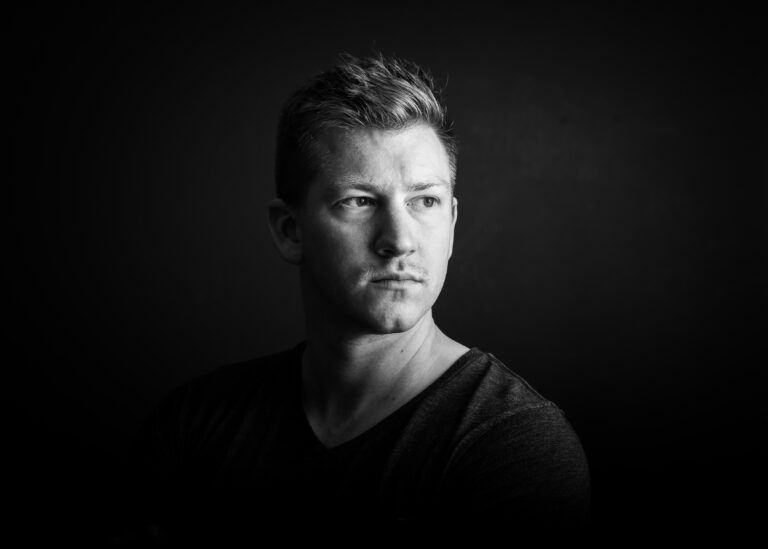
Appearance of Soft Light
Appearance of Hard Light
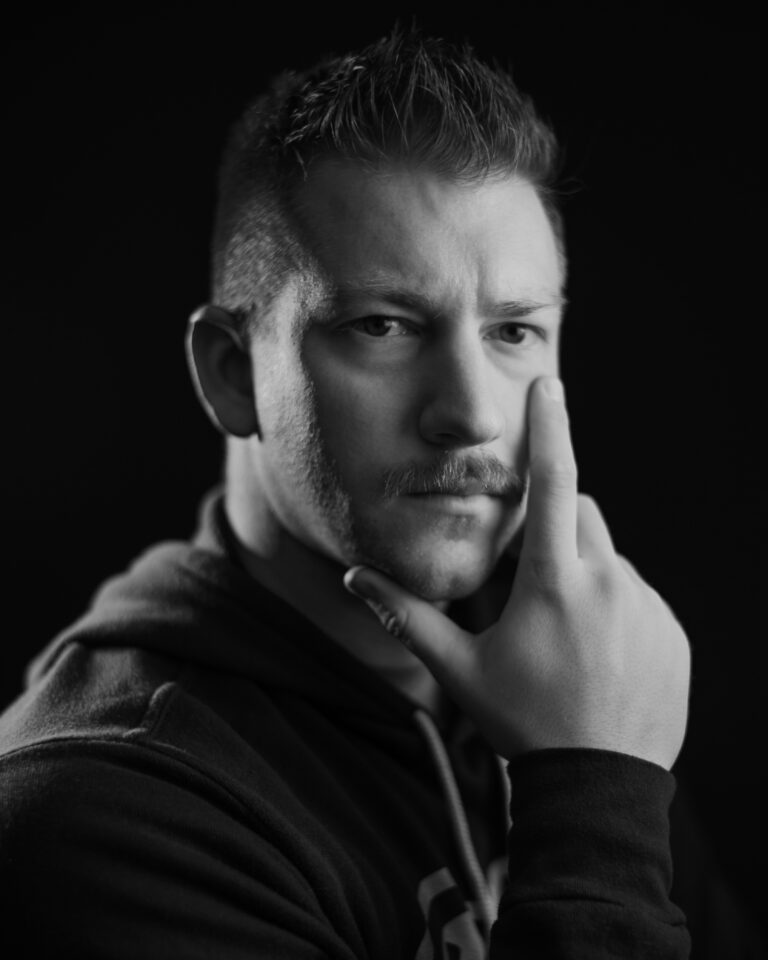
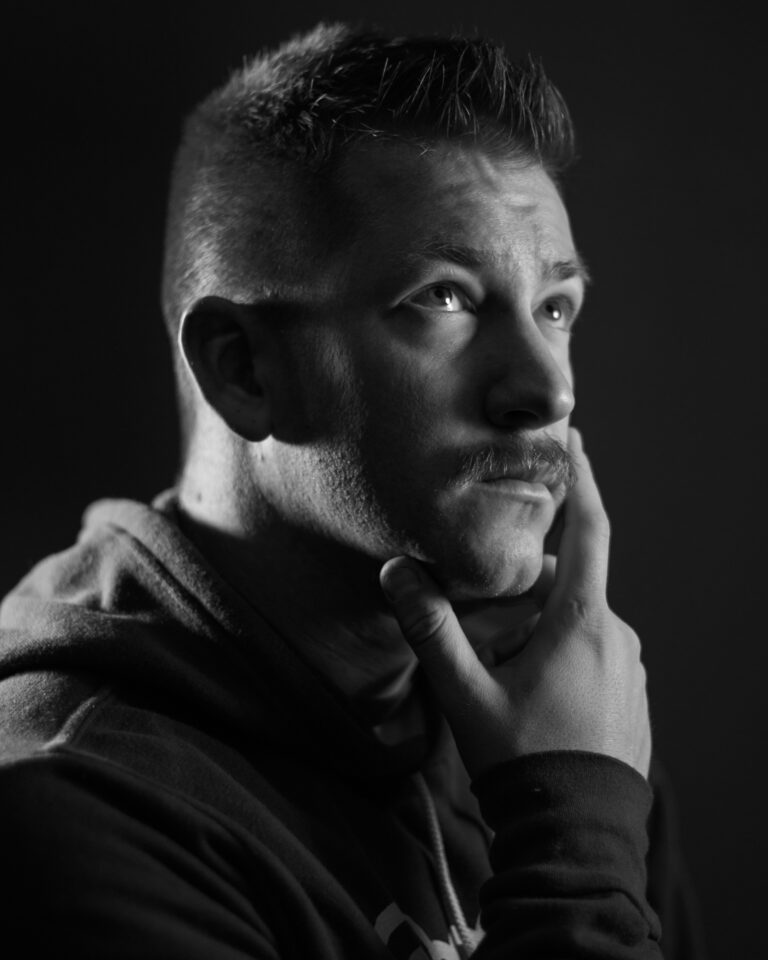
3. Angle Your Light
While modifying the direction of your light will not have a direct effect on the source itself, it can give the perception of a harder or softer light. More direct angles will give the appearance of softer light, while indirect angles will emphasize shadows, appearing harder. In the images above, you can see how the angle of your lights and your subject can have a dramatic affect on your portrait.
4. Shadow to Light Ratio
Another great way to give the appearance of a soft light is to modify your lighting ratio by filling your shadows. High contrast scenes can be perceived as harder light and vice versa.
You can fill your shadows using two methods: direct light and bounce light. For example, on a sunny day you can fill unflattering shadows with another light, or by using a bounce card. If you’re on a budget, a notebook, poster board or piece foam core can work as a DIY bounce card in a pinch.
Light on a Stick
Many people have asked how I created my “light on a stick” that I use in my portrait lighting tutorials. It’s a great tool for for easily modifying light in run and gun portrait shooting scenarios.