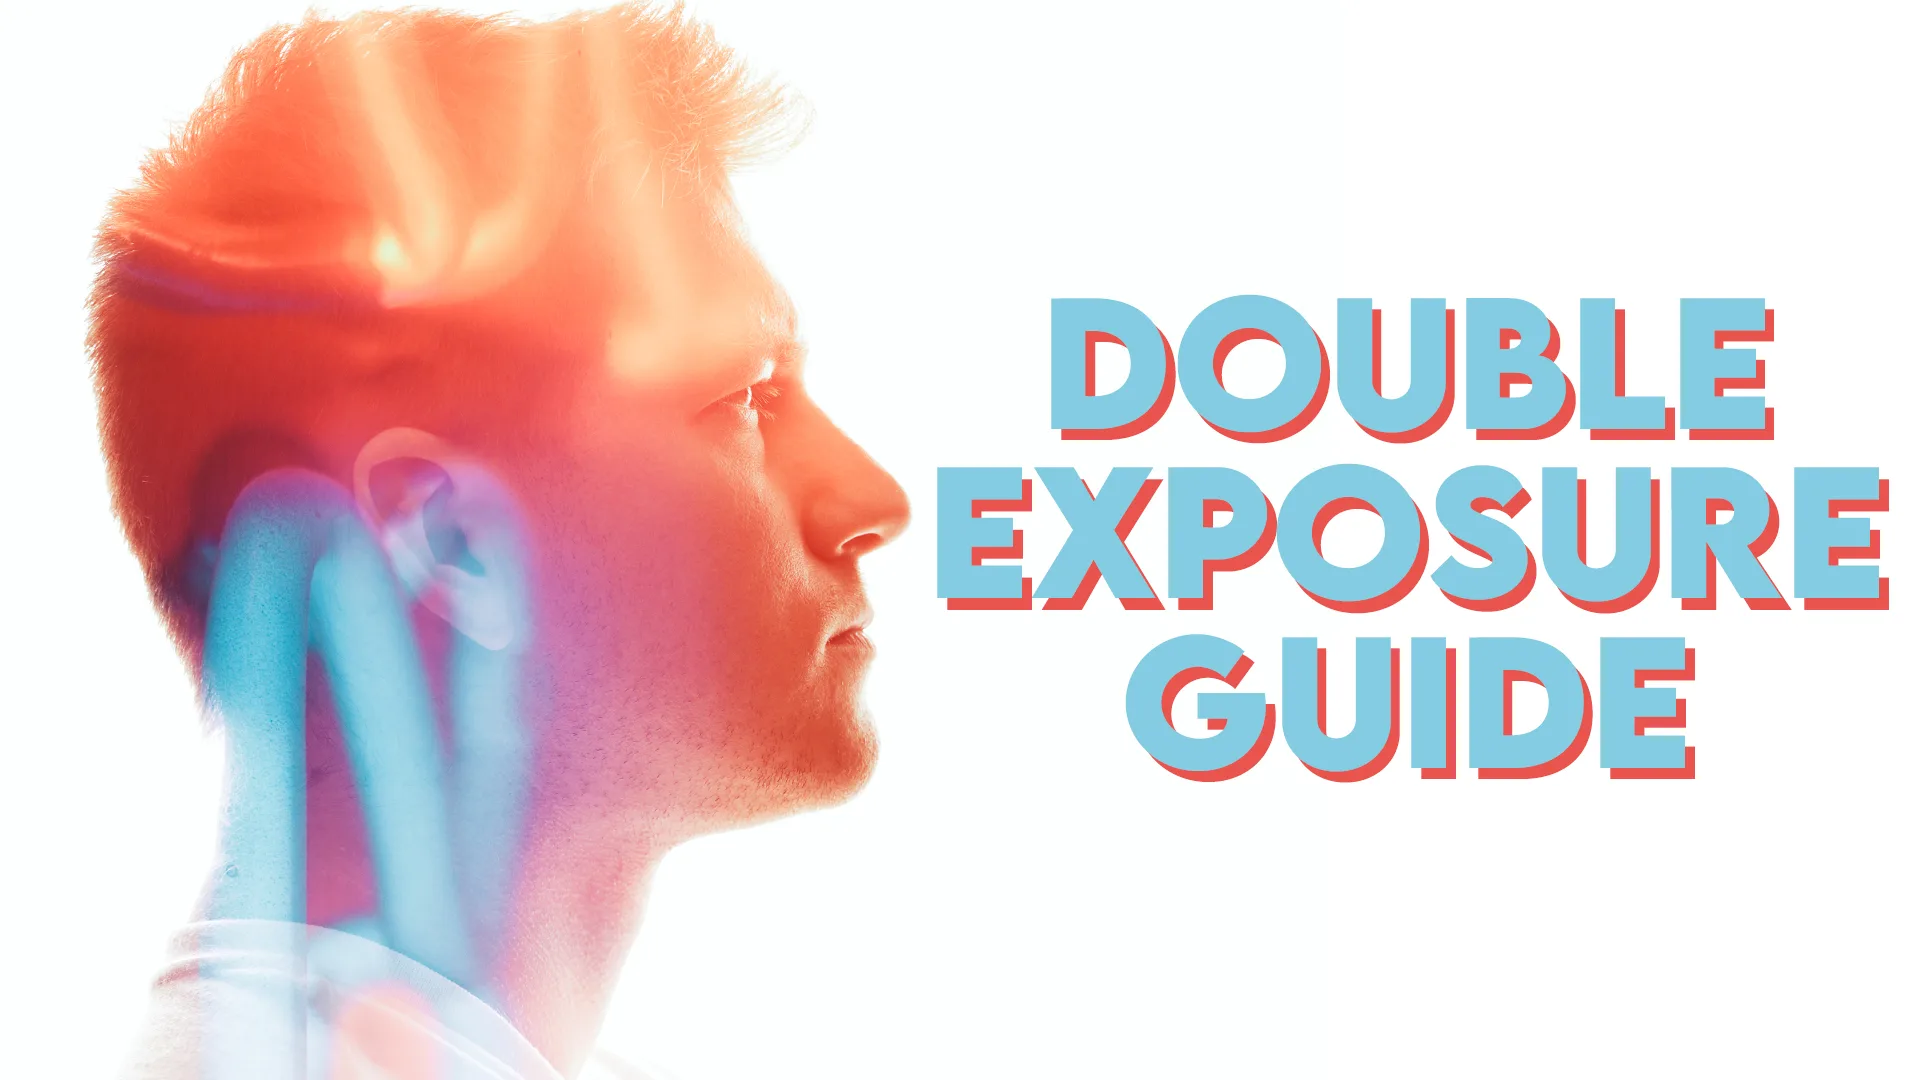
Double exposures are a powerful technique that, when used as a storytelling tool, can be unparalleled for photographers. The double exposure originally comes from analog photography, when you expose more than one image on your film. If you’ve never given film double exposures a try (or film in general), I highly recommend the experience!
Double exposures aren’t limited to just film, and while you can create them in Photoshop, I much prefer doing it in-camera. That may sound snobby, but there’s a certain magic in the uncertainty and randomness of an image you can’t fully control. For me, that was always the fun of 35mm film (especially double exposures) and the excitement of the final shot.
I’ve written a quick guide on how to create double exposures on Nikon’s Z-Series cameras (Z5, Z6 & Z7). What’s great about Nikon, is they keep their menus fairly similar across their cameras, so if your DSLR or Mirrorless camera has these features, you can follow along pretty easily!
Check out the video below, and don’t forget to scroll down and see some of my final double exposure portraits!
Z-Series Multiple Exposure Guide
There are really 3 ways to create in-camera double exposures with the Nikon Z Series Mirrorless cameras. You’ll probably find at least one of these methods in which ever DSLR or Mirrorless body you’re using.
• Multiple Exposure Mode
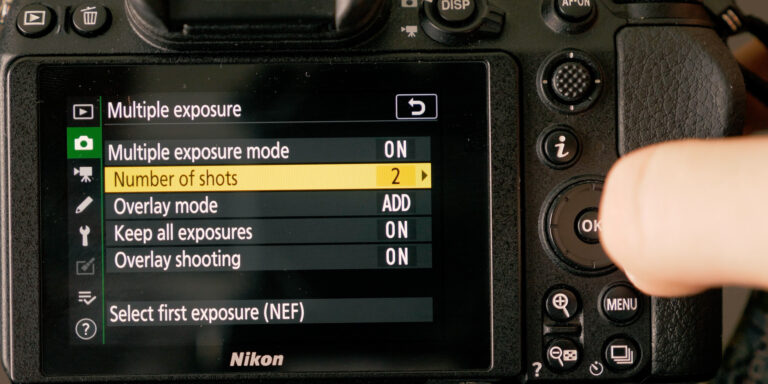
The first method is called Multiple Exposure Mode on Nikons. It allows you to shoot more than one exposure and the camera will automatically merge them together. This is about as close as you can get to shooting a real, analog-style double exposure on a digital camera.
With some mirrorless cameras like the Nikons, you can see on overlaid preview of your 1st image or images to help you better compose the next shot or shots. Some analog-purists may think this is cheating, so you have the option of turning Overlay Shooting Off.
Some of your other controls are the number of shots, what blend mode to composite the images together (similar to Photoshop), and if you want to keep the original NEF RAW exposures after they’re combined.
• Select First Exposure
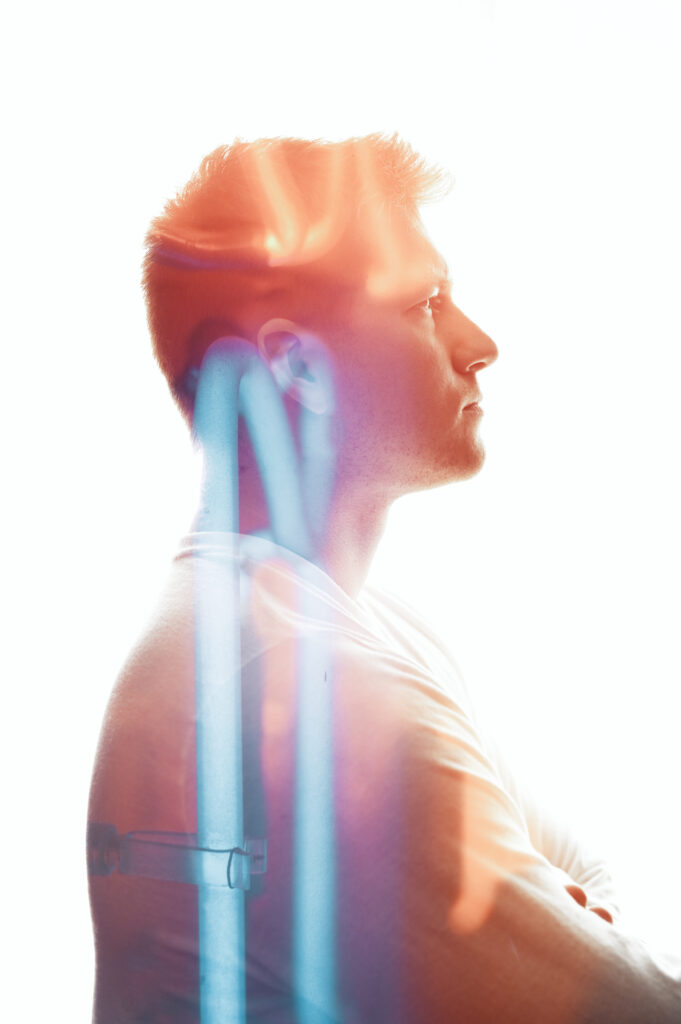
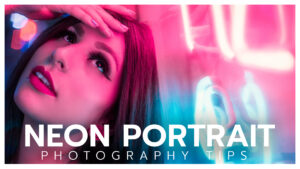
Next we’ll talk about selecting an exposure. This shooting mode is in the Multiple Exposure menu on the Z-Series cameras. This option allows you to select a previously captured image on your card and create a double exposure. For example I took a series of photos of neon lights the night before, and can now use them to create a double exposure a day later. This was also extremely helpful on-location when I shot a variety of high-key portraits and wanted to combine them with a palm tree second exposure later on that shoot.
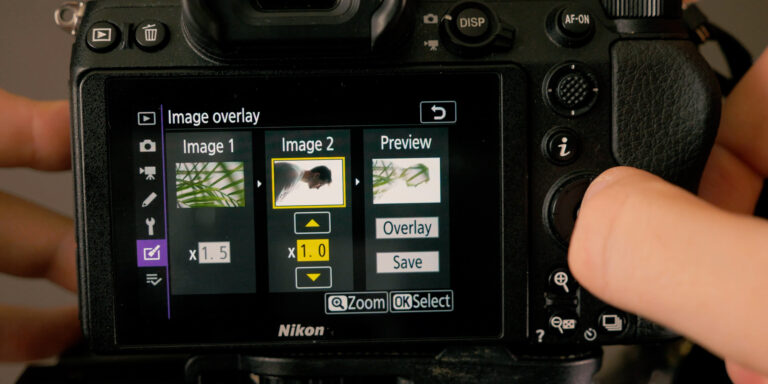
• Image Overlay
The image overlay option probably allows the most flexibility when shooting multiple exposures. You can edit together double exposures in-camera, anywhere off-location, after you’ve finished shooting. Select two images from your memory card and individually adjust the strength of each shot, or how much you want it to appear in the final composite.
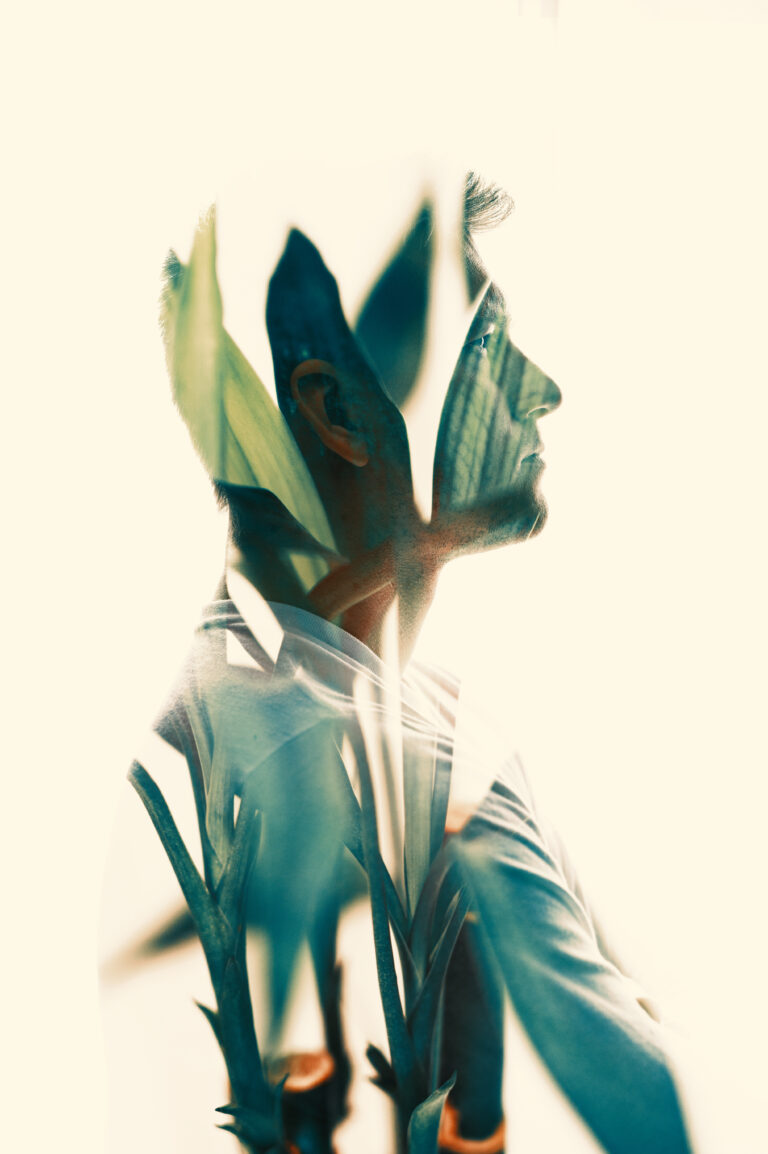
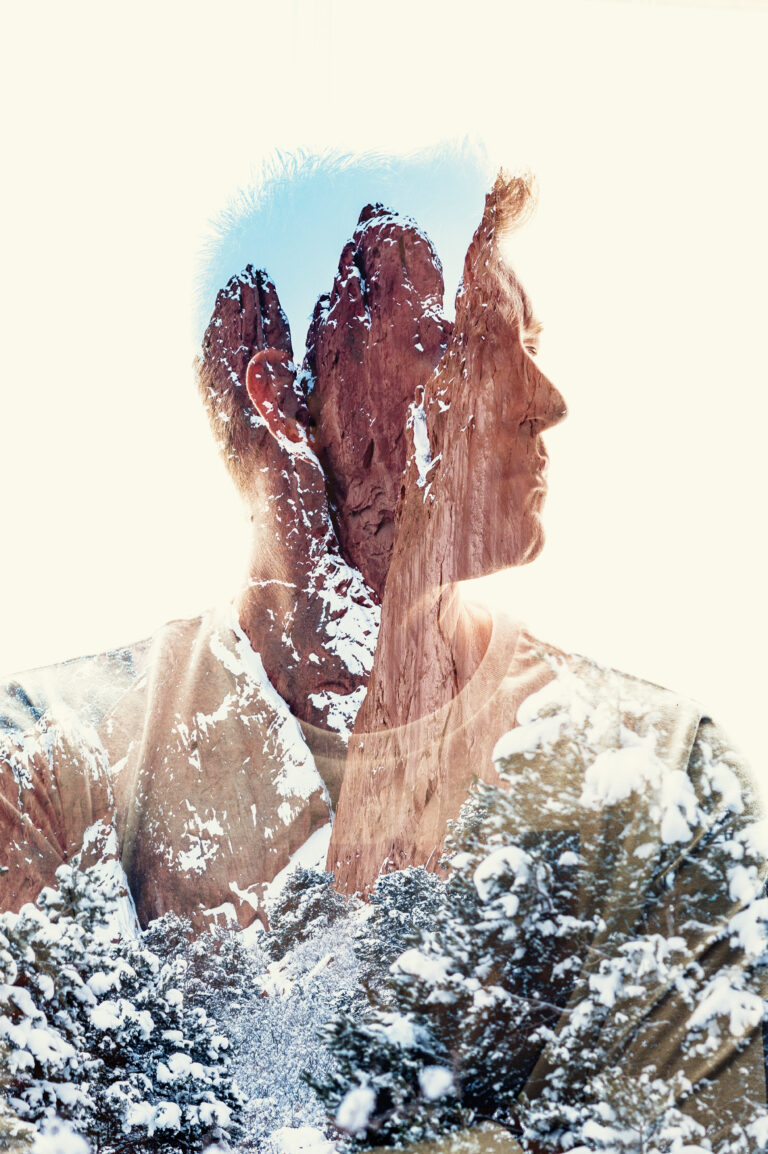
You can create some amazing, surreal photographs using this technique. Your only limit is your imagination. For more portraits, follow me on Instagram @RunNGunPhoto. If you found this double exposure tutorial video valuable,Subscribe to the channel and the blog (below)!