5 Lightroom Editing Tips & Tricks for Beginners
Sharing photography tips and tricks with you guys is my passion, and recently on my YouTube Channel, you’ve requested more Lightroom Editing tutorials. In this lesson we’ll cover my top 5 Lightroom Editing Tips and Tricks that will get you editing faster and producing sharper photographs.
Lightroom Editing Tip 1: Embrace the Auto Sliders
A lot of photographers choose to do everything manually, from their camera setting to their post-processing settings. I’ll be the first to tell you that you don’t have to. Using automatic settings to save time (or your sanity) isn’t a bad thing, and doesn’t make you a better or worse photographer.
Let Adobe Lightroom do a little bit of the work for you. Hold SHIFT and double-click a slider. Lightroom will automatically adjust the slider to where it thinks it should go. It’s not always perfect, but it tends to be a good starting point, and you can tweak it to your own taste.
So yes, sometimes before even starting to process a photos, I’ll hit the “Auto” setting button, just to see what Lightroom does. Sometimes it’s a good start, sometimes it’s garbage, but it’s worth seeing. Don’t be afraid of auto!
Lightroom Editing Tip 2: Turn on Clipping Warning
My second tip is to use a little-known tool called Clipping Warning. Before we get into this tool, we need to discuss your Histogram. Many photographers don’t use their histogram on their camera or when post-processing. Then later they wonder why their images is under-exposed or over-exposed when it looked fine on their LCD screen on their camera. USE YOUR HISTOGRAM!
Your histogram doesn’t lie. It represents all the light and color data in your photo, and will tell you if your images is over-exposed, under-exposed or if you’re losing detail data. Use your histogram on-location and when you’re in Lightroom editing your photos.
Now let’s talk about our Clipping Warning indicators. In the top right corner of Lightroom is our Histogram. In the upper left and right corners of the Histogram Tab, is two triangles that are actually switches, to turn on/off Clipping Warning. Turning these on and off will display colors on your image where data is lost due to under or over-exposure. Don’t worry, these colors are just to warn you, they’re not actually on your image. Hit the triangles again to turn off the Clipping Warning.
Lightroom Editing Tip 3: Copy & Paste Settings, Sync Settings
This Lightroom Editing Tip is a HUGE time-saver. I copy and paste, and sync settings every time I use Lightroom CC, Lightroom Classic or Lightroom Mobile. It’s one of my favorite tools because it saves me hours of photo editing.
The best part is, you can choose what settings you want to Copy/Paste in the Copy Settings dialog box that pops up. You can copy all setting or just one! Maybe you only want to copy/paste Sharpening or Calibration. Maybe you want to copy/paste everything except for the Crop (I do this a lot!).
Copy Settings Shortcut:
Mac: CMD + SHIFT + C
PC: CTRL + SHIFT + C
Paste Settings Shortcut:
Mac: CMD + V
PC: CTRL + V
Sync settings works identical to the copy and pasting settings, but allows you to paste settings to multiple images at a time. I promise this will save you hours of editing time in Adobe Lightroom.
Lightroom Editing Tip 4: Black & White Contrast Editing Trick
This Lightroom Editing trick is one of my all-time favorite hacks for photo post-processing. There are two types of contrast: Color Contrast and Tonal Contrast (or Luminance Contrast). When editing color photographs, the color can actually distract your eyes from seeing tonal contrast.
For example red and a blue are complementary or contrasting colors. But red and blue objects in a scene can be the same brightness, meaning they don’t have tonal contrast.
Try this Lightroom Hack: Hit V on the keyboard, which is the Lightroom shortcut for Monochrome. Your image is now black and white. Your image probably looks a lot flatter now, right? That’s because we removed the distracting color (color contrast) and or eyes can focus on tonal contrast. Adjust your White and Black slider and your Contrast slider to add in a little more contrast. Don’t over-do it, keep it subtle.
Hit V on the keyboard again to turn off the Monochrome profile. Your image should look a lot better and have a bit more pop!
Lightroom Editing Tip 5: Sharpen using Masking
For this tip, open your Detail Tab in Lightroom. Adjust your sharpening as you normally would. Now here’s the trick: slide your Masking Slider. You probably didn’t see any change, did you?
This time, hold ALT or Option on the keyboard, then slide the Masking slider. Your image will turn a sort of funky black and white. There will be more White around the value of 0, and more black around value 100. The white is the mask! Your sharpening setting will be applied in the white areas and not in the black areas.
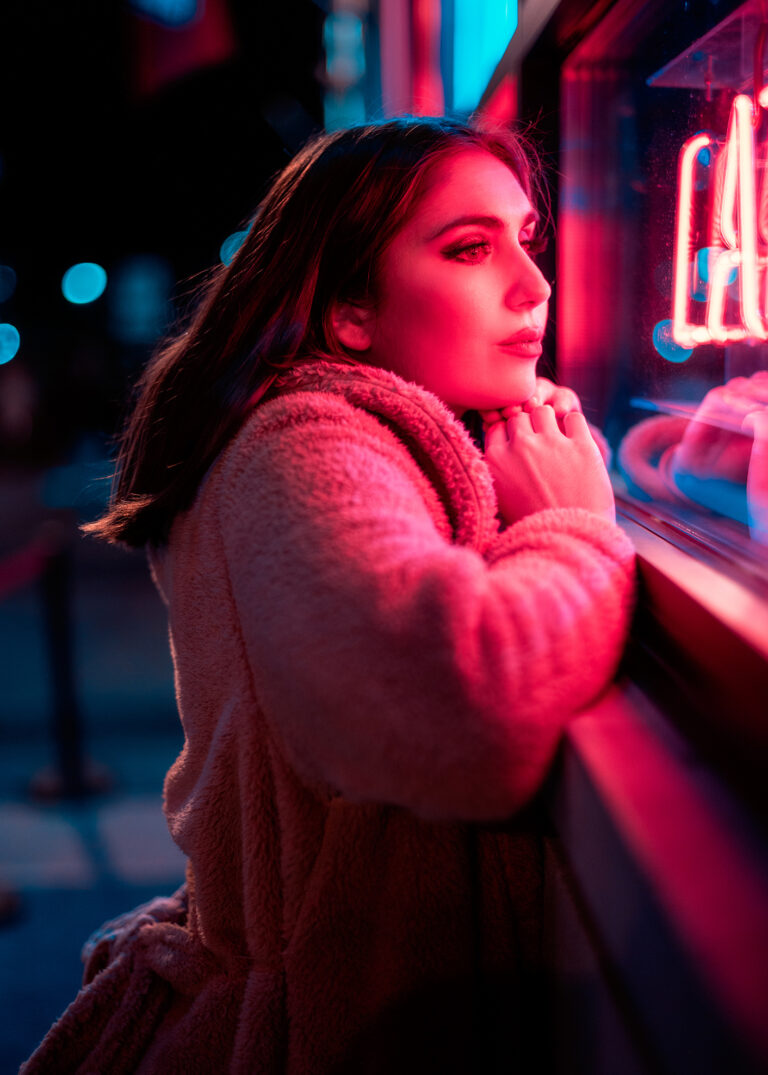
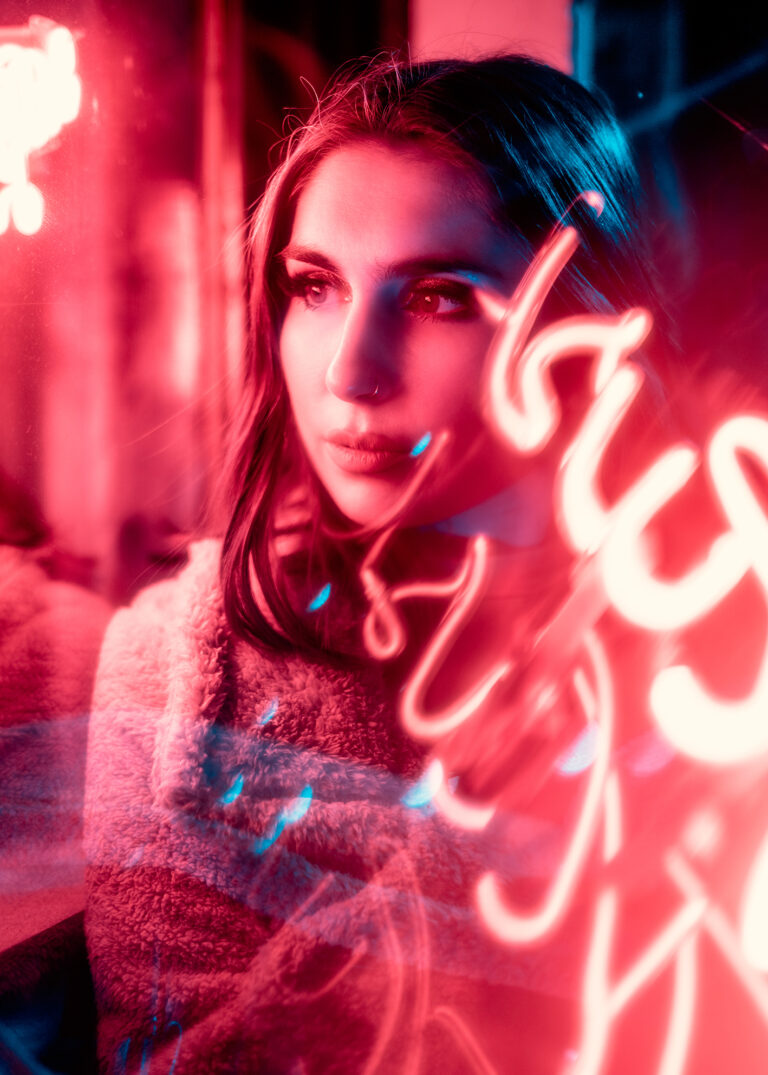
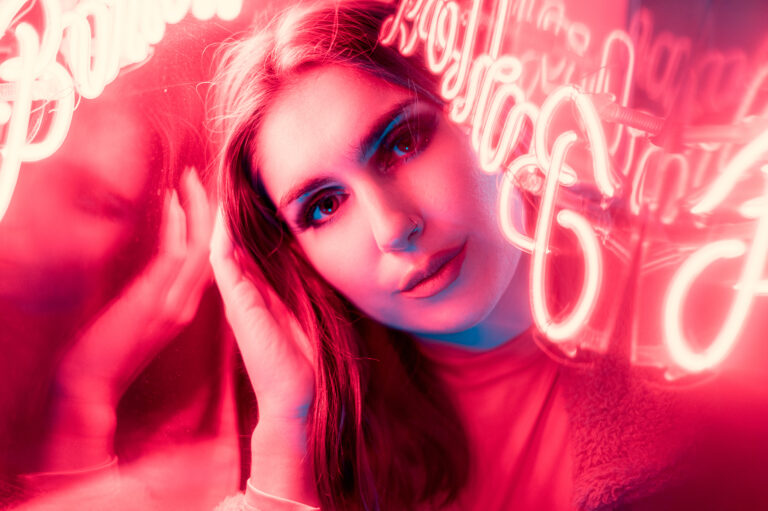
Sharpening Masking really comes in handy when your photographing at night. Masking allows you to dial in the sharpening on your subject, emphasizing edges, and NOT sharpen your noise. With a little noise reduction, you can get some really sharp night photos!
Lightroom Editing Tips and Tricks Conclusion
Subscribe to the Blog and my Run N Gun Photography Youtube Channel!
Also be sure to check out my 30 Days of Lightroom Editing Series to start editing like a Pro in no time!
Check out my Official Shop for my LUTS, Lightroom Presets and photography assets!