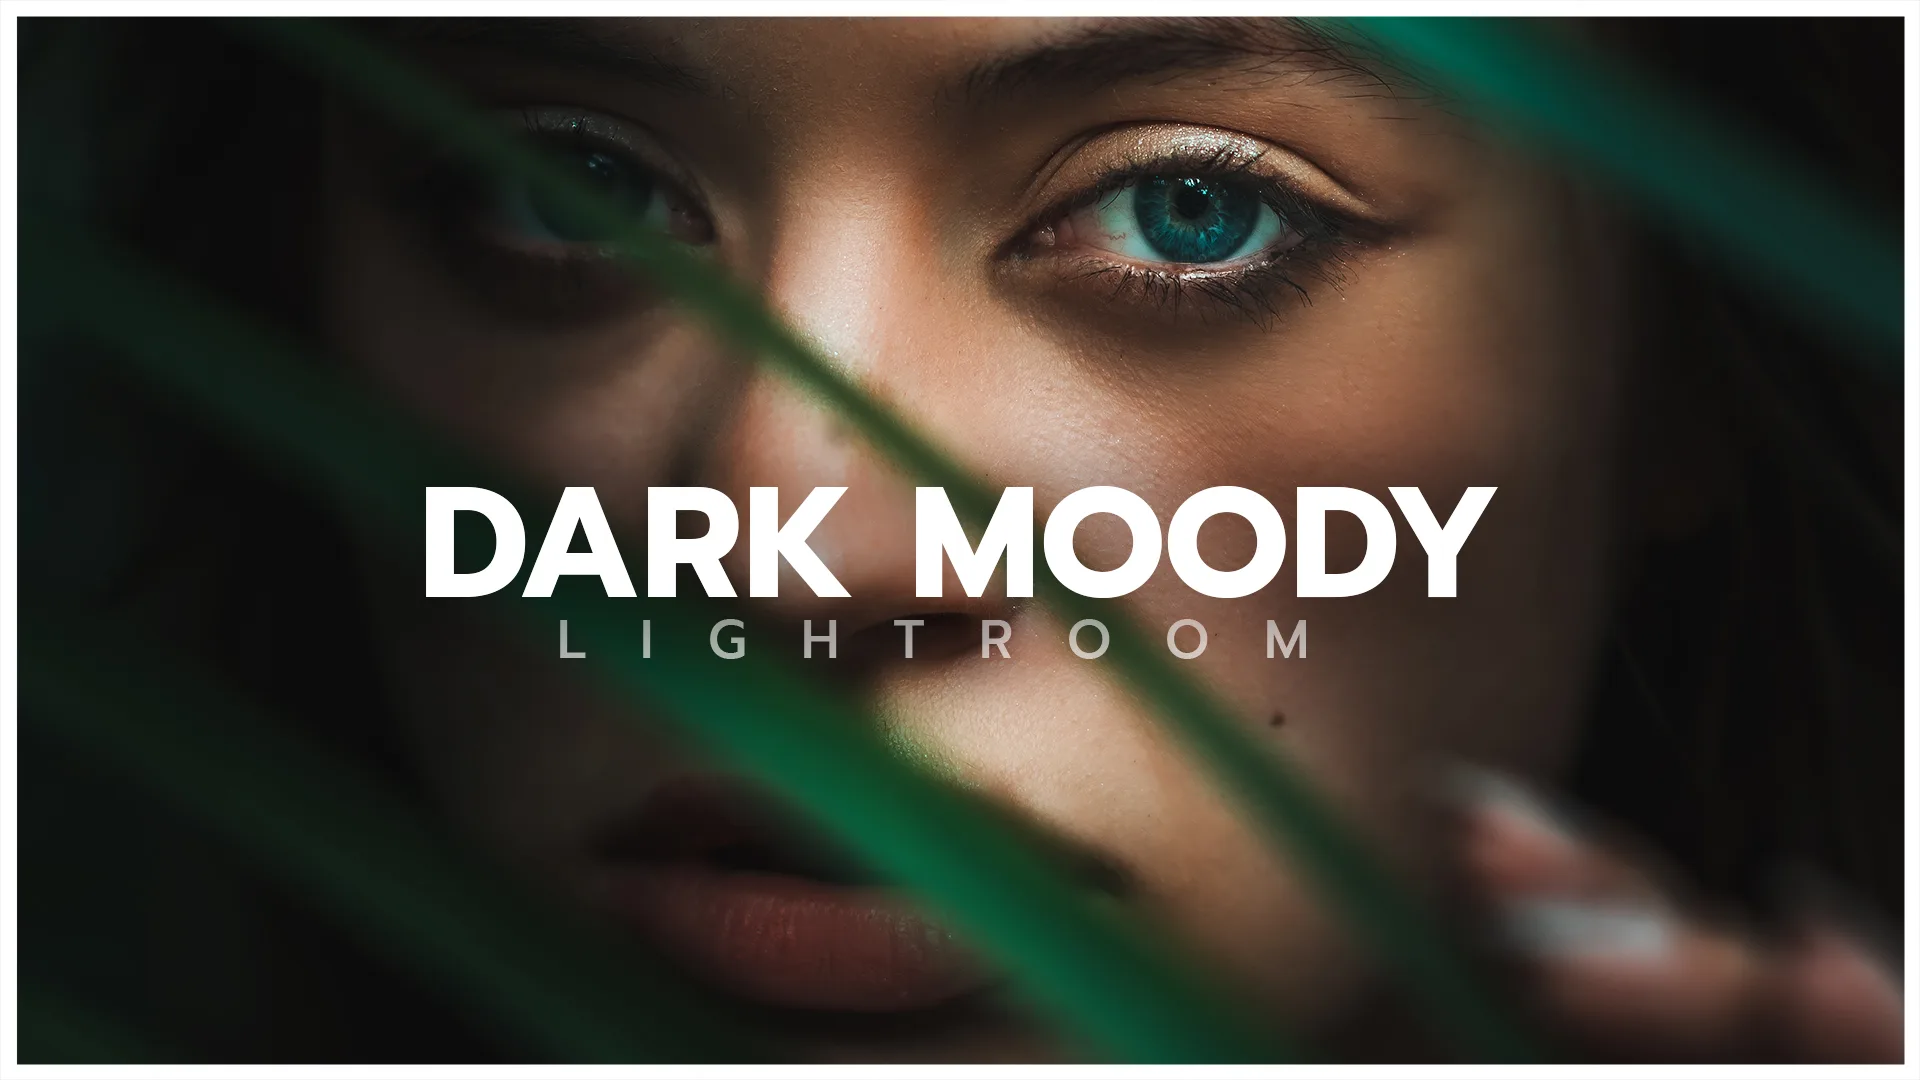
In this Adobe Lightroom editing tutorial we’re creating one of my favorite looks. This Dark and Moody Portrait Tutorial will guide you through how I recreate an especially difficult edit, especially when it comes to portraits. This is because skin tones are delicate, and must be carefully processed.
Subtle isn’t a word I’d use to describe the dark moody look, hence why we have to pay special attention to our subject to ensure we aren’t getting any wild skin tones in our portrait.
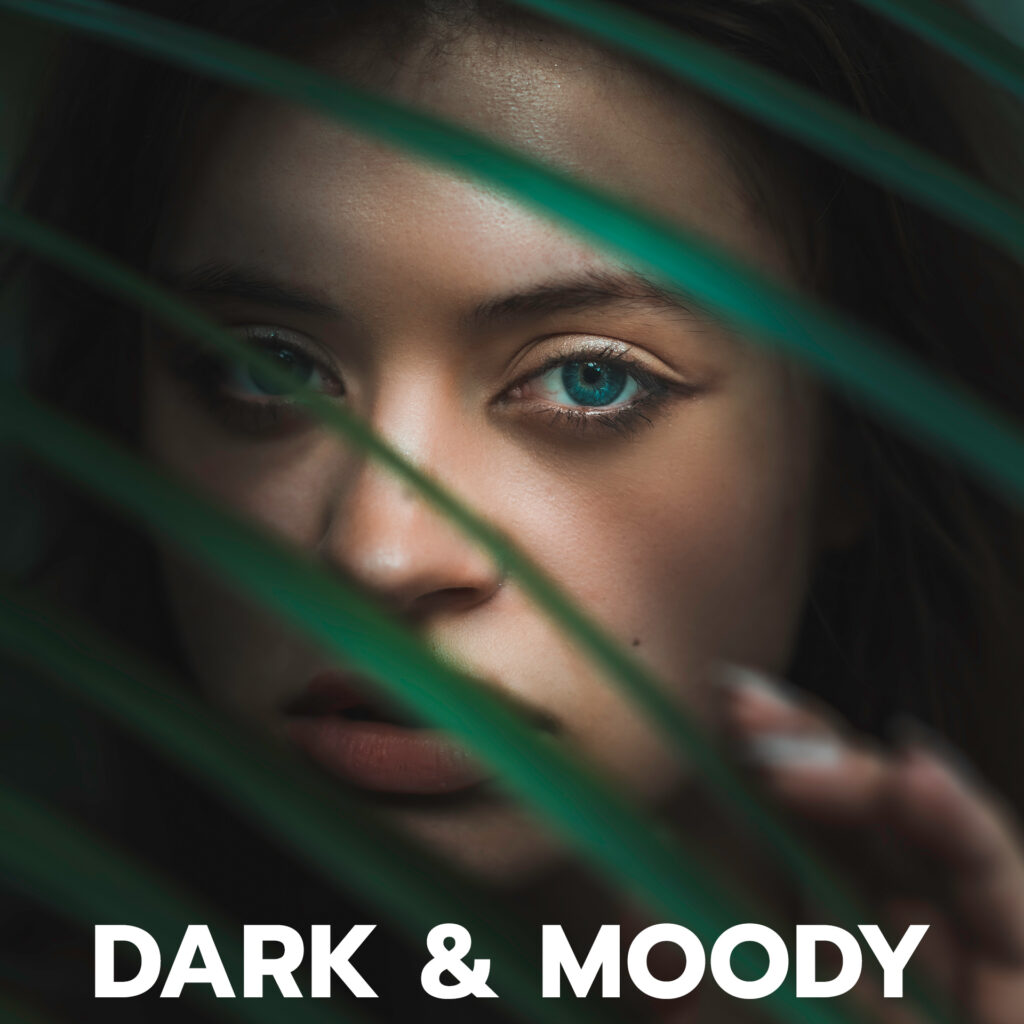
Before & After: Dark & Moody
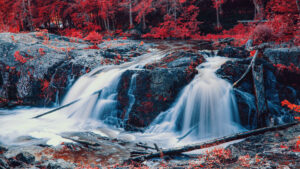
What I love about the Dark and Moody look, or at least the way I interpret it, is the green hues. It’s why this look works especially well with landscape or forest photographs. It’s also what makes this look incredibly difficult with portraits.
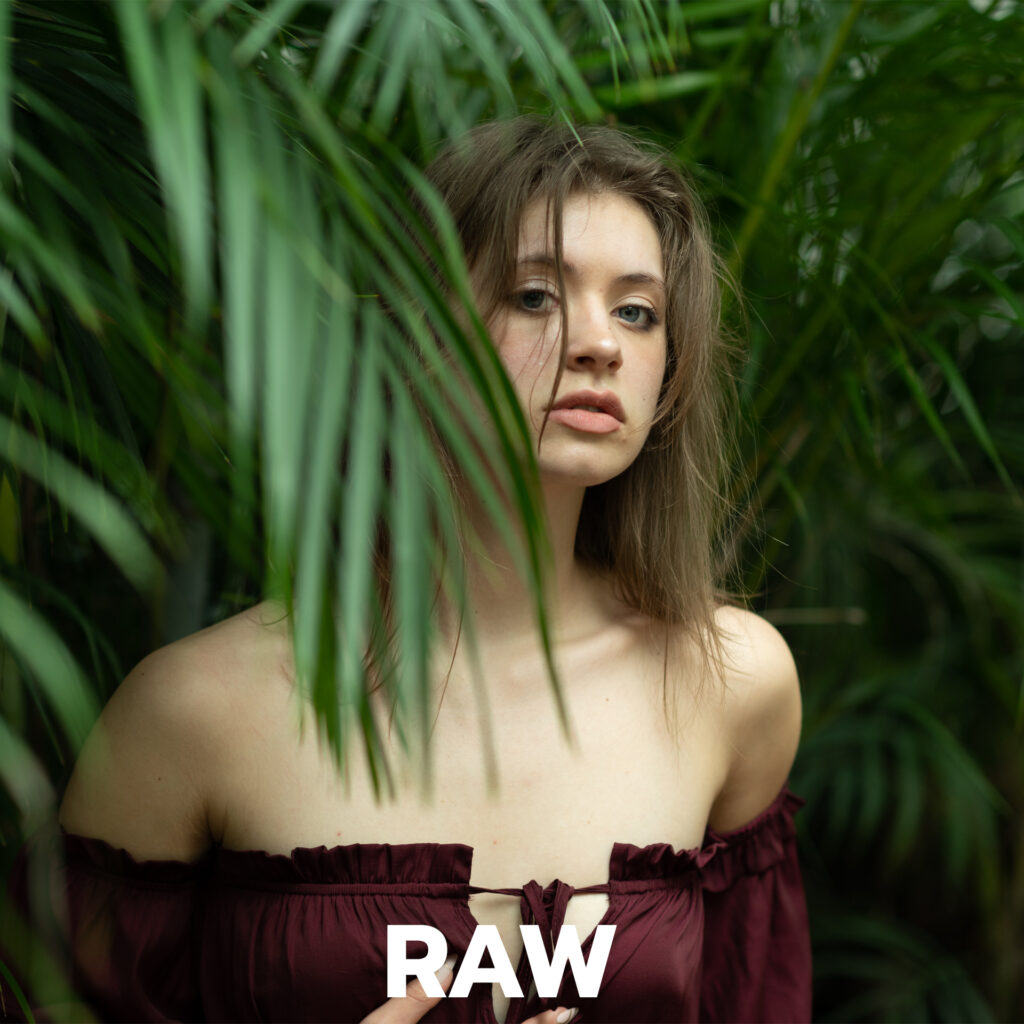
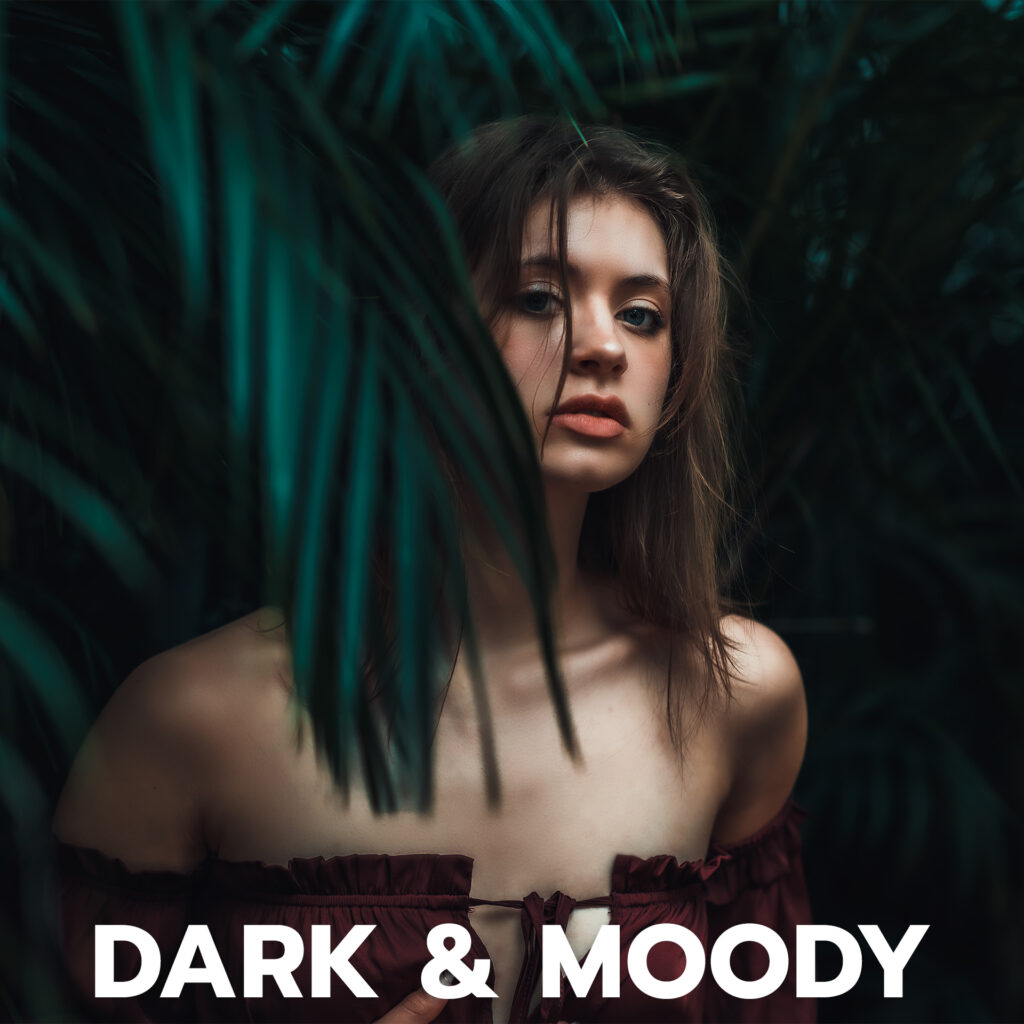
Since leaves and skin tones have overlapping yellow tones, making edits to one can have a terrible outcome on the other. You can see in the example below how much yellow both the leaves and skin contains.
RAW
DARK AND MOODY PRESET
How to Create the Dark and Moody Look in Lightroom
So you may be asking, how is the dark and moody look even possible with portraits? Masks!
Masks are essential to my Dark and Moody Portrait tutorial, as you can see in the video above. In Lightroom, masks allow us to select only a portion of our image, and apply specific adjustments. So we start by making global adjustments to our entire images. Then we refine and adjust our skin tones to our liking by using masks.