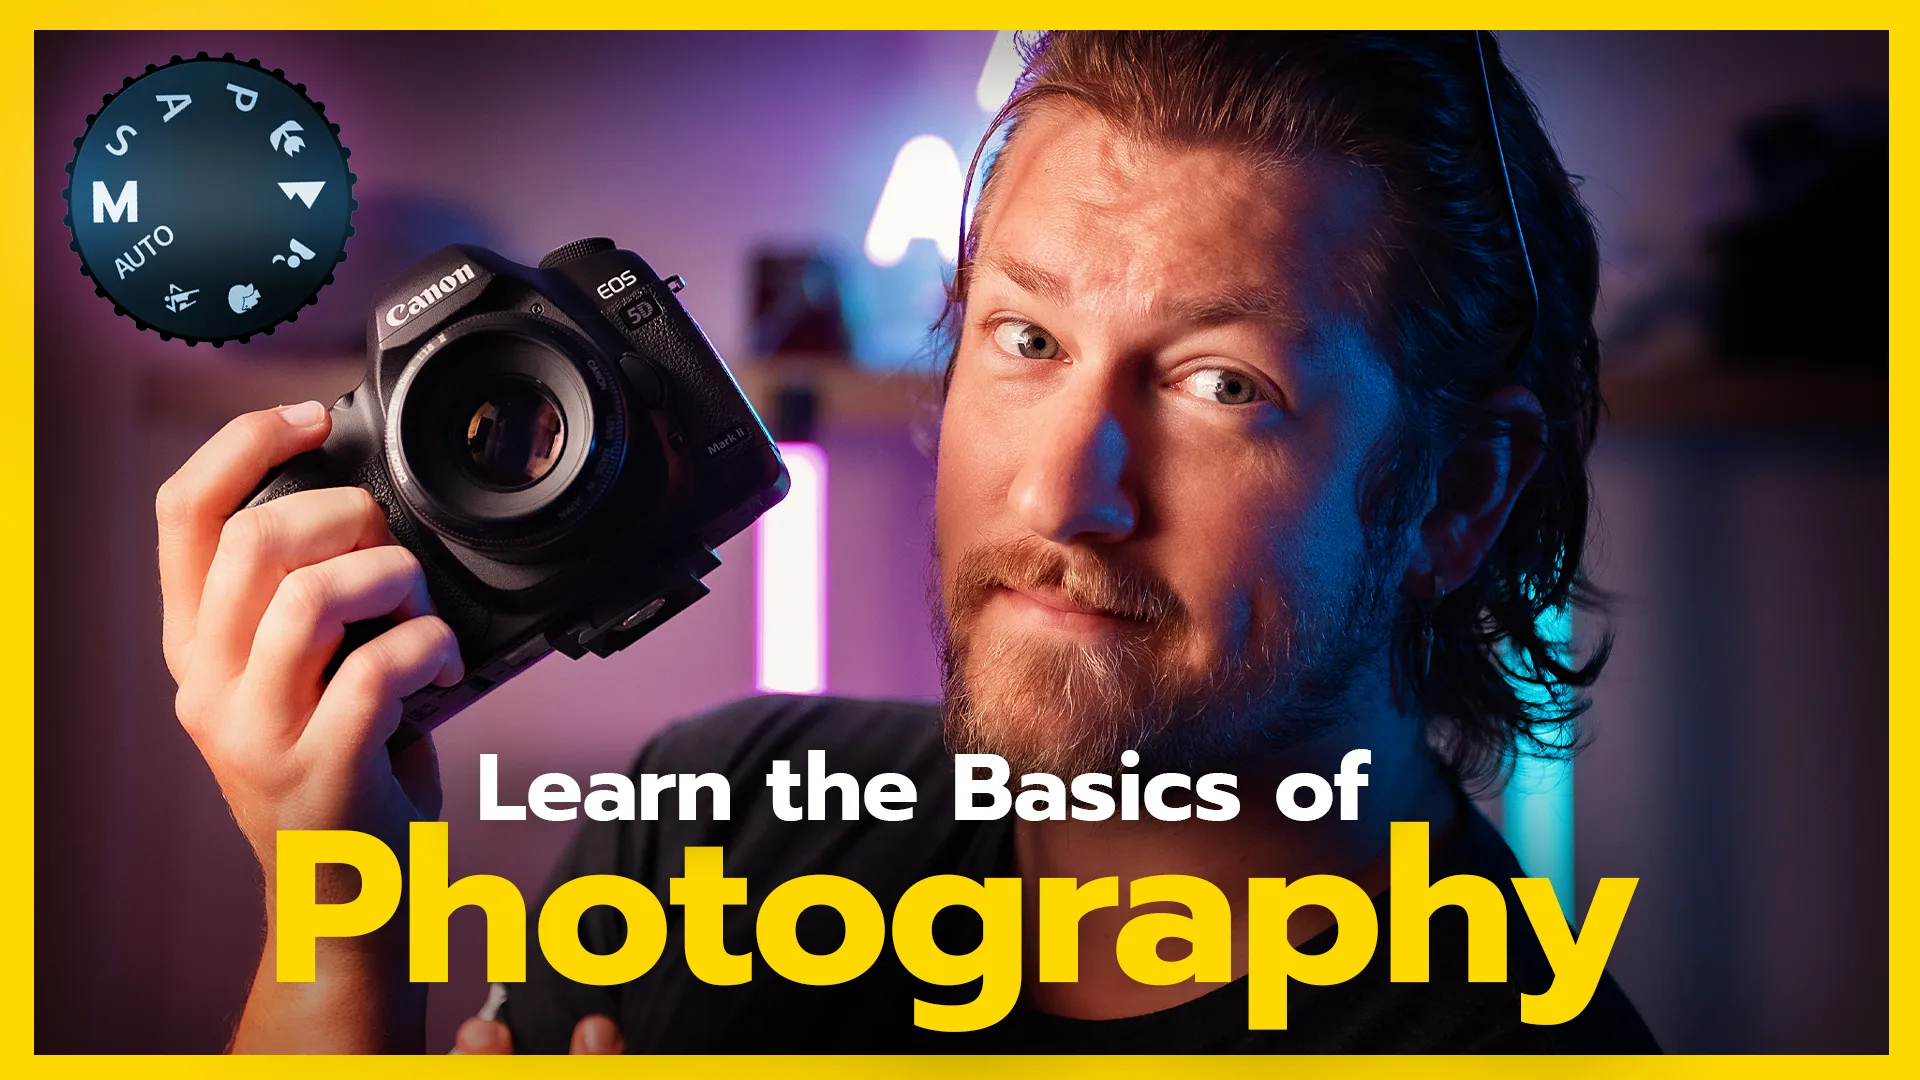
Master Manual Photography Settings … in Less than 10 Minutes
At first, learning photography can be daunting. F-Stops, Shutter Speeds, ISOs — it’s a lot of math and settings to handle all at once. But at one point, every professional photographer started from zero; exactly where you are today. Fortunately, this article is dedicated to helping you master manual mode and better understand your photography settings.
In less than 10 minutes, we’re going to cover all the basics of manual photography. Aperture, Shutter, ISO; all of their primary and secondary effects, that create the Science and the Art of Photography.
What is Exposure?
Exposure, in simple terms is the brightness of your image. If your image is too bright, it is over-exposed, and too much light has hit your sensor. If your image is under-exposed, it’s too dark, and you’re not getting enough light hitting your sensor.
Cameras provide you with 3 tools for getting the perfect exposure: Aperture, Shutter Speed and ISO. We’ll break each of these down individually below into their primary and secondary effects when creating a photograph.
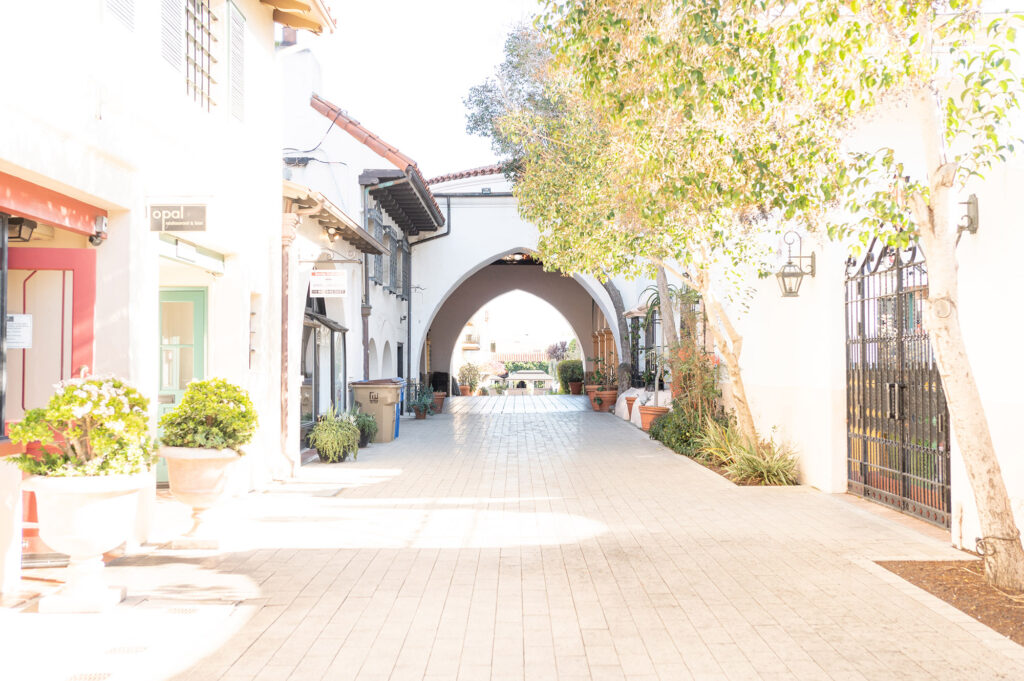
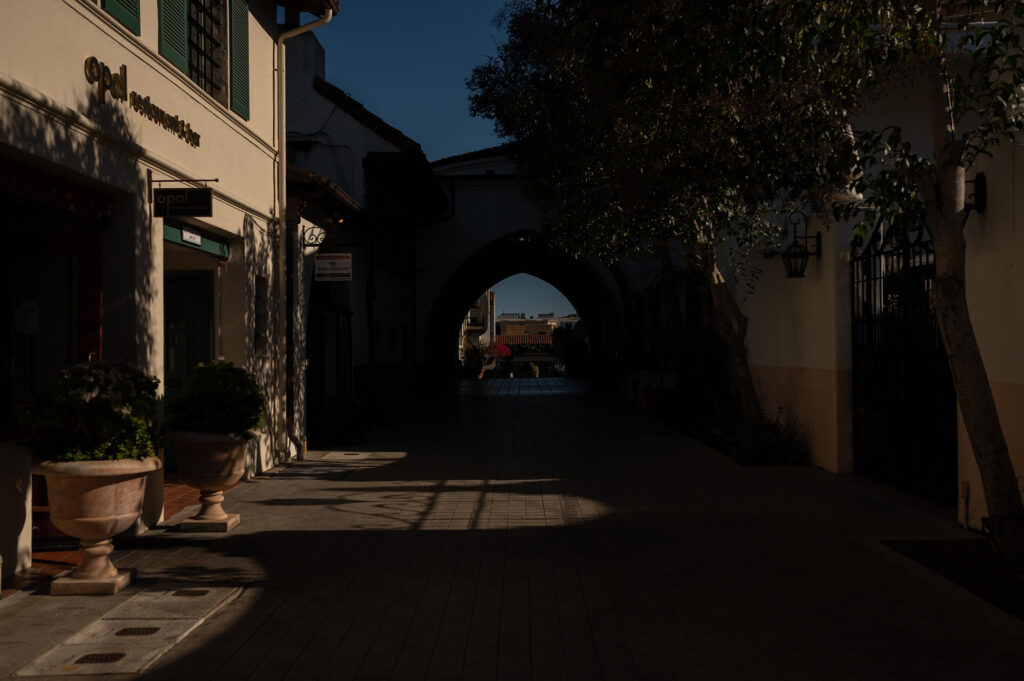
Over Exposed
Properly Exposed
Under Exposed
1. Aperture
Light passes through your lens before entering your camera. Your aperture is a hole in your lens, that controls how much light can enter your camera and reach your camera sensor. Opening the aperture wider lets more light pass through your lens. Closing the aperture will let less light pass through the lens into your camera.
Aperture Part II: Depth of Field
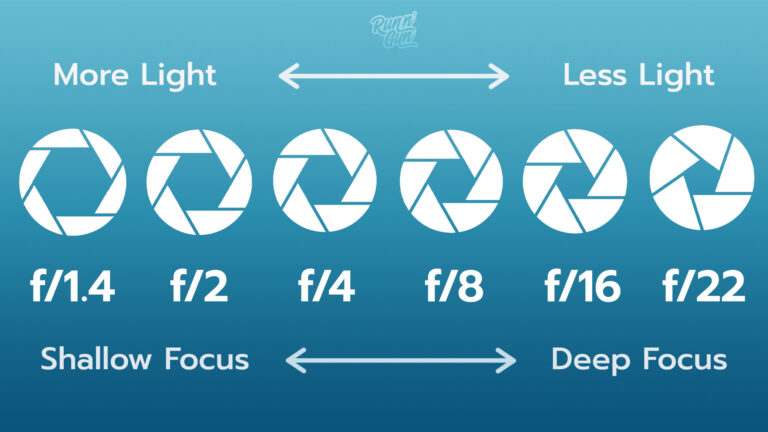
In addition to controlling the amount of light, the aperture also controls Depth of Field! Depth of field is how much of your image is in focus. If you want a sharp subject and a blurry background, open up your aperture. If you want more of your photo in focus, close your aperture.
Remember: Big hole, blurry background, lots of light. Small hole, sharp background, less light.
Aperture Graphic (Run N Gun Photography)
2. Shutter
The second setting for controlling exposure is your Shutter Speed. Your shutter sits inside the camera, and blocks light from hitting the sensor until you are ready to take a photo. Shutter speed is measured in fractions of a second. A slow shutter speed will allow more light to hit your sensor and give you a brighter image. Reversely, a faster shutter speed with let less light hit your sensor, making a darker photo.
Shutter Part II: Motion Blur
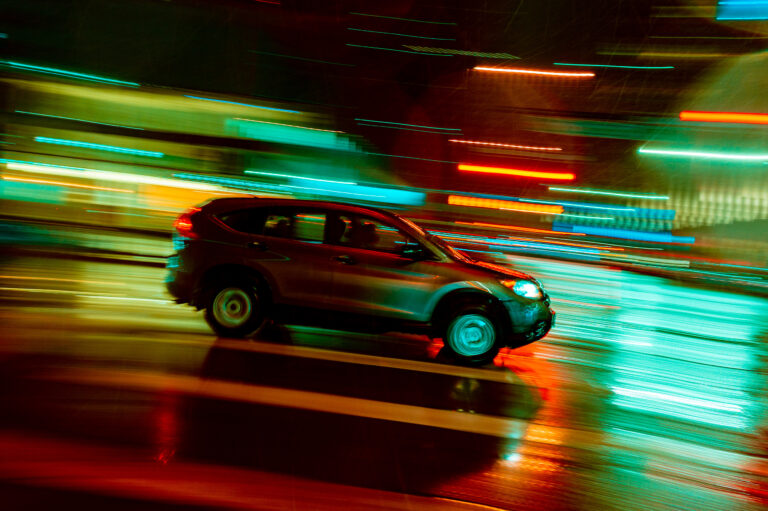
Shutter speed also controls motion blur. A slow shutter will allow moving object to streak or blur across your photo. There are many artistic ways to use a slow shutter speed. Just remember that holding your camera can create blurry images with slow shutter speeds. A fast shutter will allow you to freeze moving objects in your frame. The faster the subject, the faster your shutter will need to be.
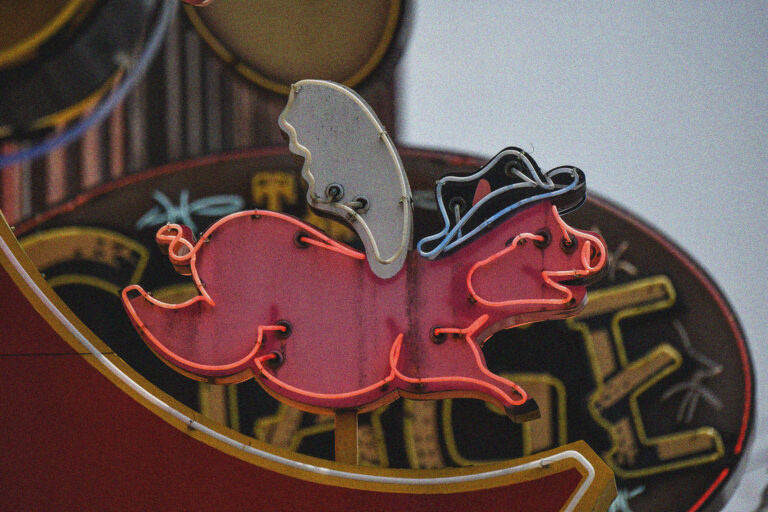
Streaking neon lights caused by a slow shutter speed. (Run N Gun Photography
3. ISO
Our last tool for controlling our exposure is ISO. ISO is your camera’s sensitivity to light. Lowering your ISO setting will mean a darker image. A high ISO will make your image brighter.
ISO Part II: Noise
Just like with Aperture and Shutter Speed, ISO has a secondary effect. By raising your ISO, you will get noise in your image. Your ISO should be as low as possible to get the cleanest photo possible. Different cameras have different noise performance, so you’ll have to experiment with how high of an ISO you can use before your image quality suffers too much.
High ISO causes Noise and degrades image quality. (Run N Gun Photography)
Bring Balance to the Force
Exposure is about balance. Getting a proper exposure is about balancing these 3 settings. With practice you’ll be able to estimate your settings just by looking at your scene. Remember, it’s 50% science and 50% art. It’s going to all come down to experimentation, practice and eventually, developing your personal style.
Practice is the key to getting better. There are no tips or tricks that can overcome a lack of practice. To help you when you’re practicing I’ve created a FREE Pocket Exposure Guide PDF that you can download and take with you where ever you go!