“Shot on iPhone.” The phrase has become increasingly popular on social media the last few years. That’s because with each passing year, the tech inside our smartphones gets smaller, yet more capable. So, you might be asking yourself, why are the photos on my smartphone blurry and not sharp? Well, I have the answer: here are my 9 iPhone Photography tips for taking Sharper Photos today!
9 iPhone Photography Tips
So, if you’re like me, and tired of taking bad, blurry photos on your smartphone, give my 9 iPhone Photography Tips a try. I can guarantee you’ll be taking sharper, better composed photos in no time!
Tip 1: Clean Your Lens
Clean your phone’s camera lens (or lenses). Students frequently come to me asking why their mobile photos are so blurry. The number one reason is a dirty lens. Dust and fingerprints are typically the culprits, and can easily be removed with a microfiber lens cleaning cloth. I recommend picking up a couple of these because they’re so darn cheap.
A blurry iPhone photo from a dirty, scratched case (left) vs. sharp photo taken with no case (right). (Run N Gun Photography)
Tip 2: Check the Lens Cover
A scratched or dirty phone case is typically the second culprit for blurry iPhone photos. Cases that cover your phone camera’s lens are great for the first few weeks or months. However, they quickly become dirty and irreparably scratched. I much prefer a phone case without a plastic cover over the cameras, and adding my own tempered glass lens protector.
An F/A-18 fighter jet, photographed with my iPhone 12. (Run N Gun Photography)
Tip 3: Avoid Shooting into the Sun
The sun is a white-hot, nuclear light source in the sky. It’s great for lighting our photos, but not so forgiving if it ends up in your iPhone shots. Avoid shooting towards the sun or you suffer from low-contrast, blown-out shot. Unfortunately, these lens flares can’t be easily fixed with editing, or at all.
An additional tip that I use for both DSLR photography and mobile photography, is to use my hand as a lens shade. If you must shoot towards the sun, use your hand as a make-shift lens hood to avoid terrible flares in your iPhone photos.
Two photos of St. Patrick's Cathedral. One is a snapshot, the other is a photo focused on the subject. (Run N Gun Photography)
Tip 4: Pick a Subject
A subject is the difference between a snapshot and a photograph. So, before taking your photo ask yourself a couple of simple questions. What’s the focus of your photograph? What do you want your viewers to see or remember? Picking a subject of your photographs is a huge first step to taking better photos with your phone.
When looking at your photos, it should be clear who or what your subject is. Your subject can be anything: a cloud, a person, a building, a mountain range. Sometimes the hardest part of being a photographer is just picking a subject for your photograph!
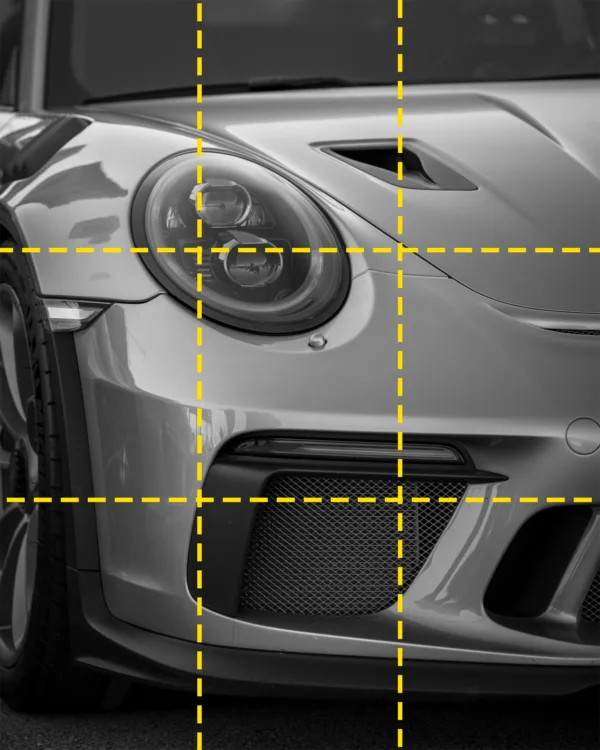
Photograph of a Porsche divided by a Rule of Thirds grid. (Run N Gun Photography)
Tip 5: Photo Composition
Composition sounds like a scary word to new photographers, but it’s quite simply the arrangement of elements in your photo. We use compositional techniques to emphasize the subject and create interest in our photographs. There are many ways to create a composition that’s aesthetically pleasing but, we’ll focus on two easy techniques.
Rule of Thirds: If you’re using an iPhone, go into your Settings < Camera, and under Composition, turn on Grid. This will give you a Rule of Thirds grid overlay when taking photos. Use this grid to compose your photographs. For example, when taking a photo of a landscape, put the horizon on the top or bottom line for a more pleasing image, than having the horizon centered. If you’re taking a portrait, align the the person’s eyes on the top line. It’s that simple!
Remove Distractions: When thinking about composition, we need to be aware of our whole frame. As photographers, we’re responsible for everything in our photographs. Pay close attention for object that distract from your subject. Example of this can be trees, power lines, light poles or anything that detracts from your subject. Remember your subject is most important!
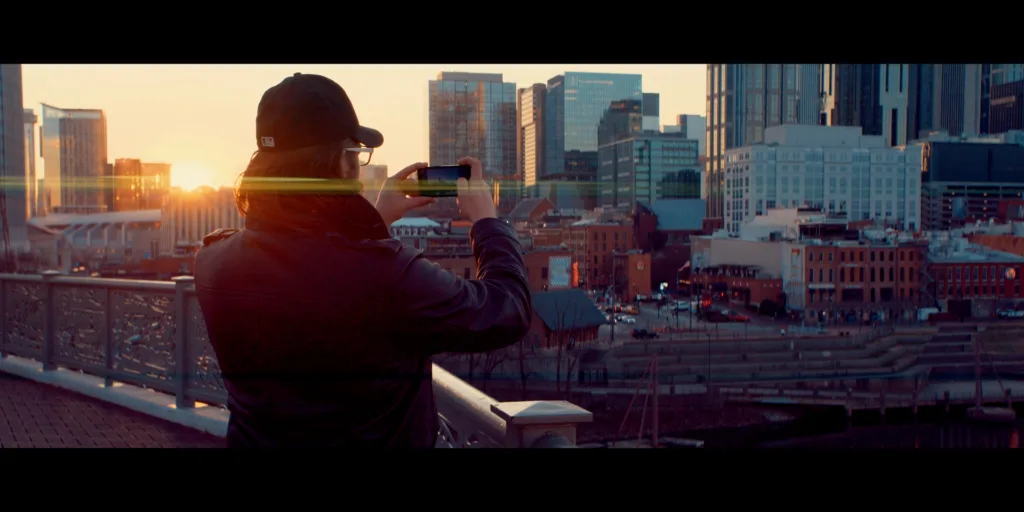
iPhone Photography downtown Nashville, (Run N Gun Photography)
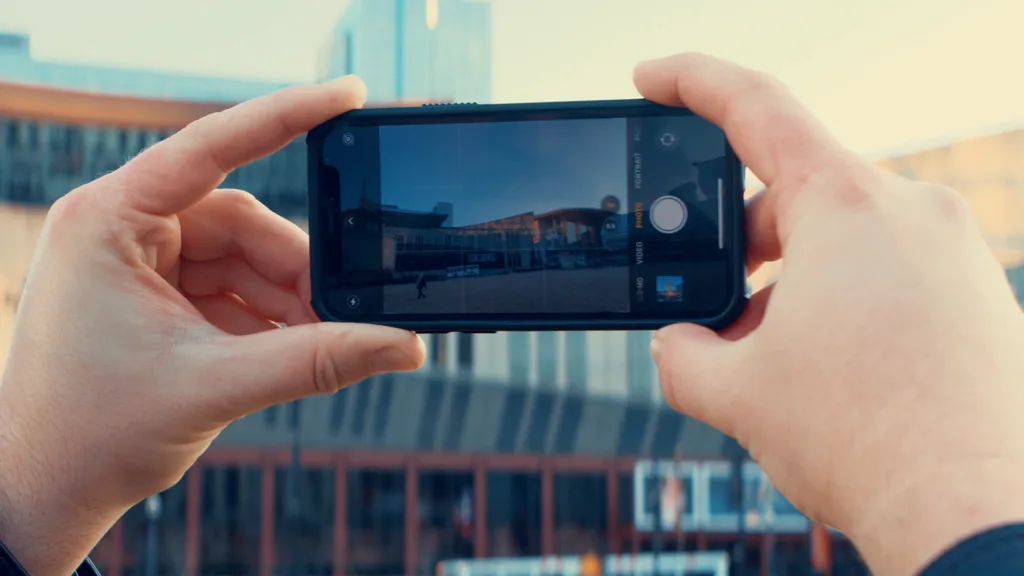
Tip 6: Stop Moving
Motion causes blur in photos. When taking photos with your iPhone, it’s important to stop what you’re doing and focus on taking the photo. For example, if you’re walking and shooting photos, you’ll inevitably end up with a blurry photograph.
Remember that you are an integral part of the photograph you’re taking — you’re the tripod! Hold your phone steady and close to you, while bringing your elbows in towards your sides to create a human tripod. Stand with your feet shoulder-width apart for a more solid base.
Another quick tip is to use the physical button on the side of the phone to take the photo, NOT the white photo button on your iPhone screen. Using the on-screen button actually adds more shake, and thus more blur to your photos! Carefully squeeze the side button to capture your photo, don’t slap the phone.
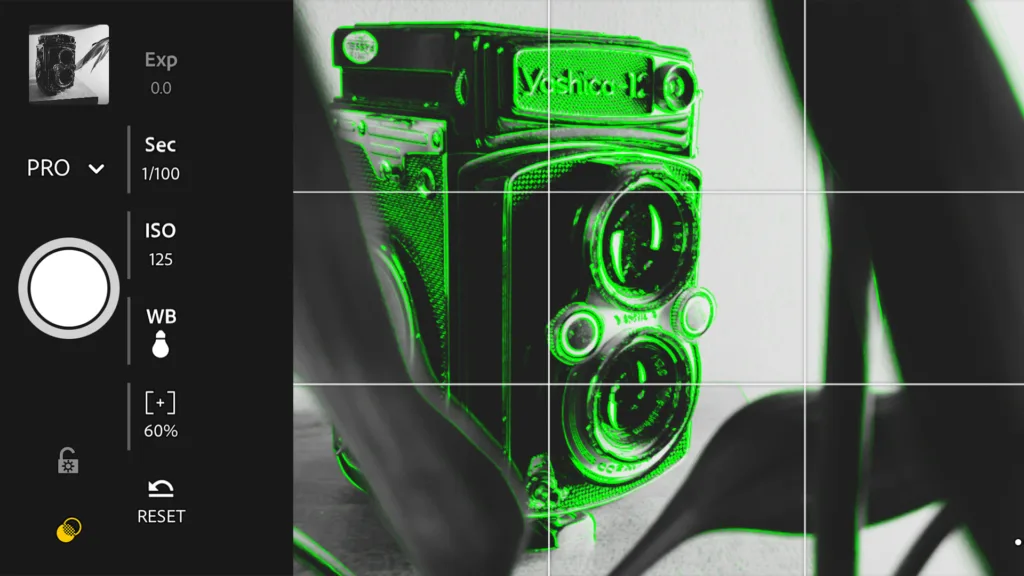
Lightroom Mobile app screenshot. (Run N Gun Photography)
Tip 7: Use an App
There are many apps that allow full Manual control over your iPhone camera settings. I personally like to use Adobe Lightroom Mobile. Additionally, Lightroom also has a few extra features I’ll mention in just a minute. If you’re searching for another app, I recommend one that lets you adjust your Shutter Speed, ISO and White Balance. This will give you full control over your photo. After all, you are the artist.
An exaggerated illustration of compressed, lost photo data. (Run N Gun Photography)
Tip 8: Shoot RAW
Most phones shoot JPG by default. JPG is a highly compressed file format, meaning that you’re losing data when your iPhone saves the photo to your camera roll. JPG is nice because it’s a smaller file size, but it compresses detail and sharpness out of the image. To enable RAW, you’ll need to go into your Camera Settings again and enable it. Some older iPhone models don’t allow you to shoot RAW photos. To bypass this, I use Lightroom Mobile to capture RAW photos on my iPhone.
While that was a very basic overview, if you’d like to dig into the differences between photographing in RAW and JPG, check out my in-depth lesson here: RAW vs. JPG.
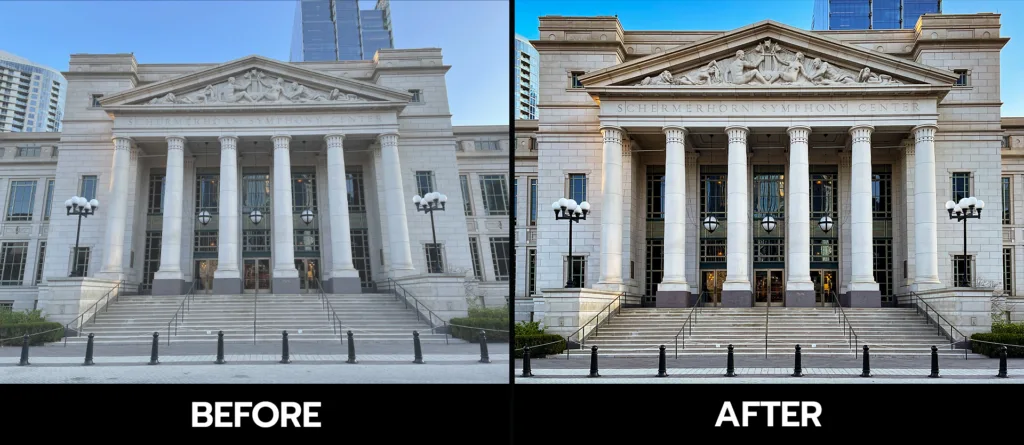
Before & After of an iPhone photo edited in Lightroom Mobile. (Run N Gun Photography)
Tip 9: Editing Your Phone Photos
If you see a great photo, more than likely it’s been edited to look its best. Make no mistake, editing is not cheating. Editing is simply making use of all of the light and color data our camera collects. Our goal is to make the best possible photograph, and editing our images is how we do that. Even a simple edit: fixing white balance, adjusting exposure, adding contrast or sharpening will go a long way to make our iPhone photography the best it can be.
This is another reason I recommend photographing in RAW on your iPhone. We’re simply utilizing all of the data available to make the photograph. Just like film needs to be developed, so do our photos. Again, I find that Lightroom Mobile does a great job at capturing and editing my iPhone photography.
Yup, that's me doing a little iPhone Photography! (Run N Gun Photography)
9 iPhone Photography Tips: Conclusion
I hope you enjoyed my 9 Tips for Sharper iPhone Photos. Our smartphones are capable of taking amazing images. Just a few simple techniques and you’ll be on your way to making great photographs with your phone. Remember, don’t rush. Take every photo with intention. Always keep in mind your subject, lighting and composition and you’ll be unstoppable.
If you learned something from this article, please Subscribe to my blog for weekly updates. Also, don’t forget to subscribe to my Run N Gun Photography YouTube Channel for my weekly Photography Tips & Tricks videos!