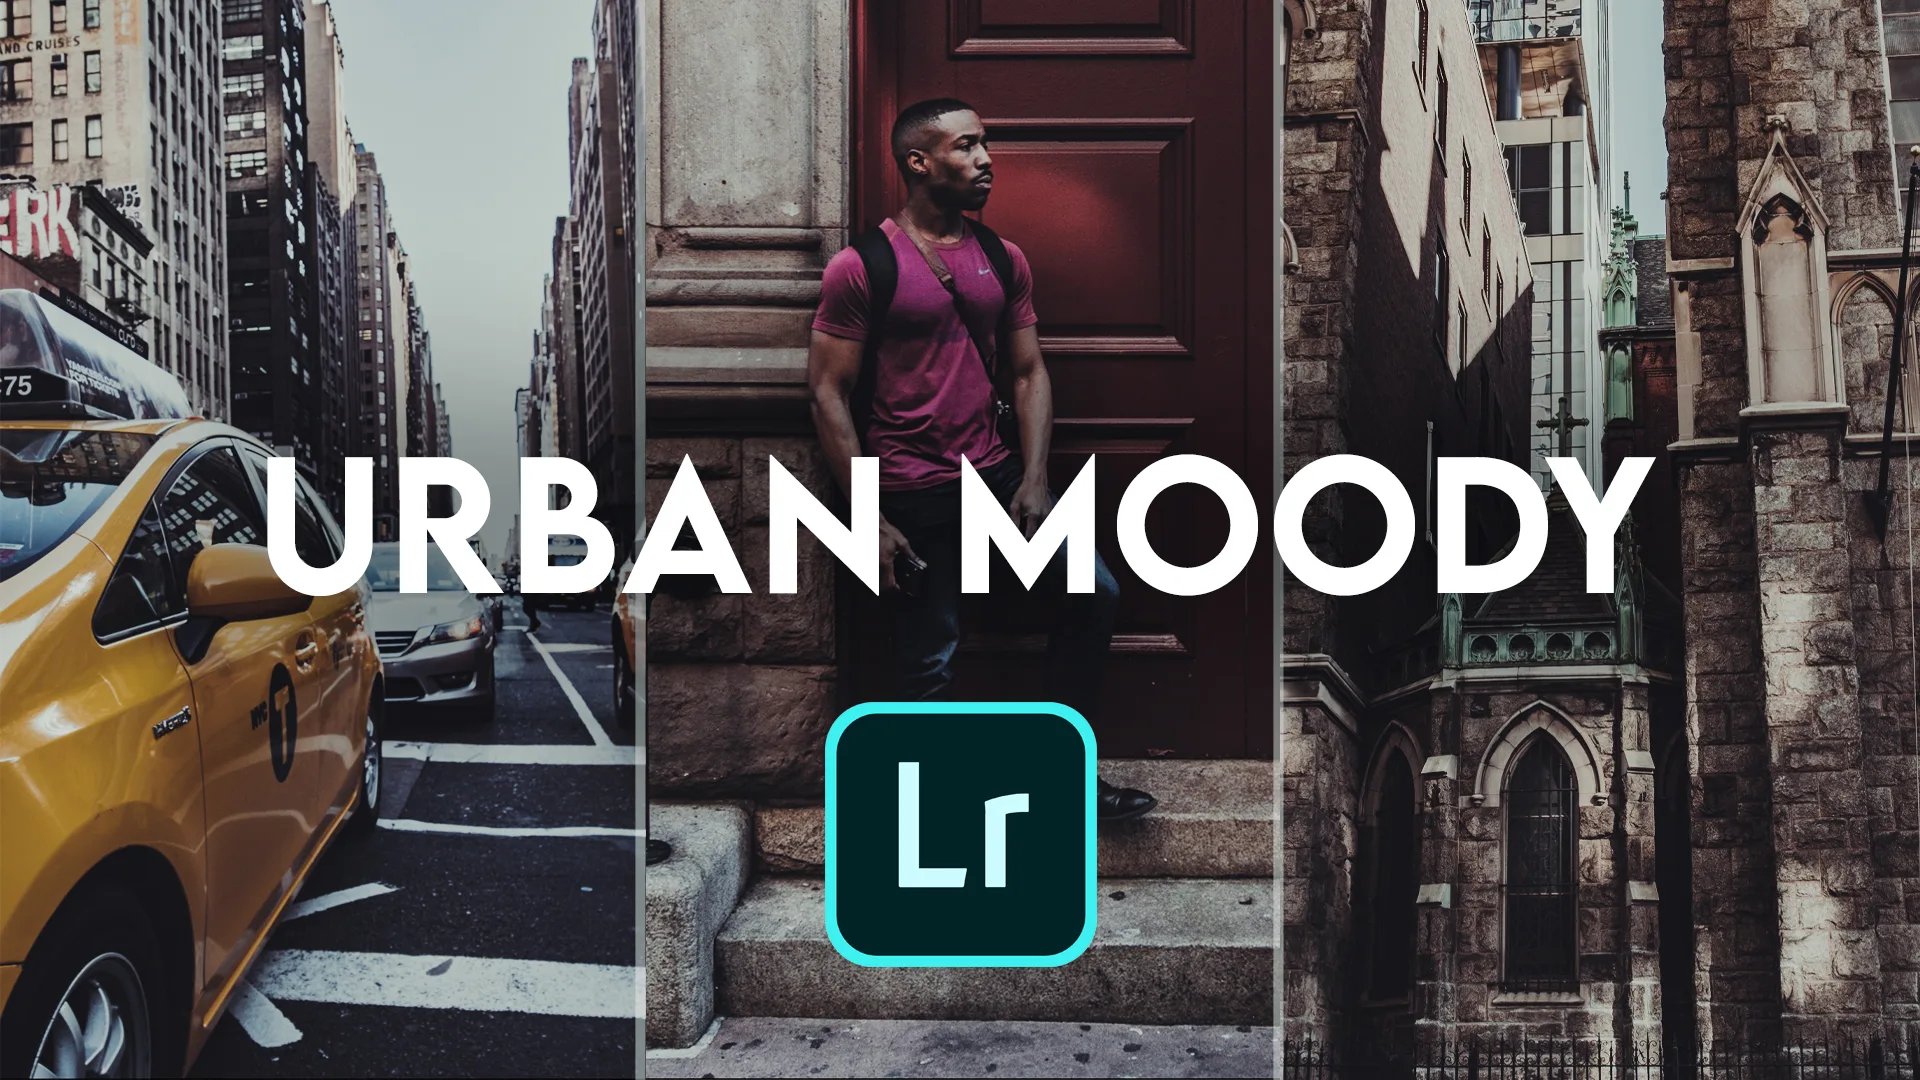
In this Adobe Lightroom editing tutorial, I’ll be breaking down how I created my Urban Moody look in Adobe Lightroom Classic. This edit was inspired by the feeling I get from shooting in New York City, New York, specifically grungy parts of Manhattan.
What is the Urban Moody Look?
NYC is a truly amazing city — the people, architecture, lights, culture — it’s not even comparable to any place I’ve ever been before. When I was developing this edit, I didn’t want to recreate what the city looked like, rather what it felt like. The vibe i guess you could say.
This is a technique I’ve used quite successfully when creating and applying a stylistic post-processing look to my photos. How do you encapsulate a ‘vibe’?
How to Develop a Style or Vibe
When you’re out shooting a specific location, stop and take a moment to clear your mind. Don’t worry about what you’ve shot so far, what you’re going to shoot or how you’re going to edit. I do this by closing my eyes and taking a few deep breaths in and out. What do you hear? What do you smell? And when you open your eyes, what do you see? Combine all of these together: What do you feel?
If you truly clear your mind, you can come back to this moment of clarity later when you’re editing. So speaking of editing, let’s get into this tutorial!
As always, check out the video tutorial below:
More Urban Moody Edit Examples
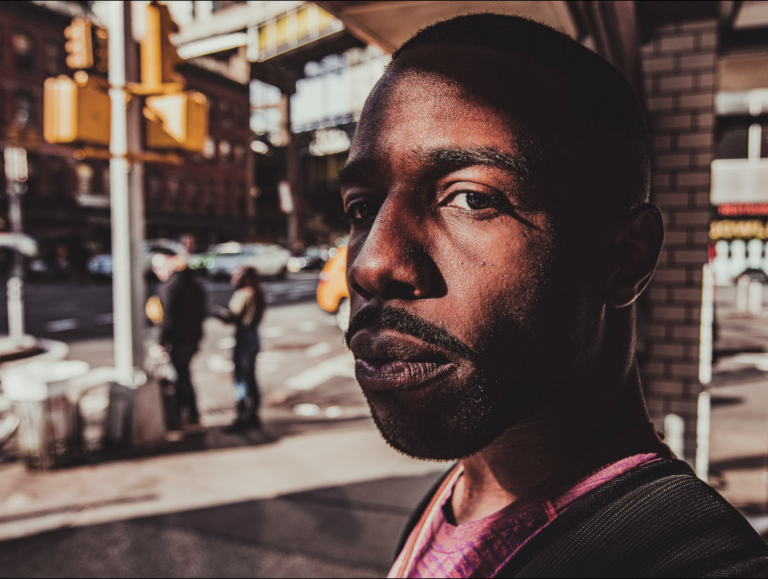
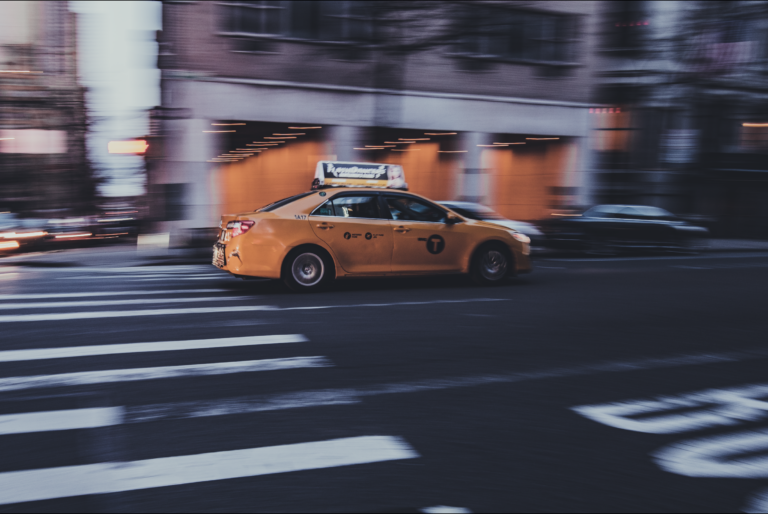
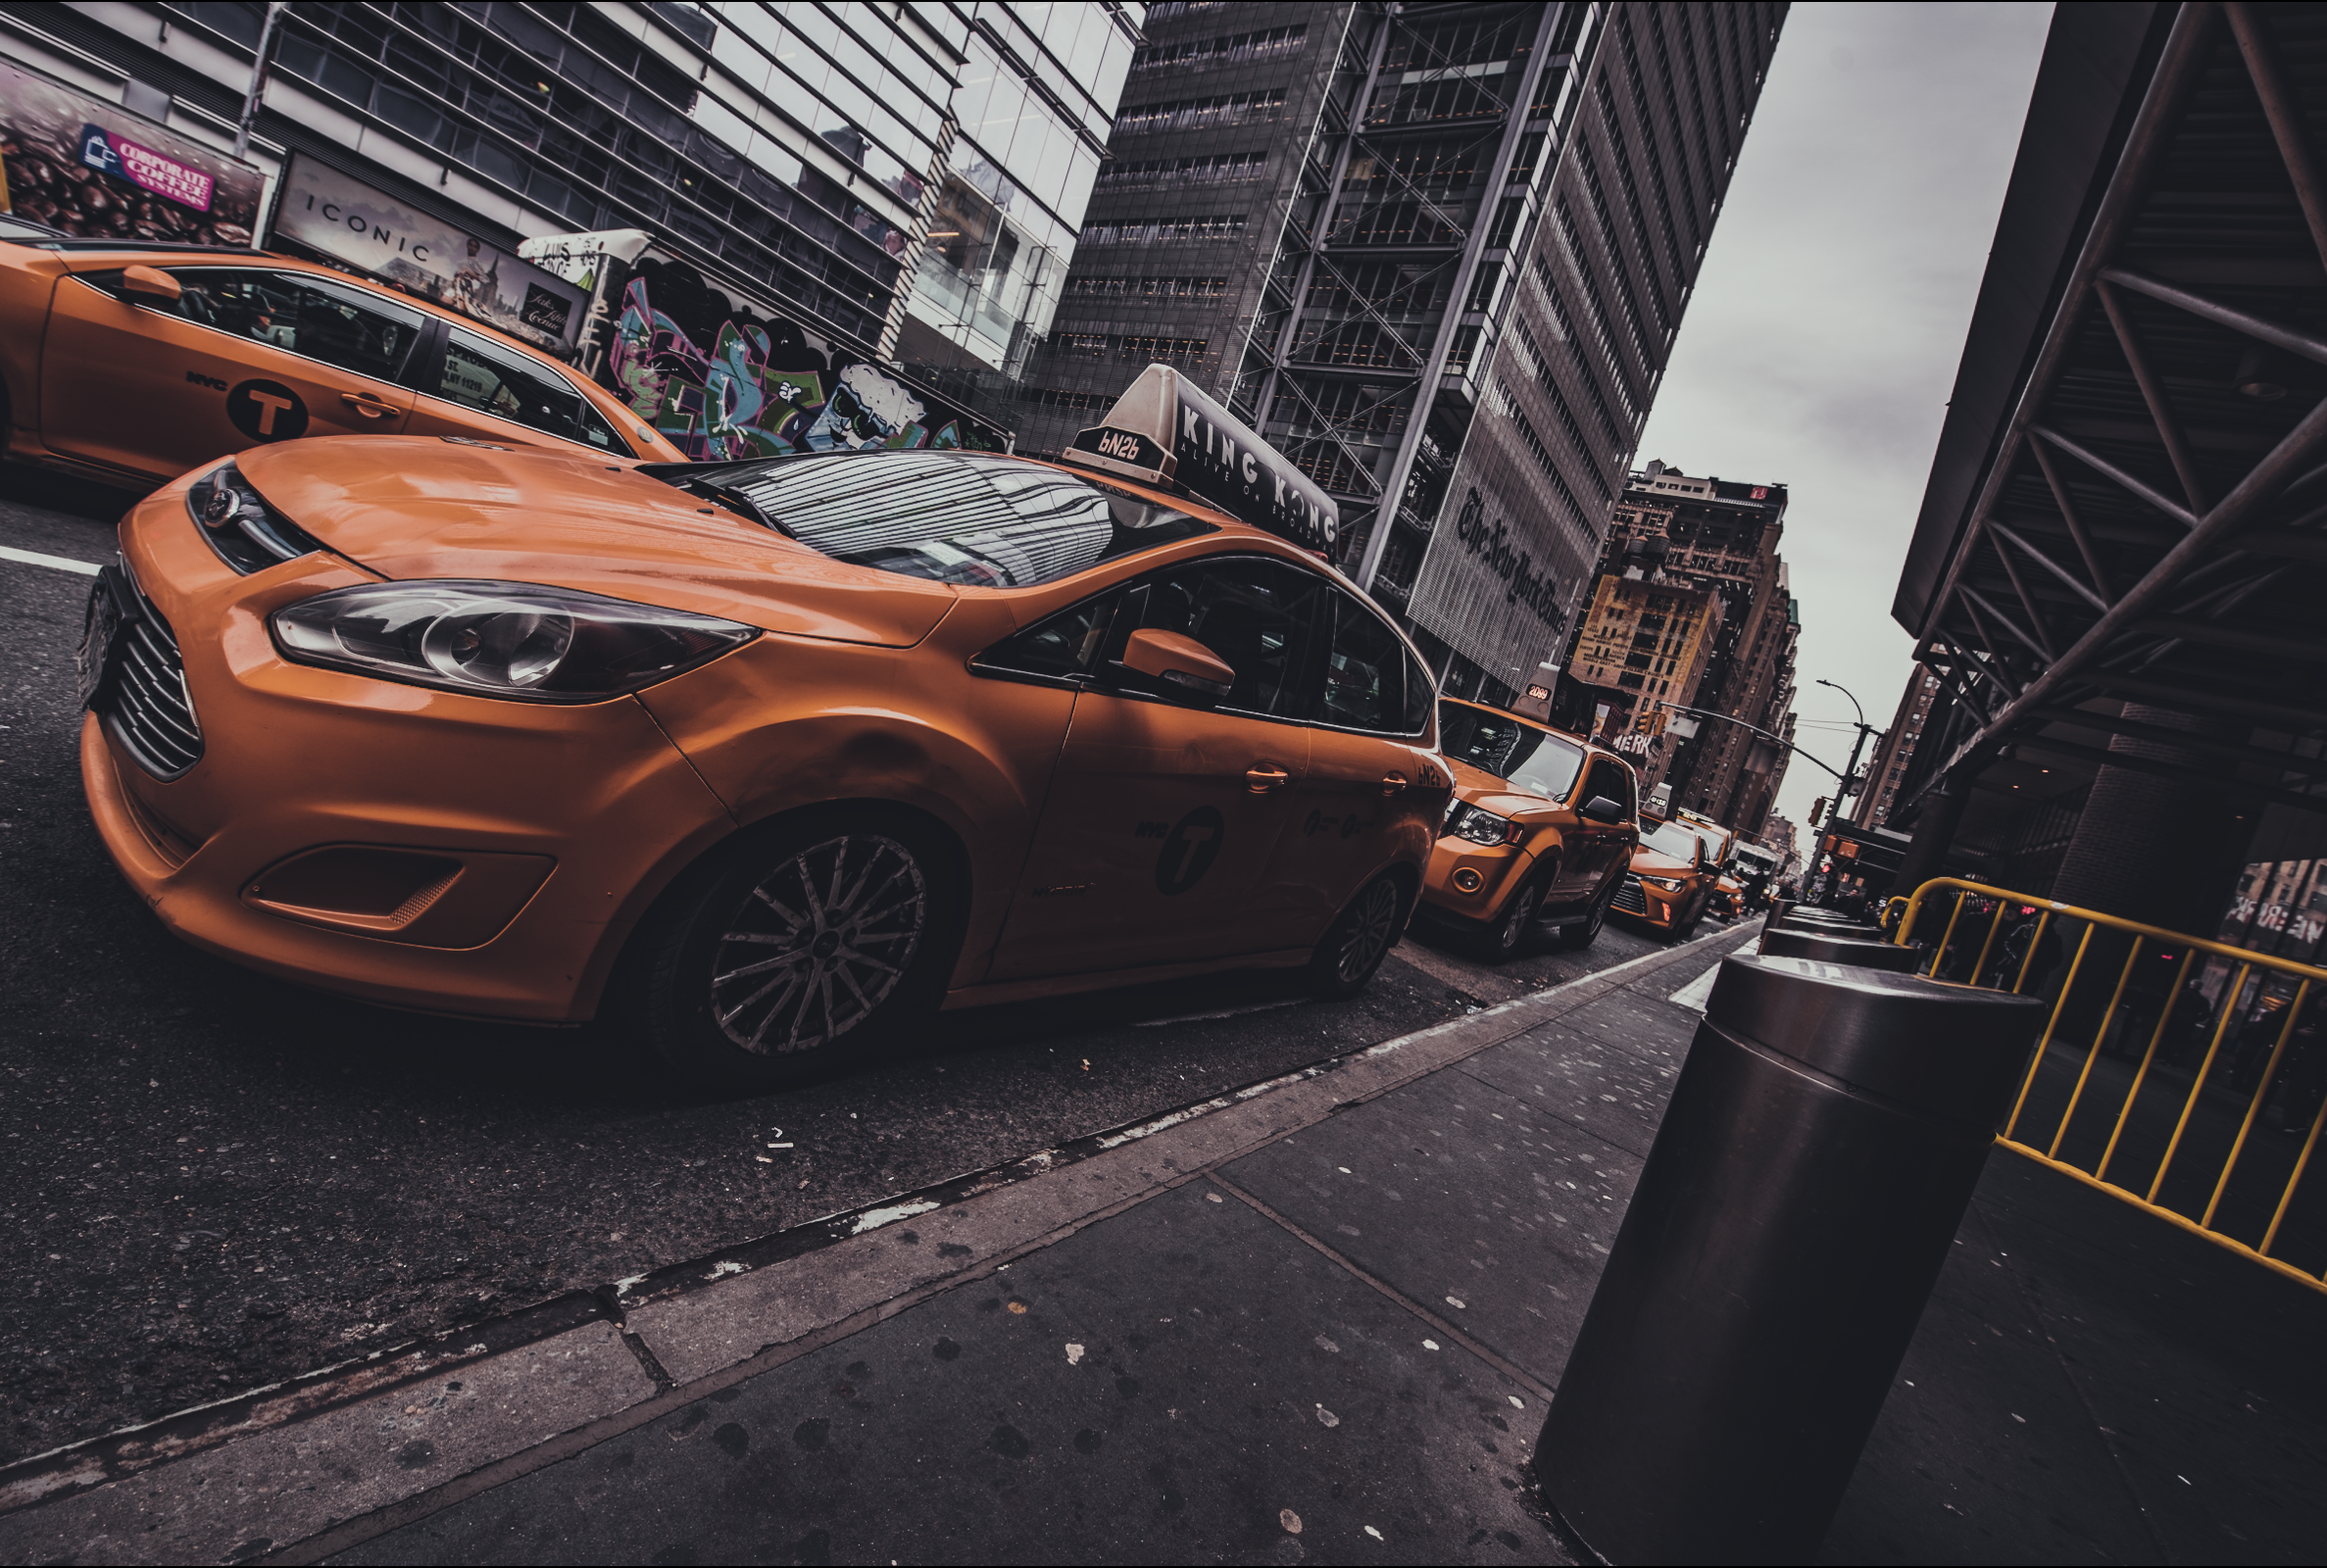
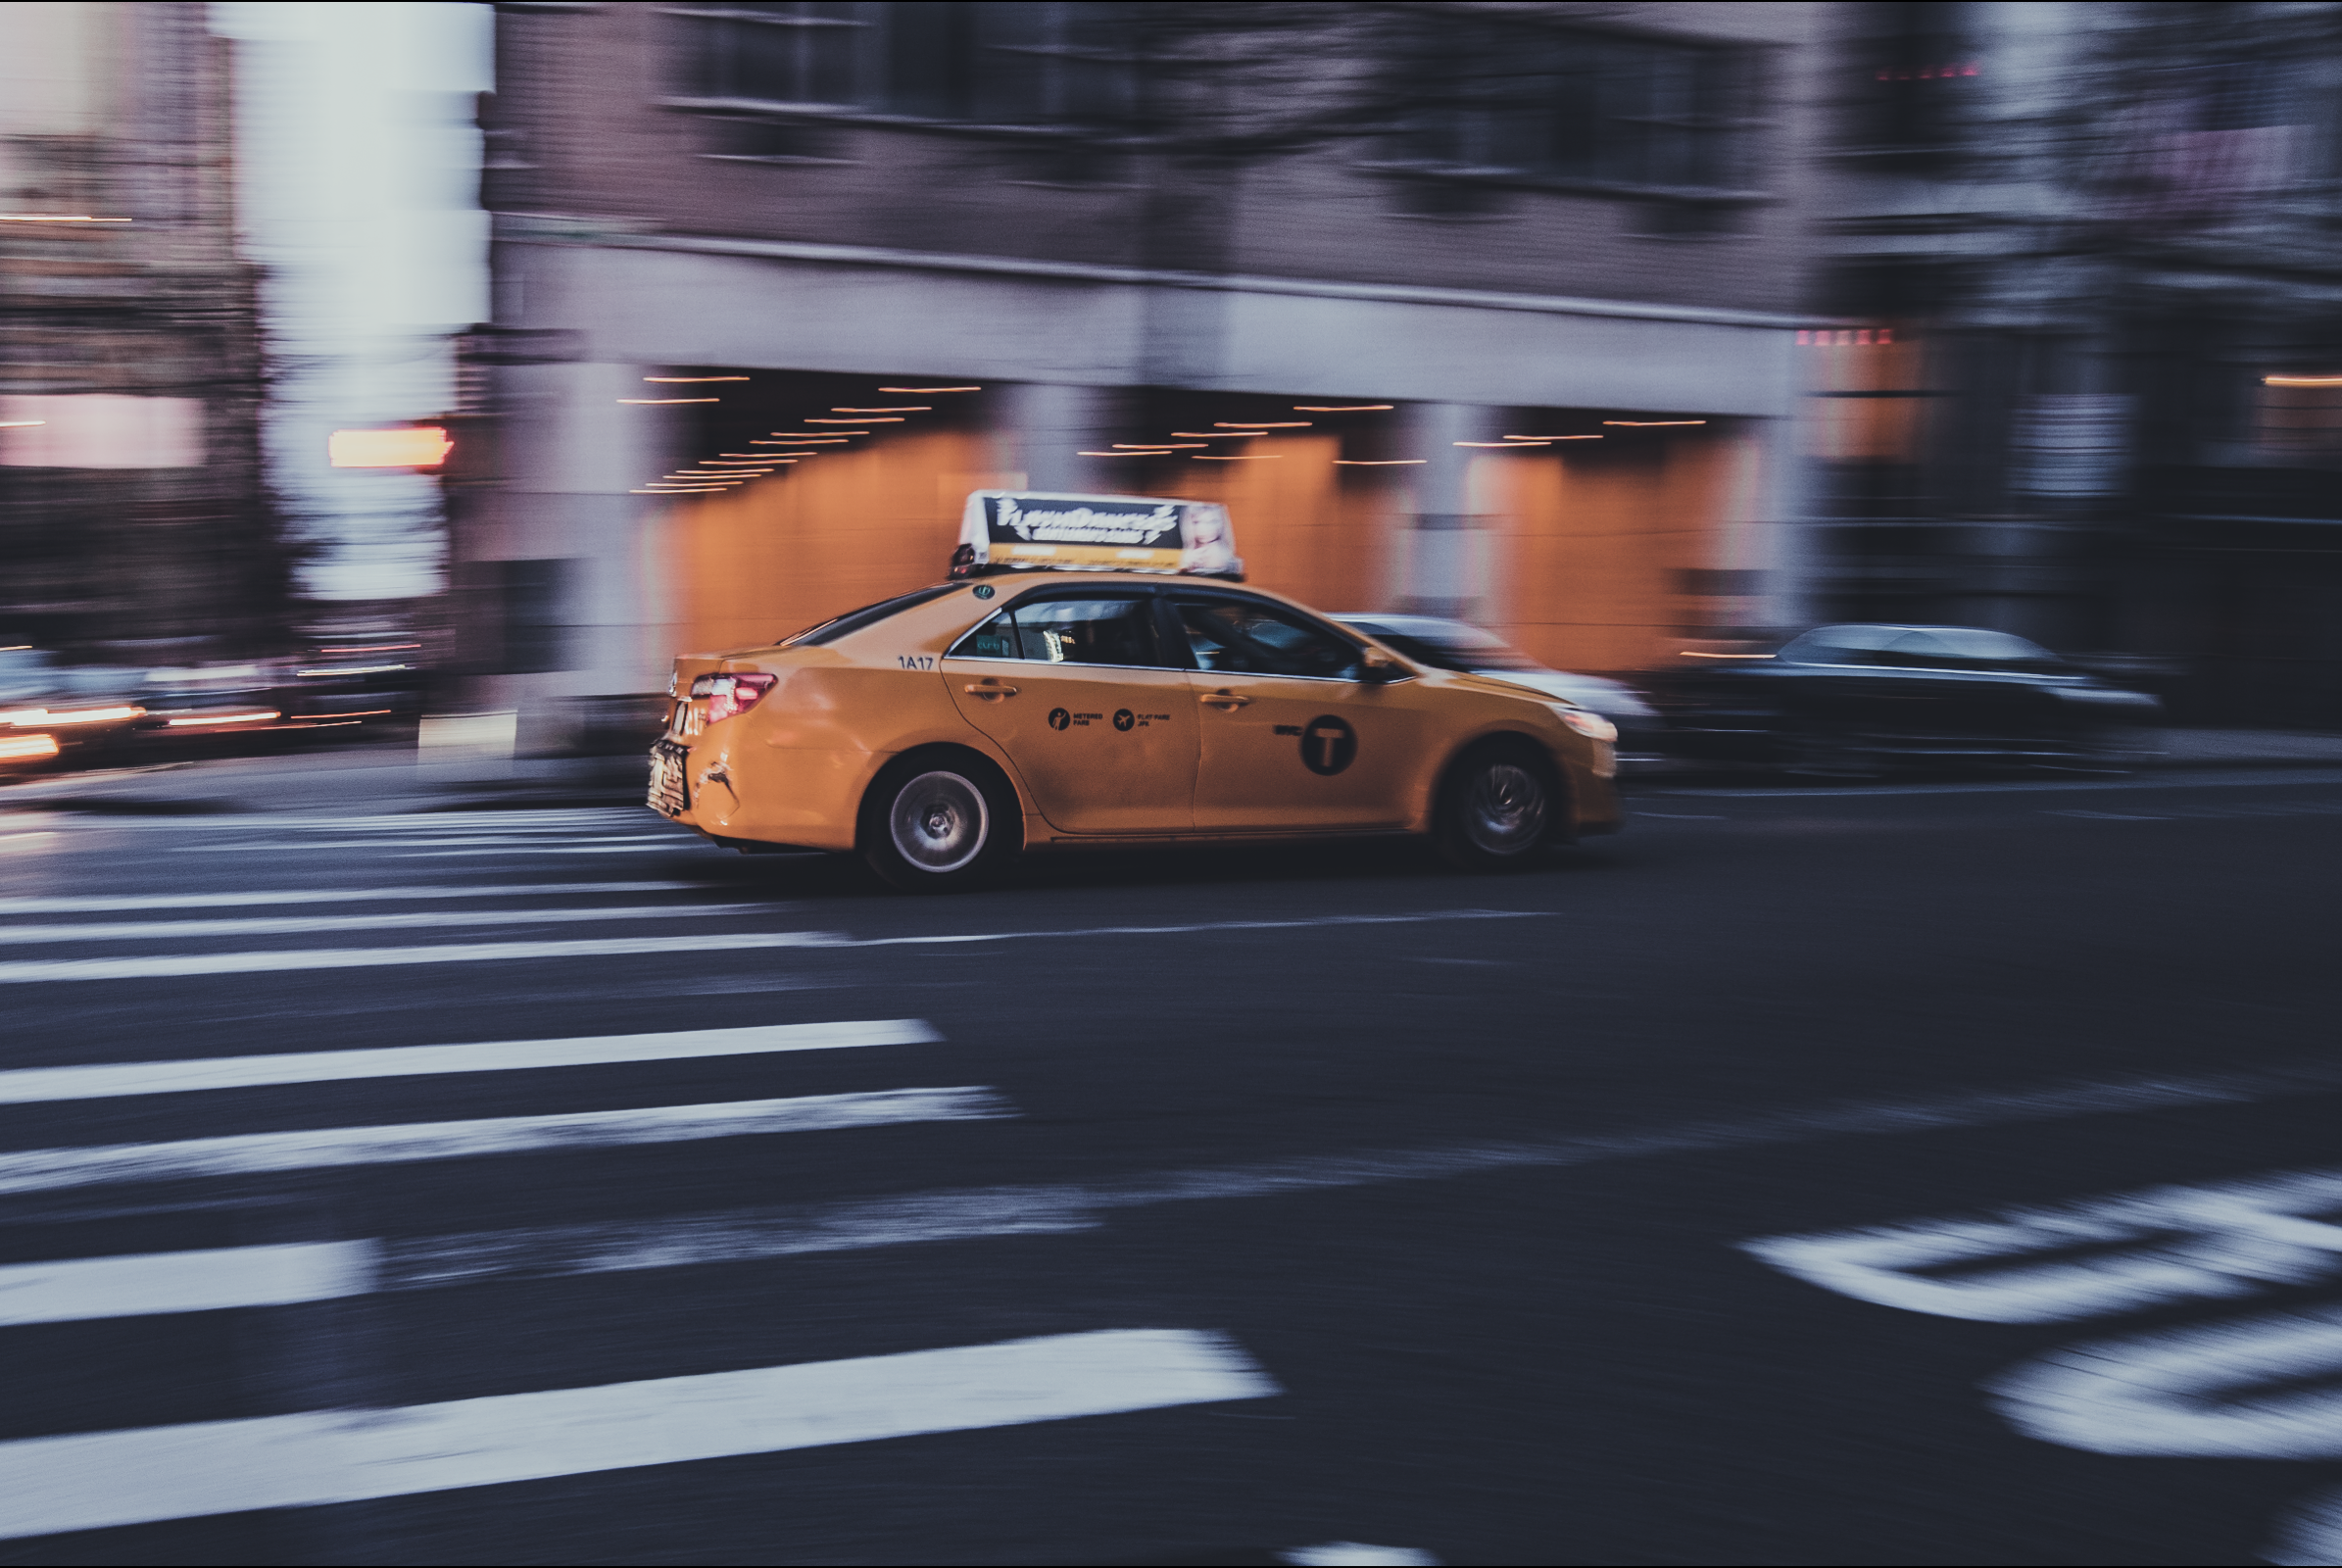
You can check out a couple high resolution versions of my edits in the gallery below. Check out my official Run N Gun Shop for my LUTs and Lightroom Presets.