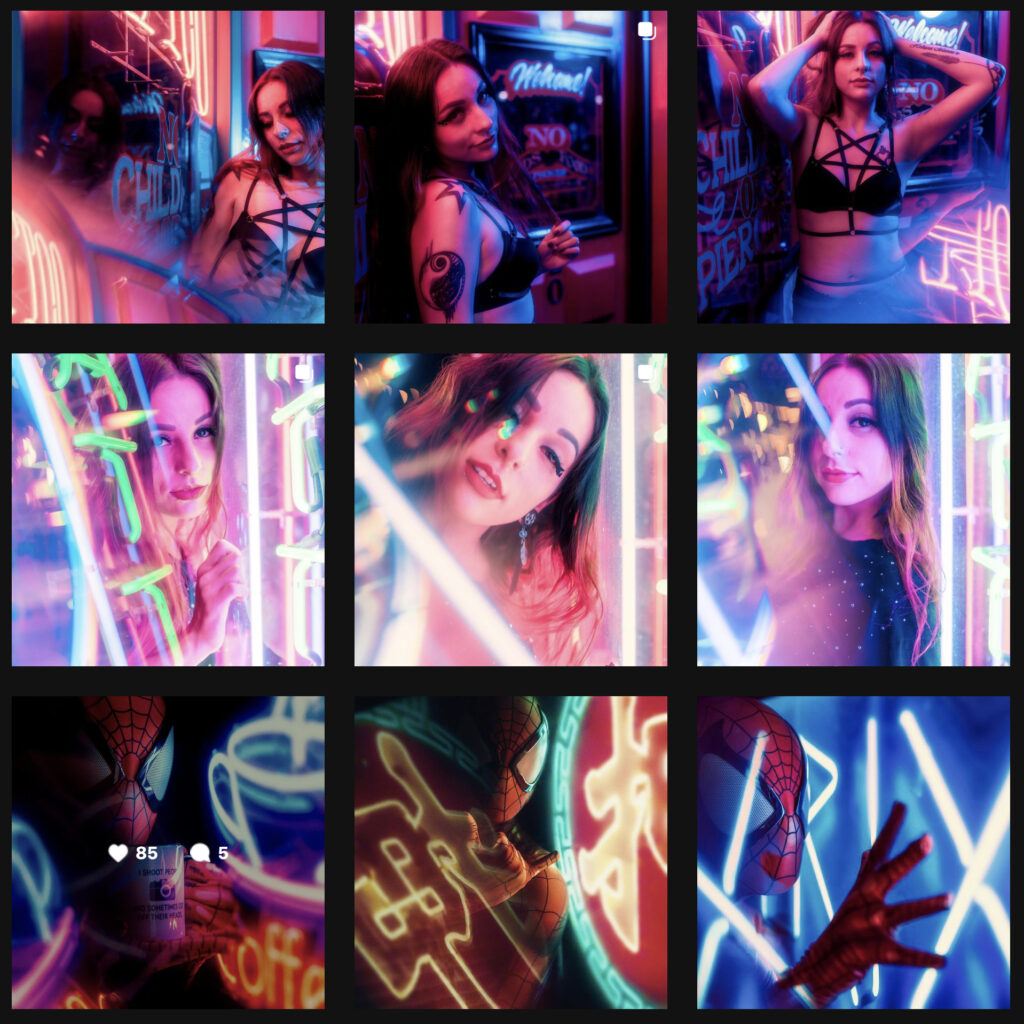
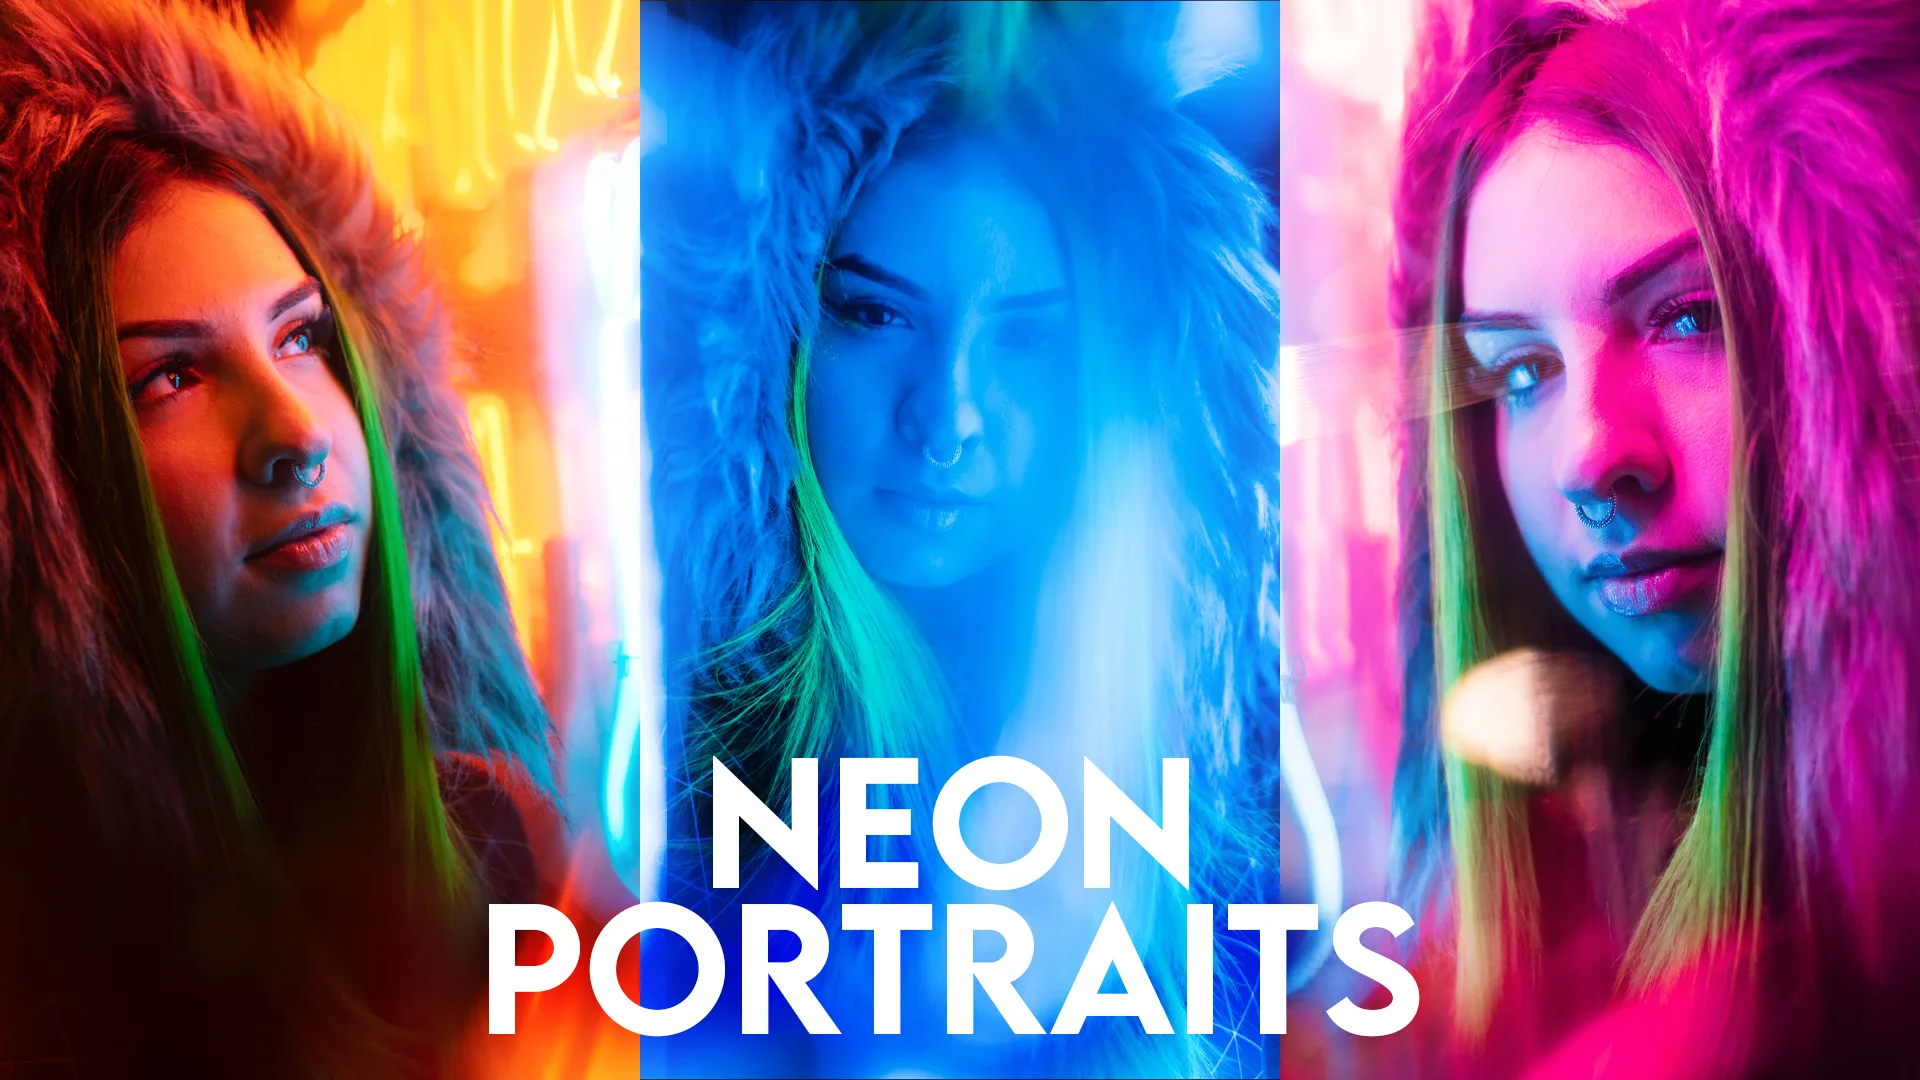
I’ve received a TON of questions and DMs this year, specifically about how I edit the Neon Portraits I post on my Instagram page RunNGunPhoto. So, I’ve put together this comprehensive tutorial that shares all of my secrets to how I edit my Neon Portraits in Lightroom and Photoshop. Let’s hop right into this tutorial!
Basic Image Toning, Crop, White Balance
Once we’ve opened our Neon Portraits in Lightroom, I like to start with a simple crop. It’s easy to get overwhelmed with all of the infinite possibilities when it comes to editing your photos, so I like to jump right in and get going by cropping my image (if it needs it of course).
For now, I like to set my Profile to Portrait. Lightroom’s built-in Portrait profile makes skin tones look great by flattening the contrast out a tiny bit. Next we’ll move on to White Balance. Play around with your Color Temperature sliders (White Balance) to start dialing in the core colors of your image. The hues you chose will decide the over all look and feel of your final portrait.
Now for the basic toning. This part is really up to the taste of the editor (you) and is up to your interpretation. My biggest tip is DON’T KILL YOUR HIGHLIGHTS. I see so many editors who’s first instinct is to turn their Highlight slider to -100, right off the bat. This will damage the natural glow that the neon lights put off. If your highlights are too bright, try turning down the exposure slightly first.
Hue, Saturation, Luminance (HSL)
The HSL Color Panel is one of my favorite Lightroom modules; it’s simple but powerful. The edits you make now should complement the colors you chose with your Color Temperature sliders. Be careful not to “push” your image too far or you could break it, eg. create artifacts and banding. If you don’t feel comfortable with the Hue, Saturation, Luminance Panel, check out my in-depth Video Tutorial or Blog Post.
Profile
Remember the Profile step from earlier? You have the option of adding a custom Color Grading Profile (.XMP) to your image in Lightroom now, OR you can add a color grading LUT (.CUBE) in Photoshop later. Neither option is right or wrong, just person preference. You can find my personal Neon Ports LUT & Profile Pack here.
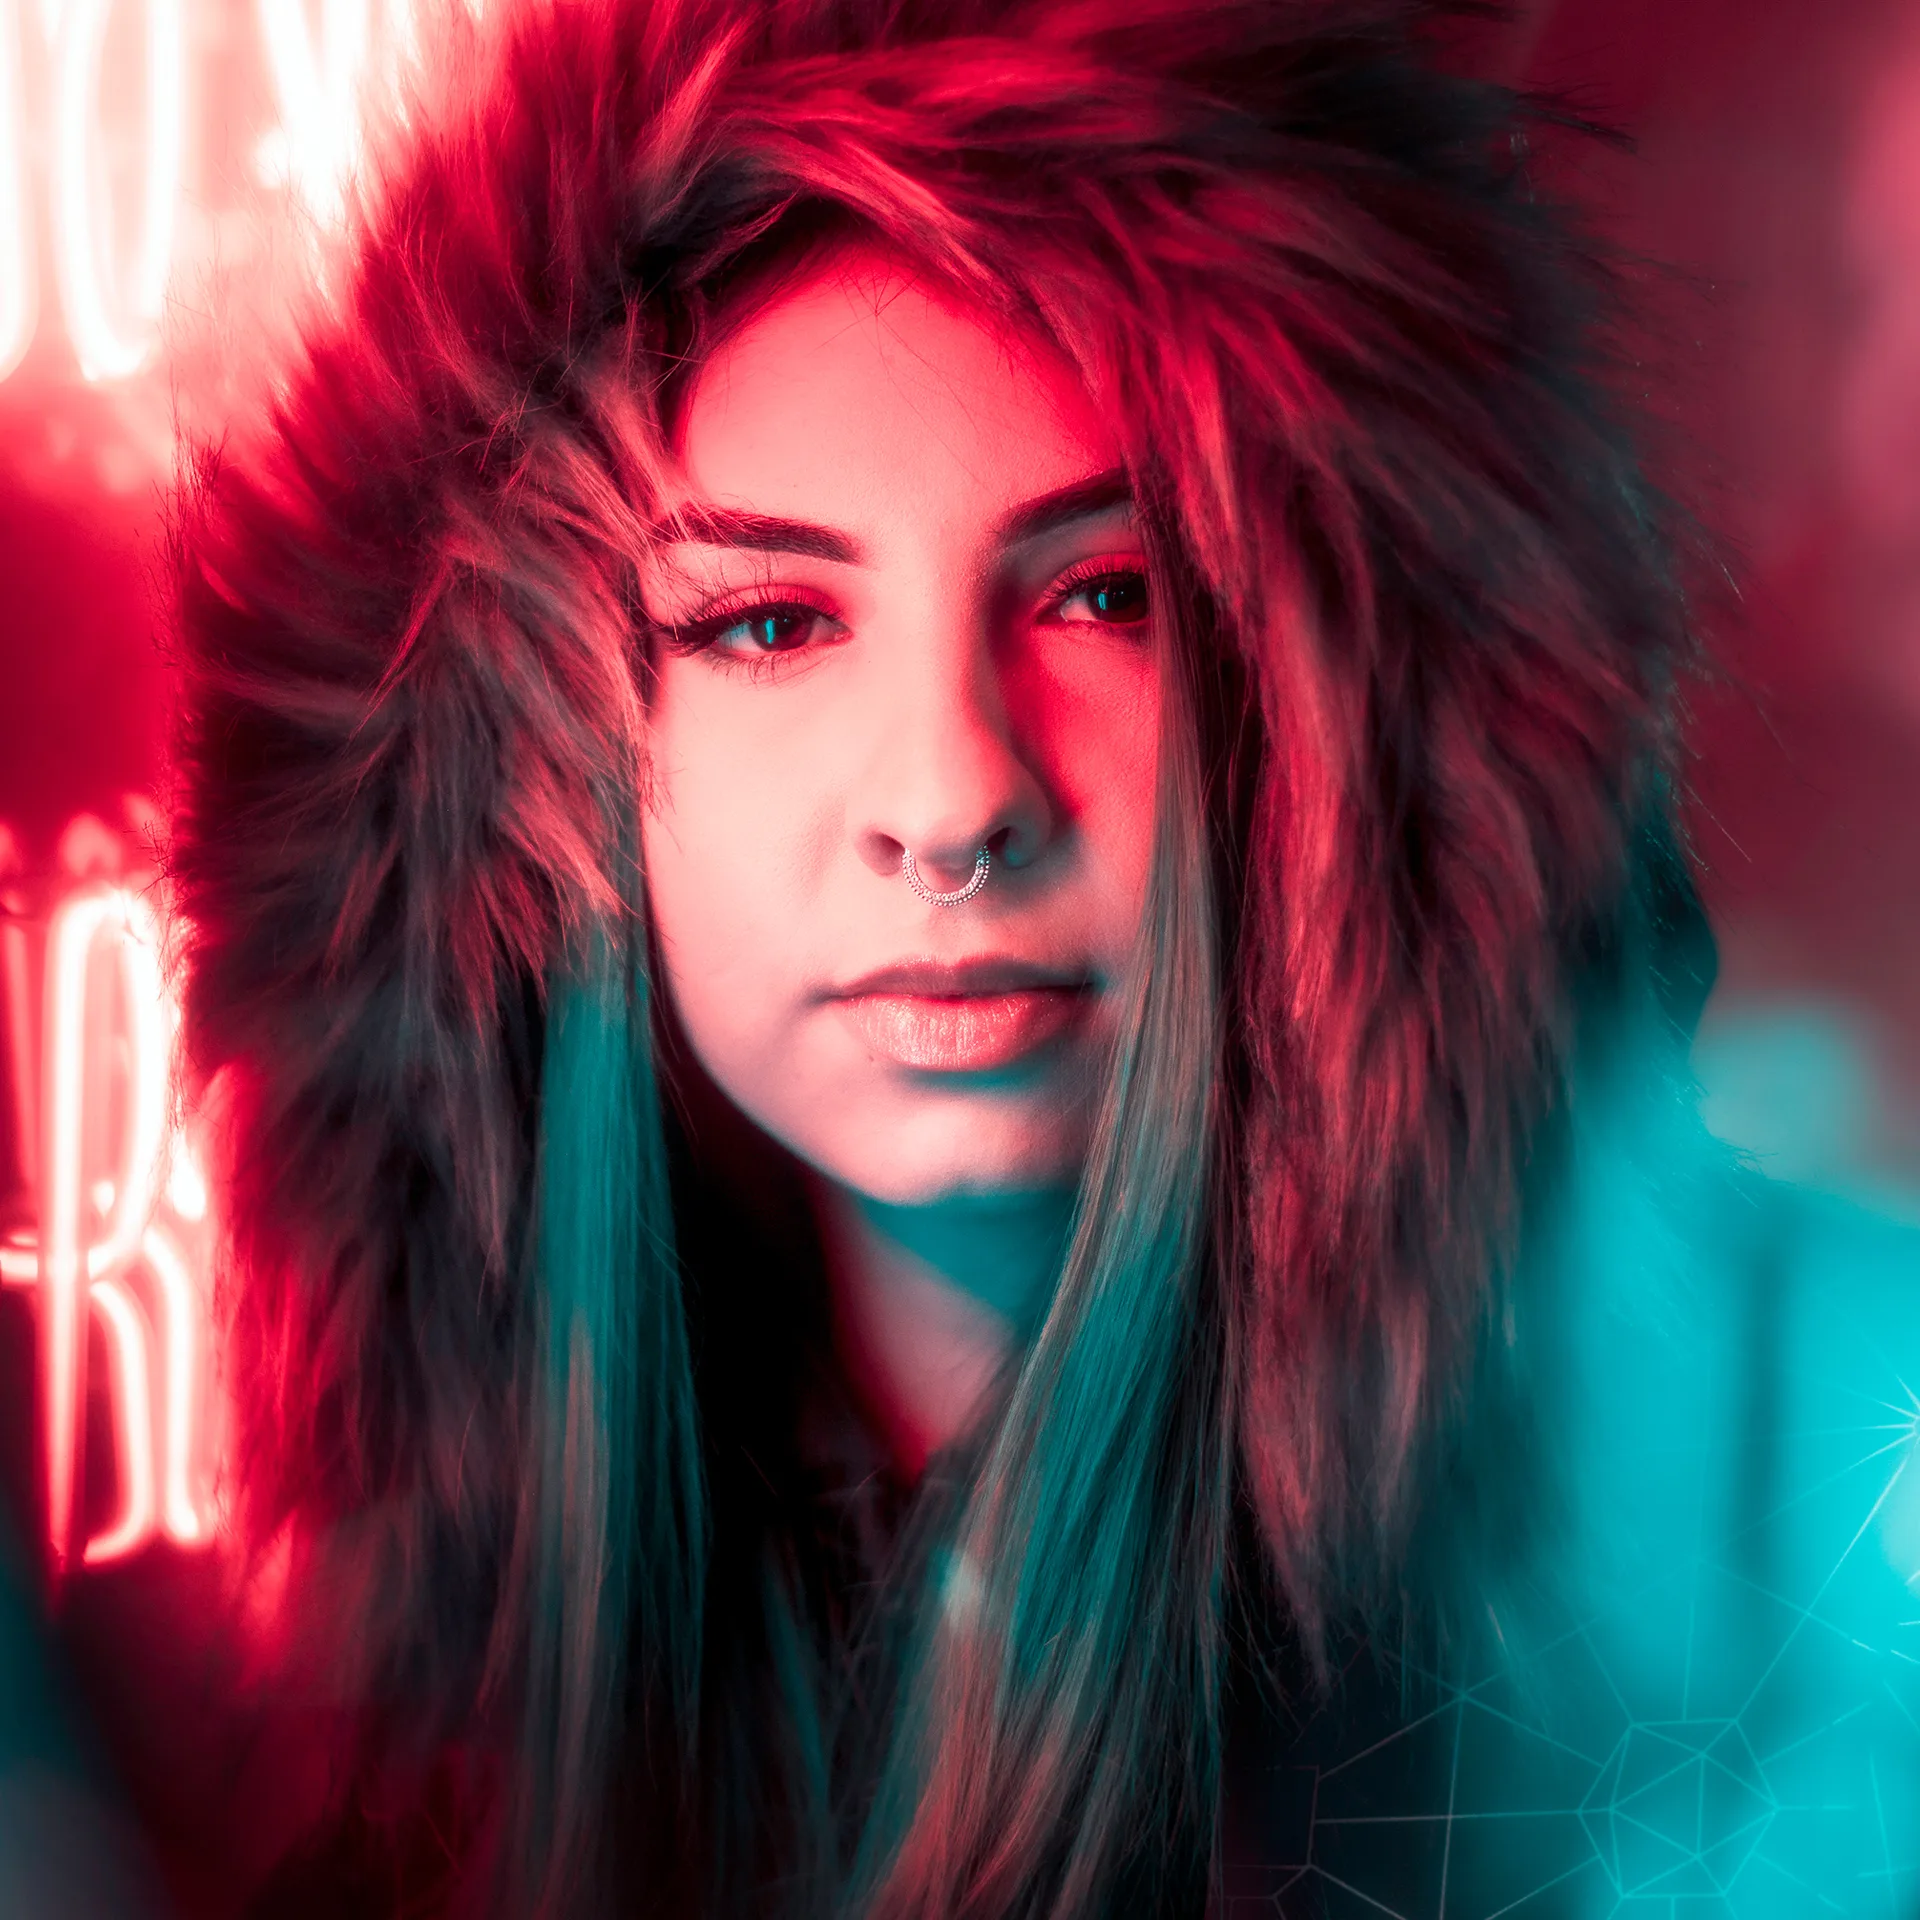
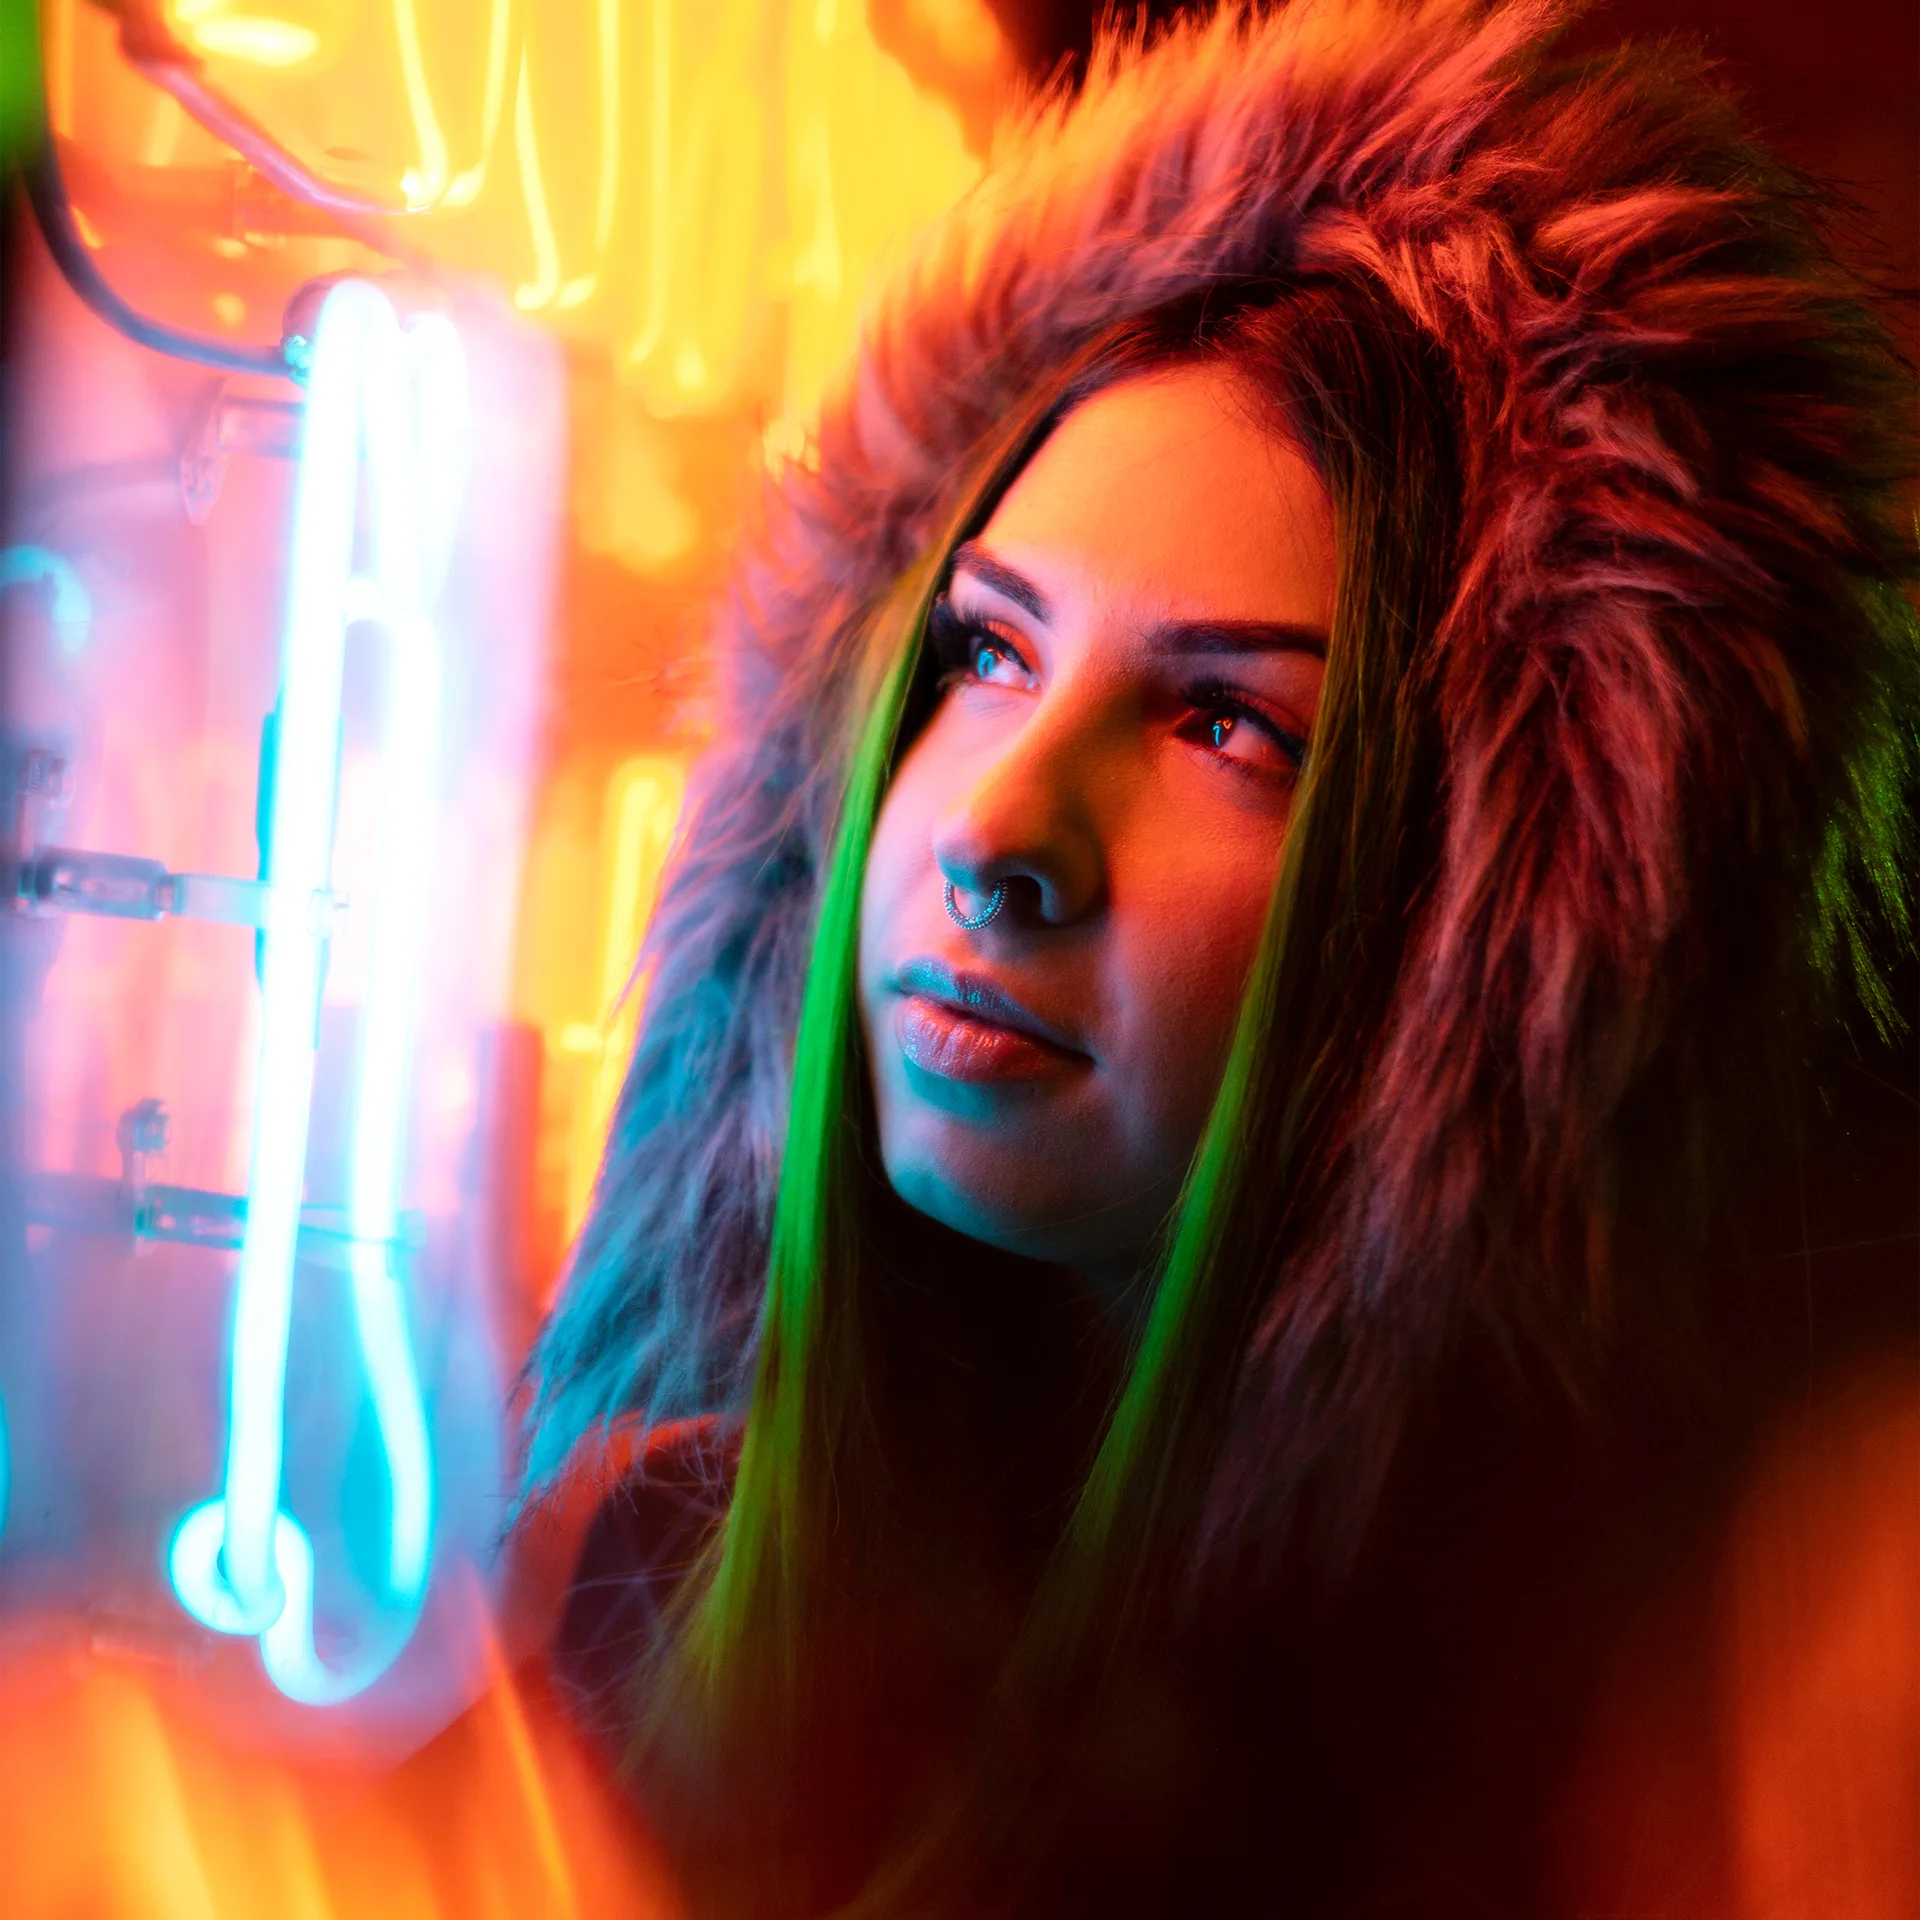
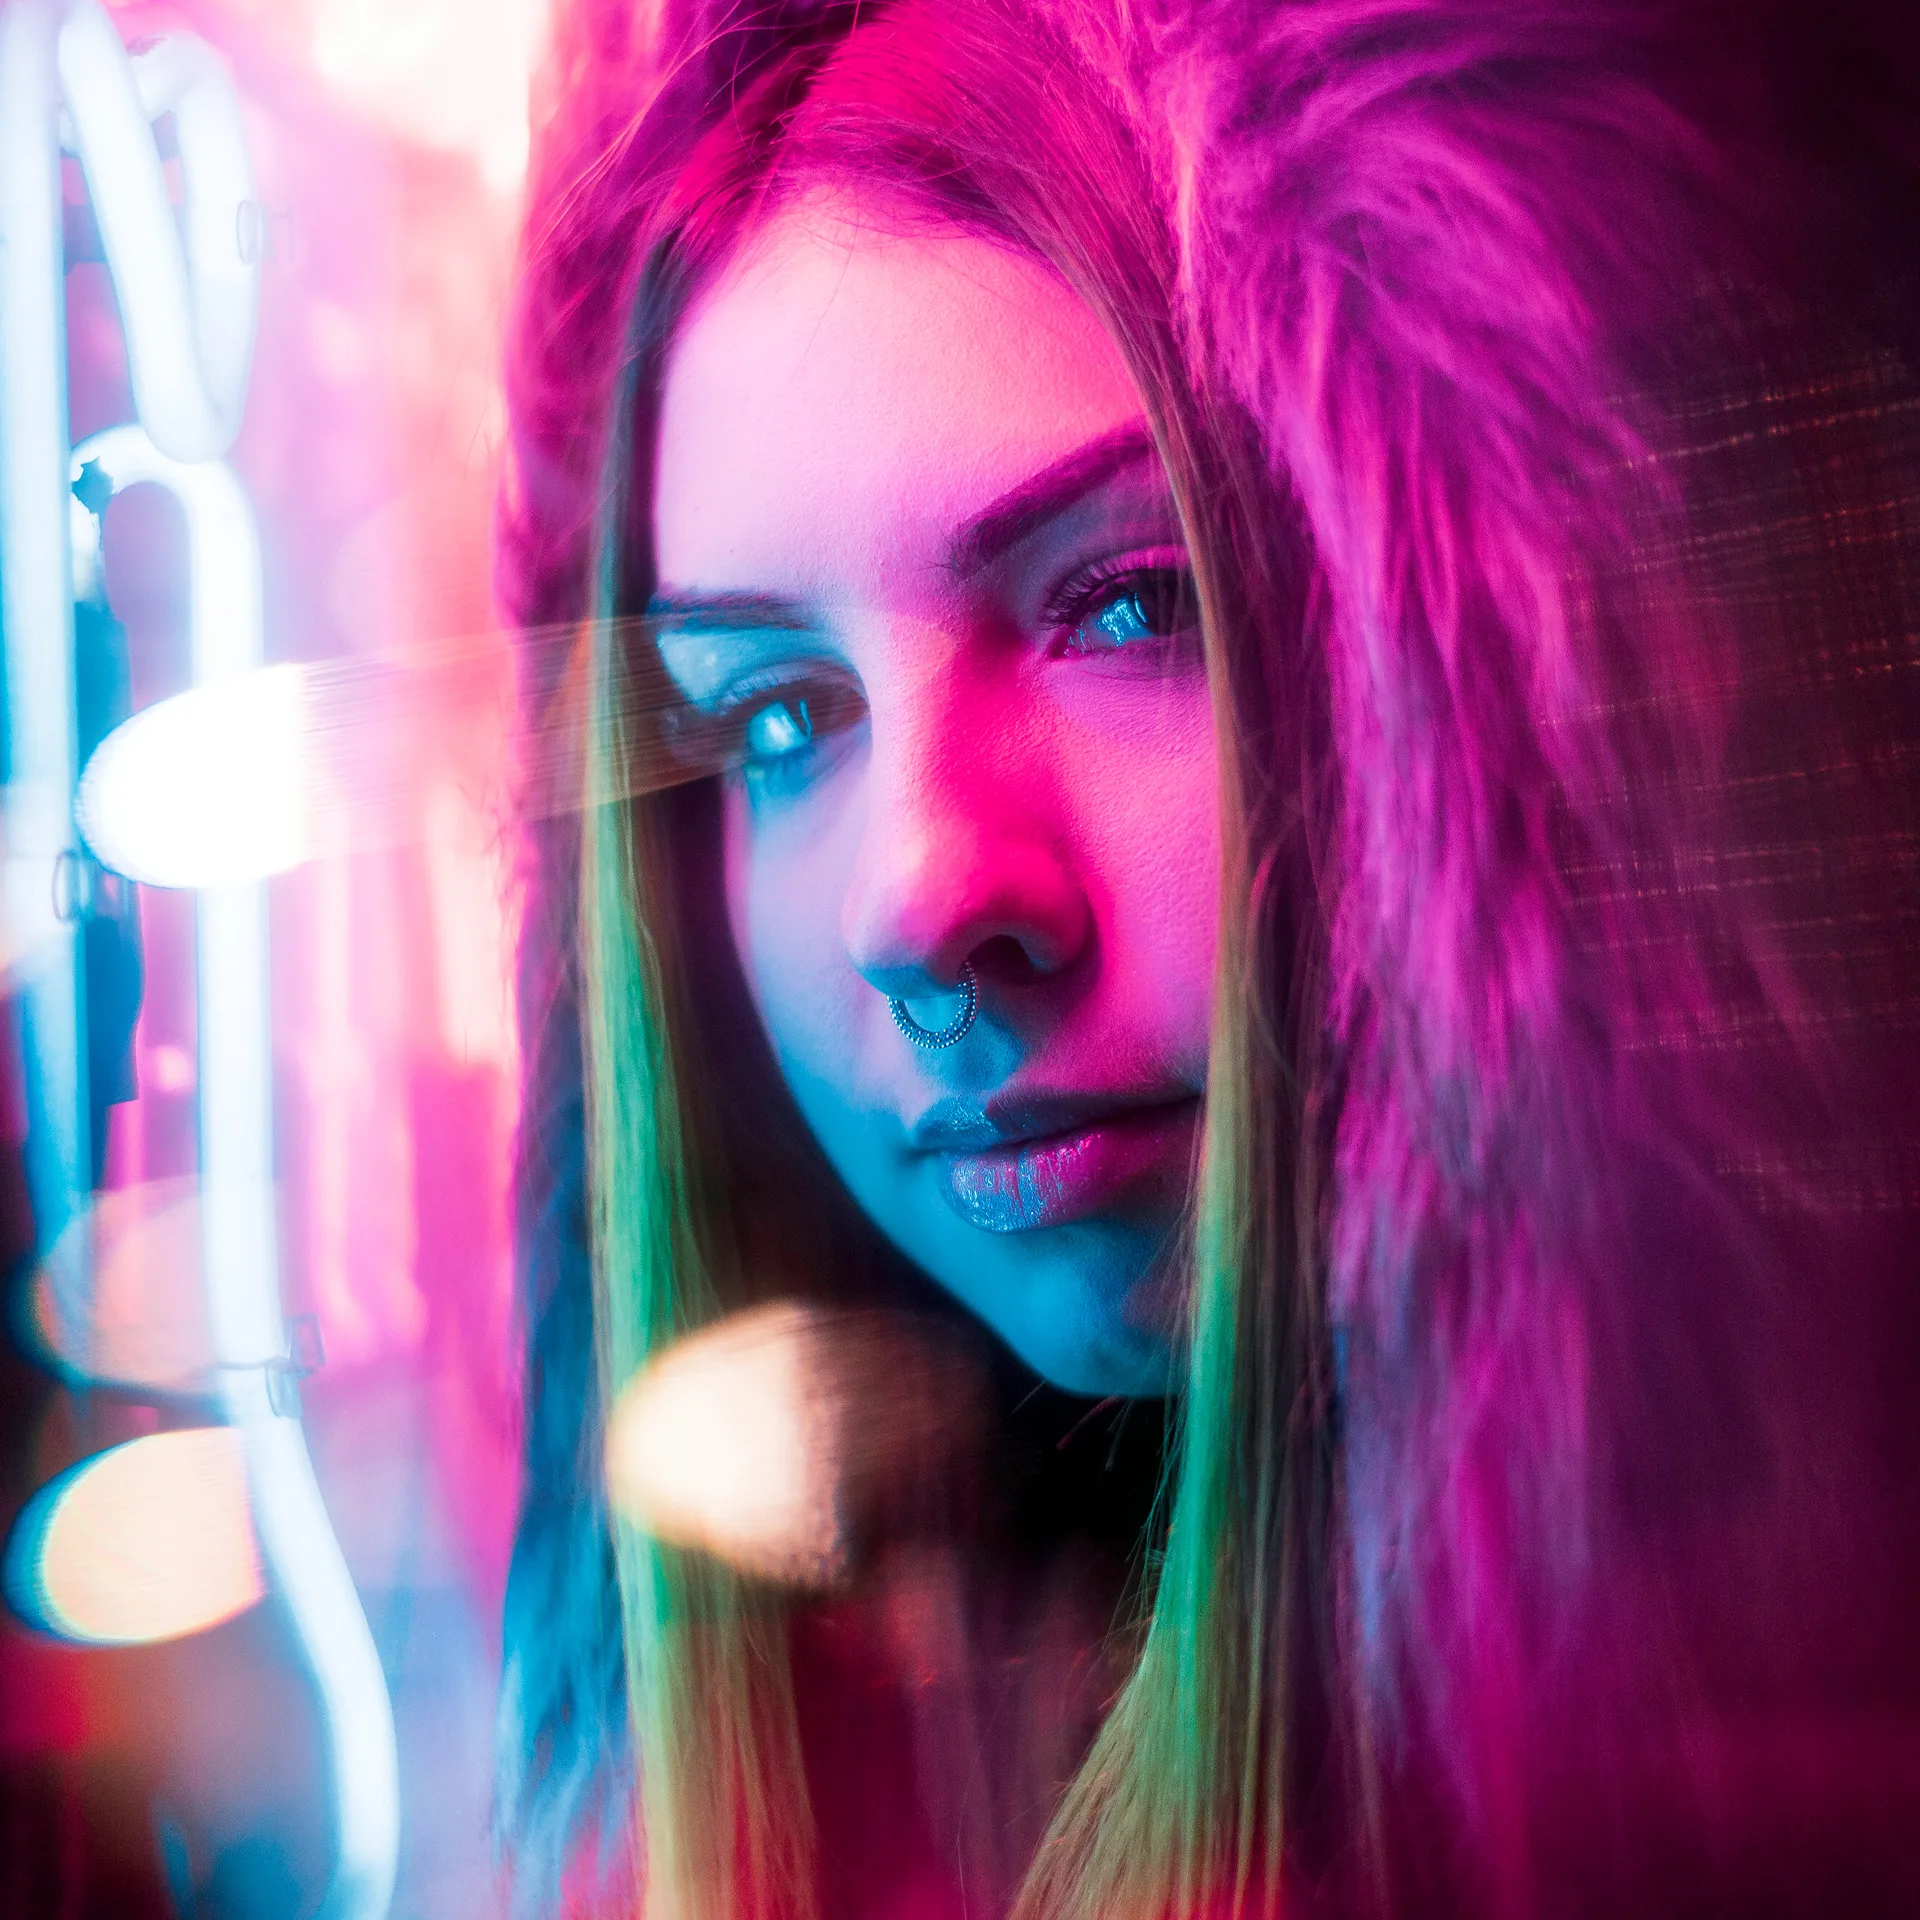
Luminosity Mask & Glows
After a little sharpening and noise reduction, we’re ready to Right-Click our image and select Edit In > Adobe Photoshop.
In Photoshop, go to your Channels Tab. Command (Mac) or Control (PC) click the RGB channel. This will create a Luminosity selection around your highlights. Now go back to your Layers tab and with your base layer selected, Cmd + J (Mac) or Ctrl + J (PC) to create a duplicate layer of your highlights. Call your new highlight layer “Glow.” This is where I also like to rename by bottom layer to “Base,” “Bottom,” “RAW,” or something like that. IMPORTANT: Turn off the visibility of your “Base” layer.
Next, with your Glow layer selected, go to Image > Apply Image. Make sure your Blending Mode is set to Multiply. Hit ‘Okay’ and now set your Glow layer’s Blend Mode to Screen and turn your Base layer’s visibility back on.
Go to Filter > Blur > Gaussian Blur. The radius will depend on how large your light source is, but I usually recommend somewhere between 5 and 20. Then set the Glow layer Opacity to 50%.
Finally, duplicate your Glow layer and rename it “Glow 2.” Apply another Gaussian Blur with a much larger radius, probably somewhere between 25-100. Now you can adjust the Opacity of your two Glow layers to adjust your Neon glow to to taste.
Neon Portrait LUTs
Now it’s time to add the icing on the cake! LUTs are a great way to add a creative look or mood to your final Neon Portrait. To add a LUT to your image, go to Layer > New Adjustment Layer > Color Lookup, and select your .CUBE files. If you’re new to LUTs you can check out my What is a LUT Video and my personal Neon Ports LUT & Profile Pack.
That’s it! Those are the steps I take when I’m processing my Neon Portraits in Lightroom and Photoshop. One of the things I love about shooting and editing neon-lit portraits is that each one is unique; no two are exactly identical. Even two sequential images, taken a fraction-of-a-second apart, will be slightly different because of the fluctuating intensity of the neon.