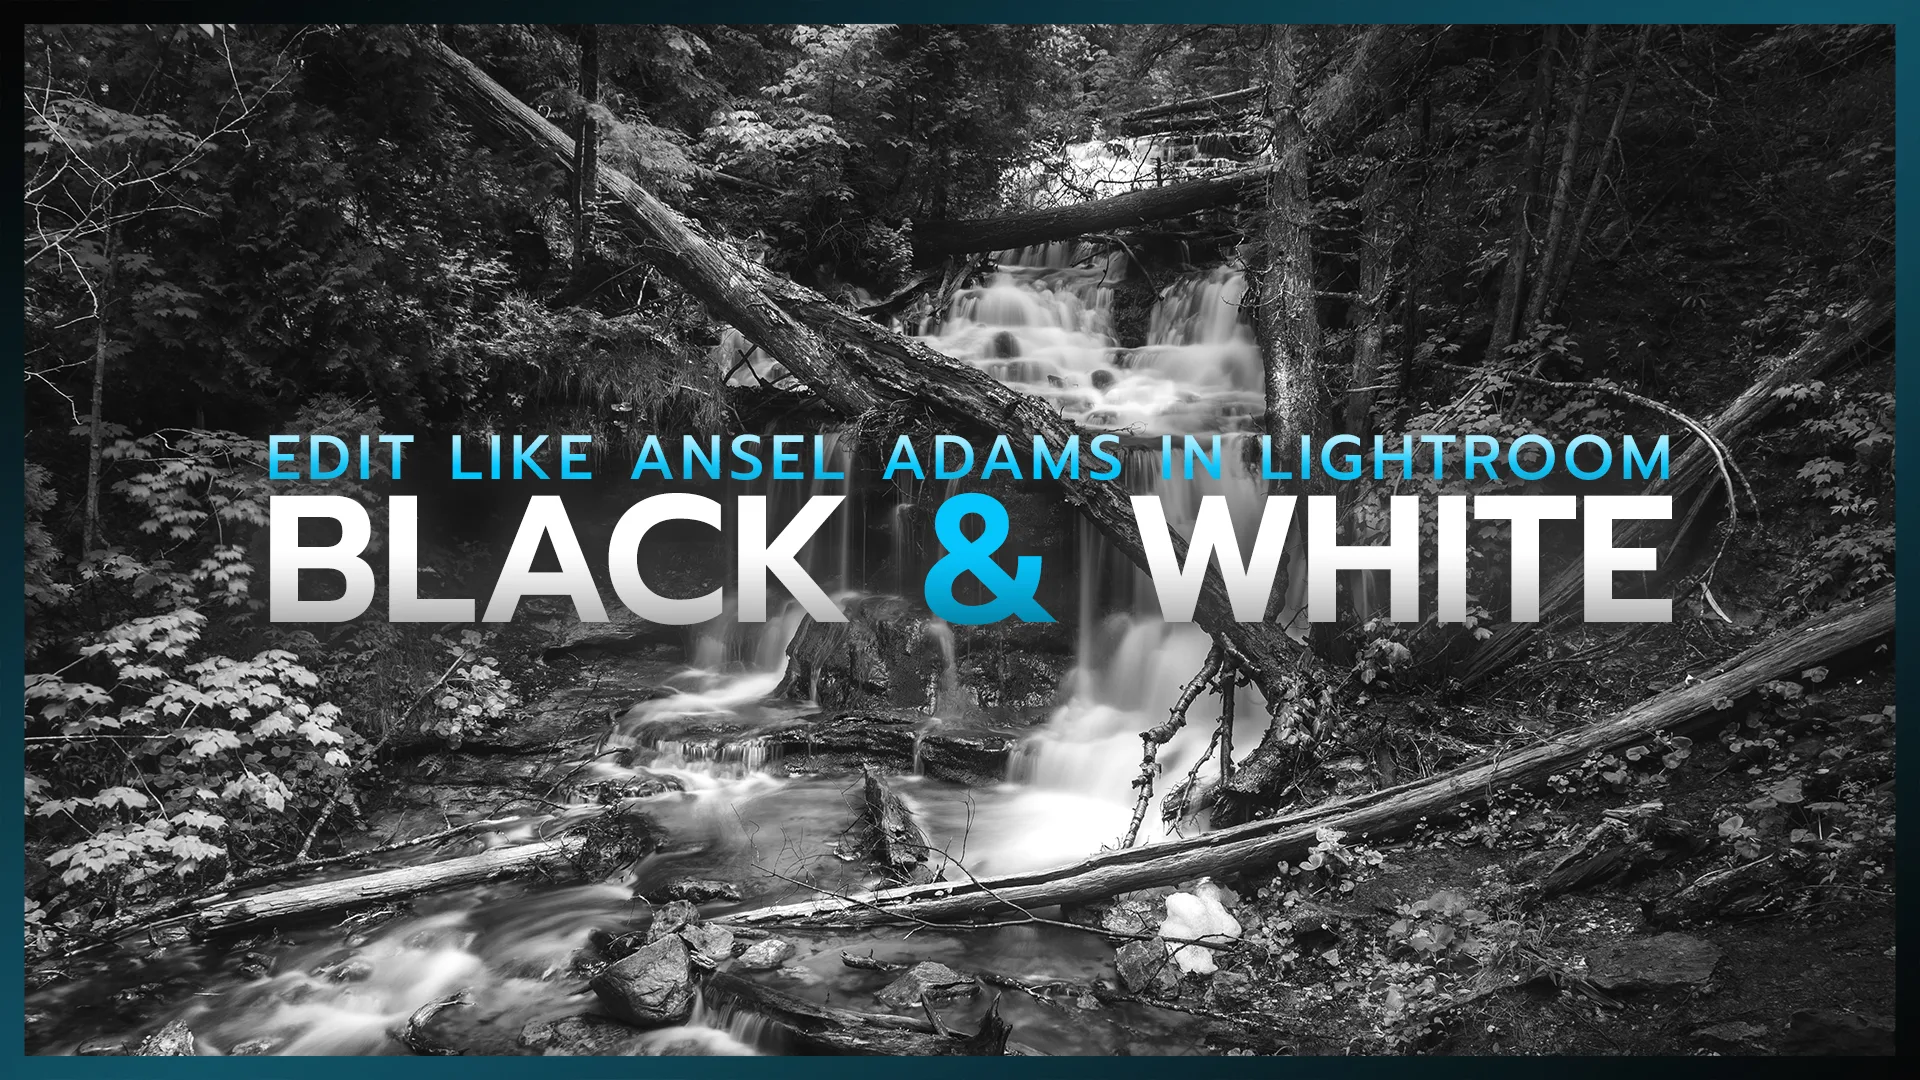
Are you ready to give your photos an iconic Black & White look in Lightroom? Just like world-renowned landscape photographer, Ansel Adams, I’ll show you how to edit your landscape shots in Lightroom for that timeless B&W look.
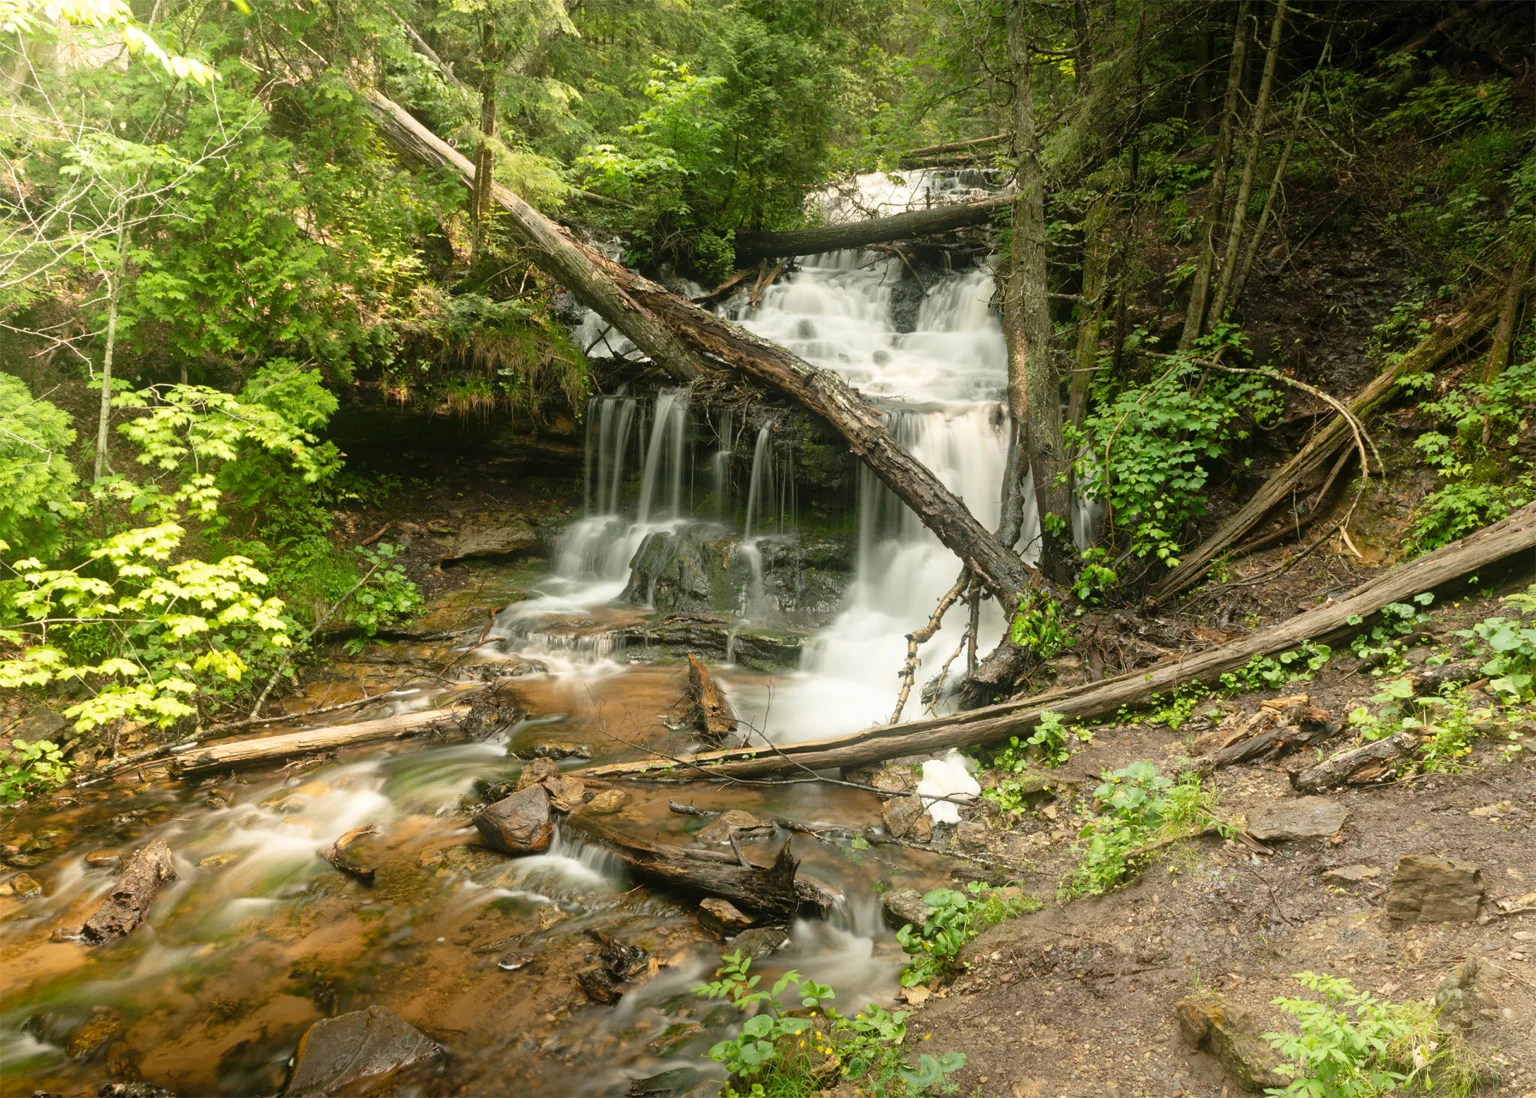
RAW Waterfall photo shot on the Nikon Z6. (Run N Gun Photography)
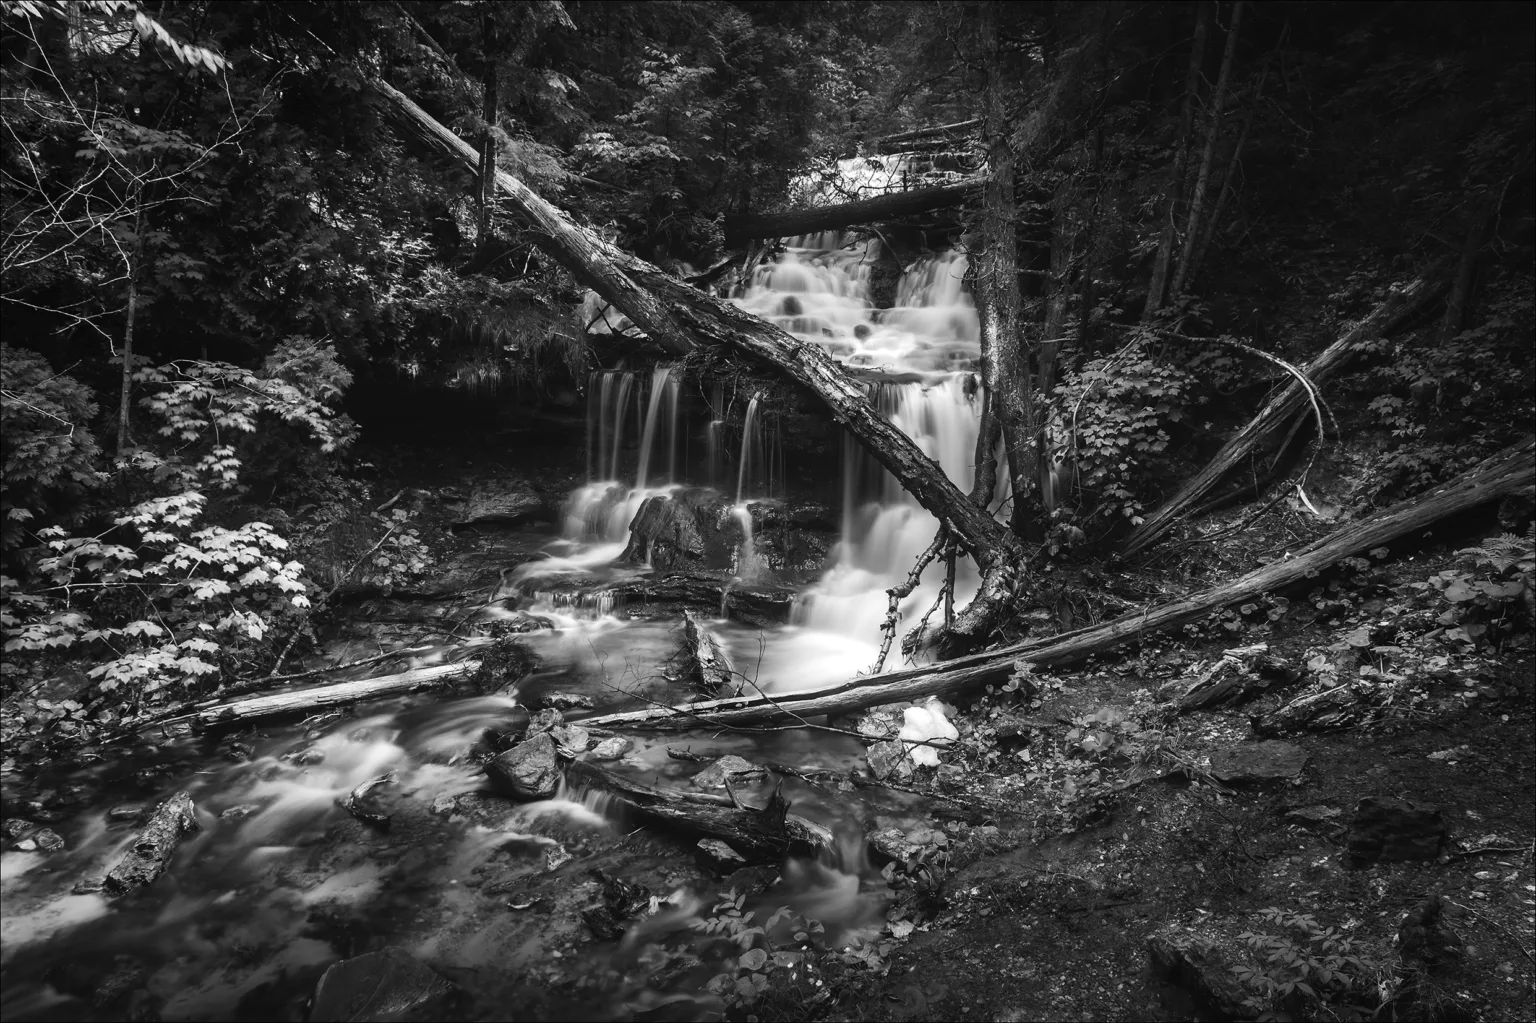
Final Black & White, Ansel Adams inspired edit. (Run N Gun Photography)
Before and After
Here’s a quick look at the original RAW landscape image of a waterfall with which we’ll be developing in Lightroom Classic. I shot this image on my Nikon Z6 with the following camera settings: 24mm, f/8, 5 sec. and ISO 100. The rainy, overcast sky is giving me pretty even lighting for this 5-second long exposure. It’s a great starting place for an Ansel Adams-inspired black and white edit.
Hit the arrow to see the final photo that we’ll be creating in Lightroom. We’ll do some basic black & white toning, adjust our tone curve for an analog feel, then do some dodge and burn techniques to make our waterfall shot pop off the screen. Let’s hop right into this Lightroom Tutorial!
Edit Black & White Like Ansel Adams in Lightroom
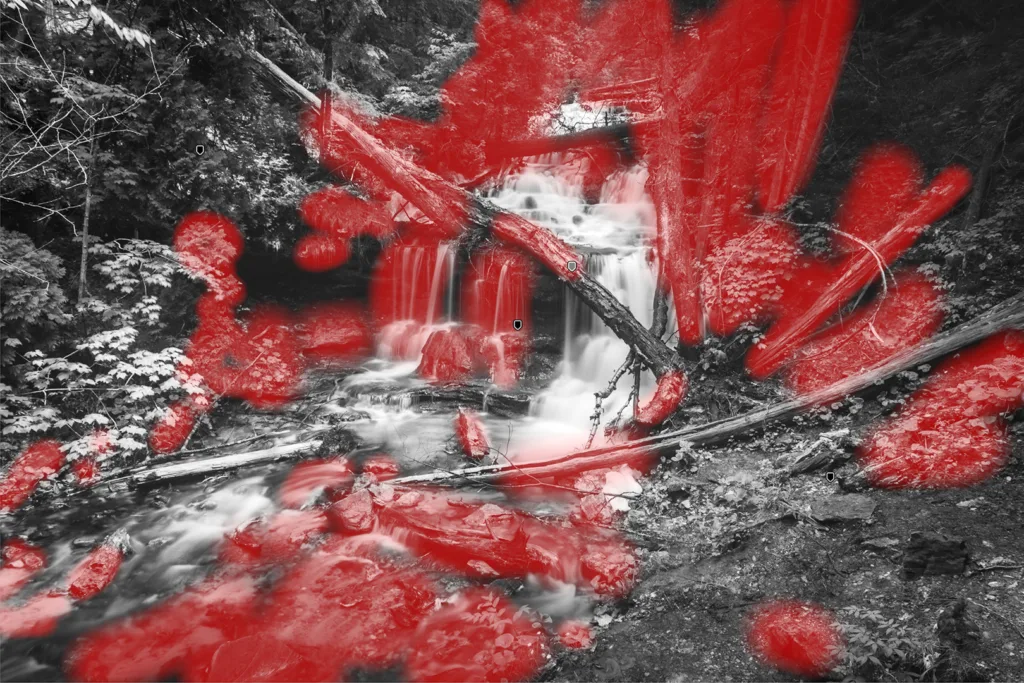
Dodge and Burn Masks in Lightroom
While I cover everything you need to know in the video above, I really want to emphasize the use of masking in Lightroom. As you grow on your photography journey, you’ll become more critical of your imagery and how your photographs are developed. A big step in taking full control of your imagery is learning the difference between global editing and selective editing.
Global Edits are applied to your entire image. Selective Edits are applied to select (masked) areas of your image.
So, by utilizing masks in Lightroom we can select certain areas of our photo to edit, while leaving other areas untouched. Dodging and burning is simply painting portions of our photographs lighter and darker (respectively), to make the image more pleasing to the eye. When we dodge, we selectively highlight (or brighten) elements of the photograph we want the viewer to notice. Similarly, burning (or darkening) pushes elements into obscurity, allowing the eye to pass by and not be distracted. This is crucial, especially when editing Black and White photographs.
Mask overlay in Adobe Lightroom Classic. (Run n Gun Photography)
Edit Black and White, Ansel Adams Style in Lightroom: Conclusion
I hope you learned a few things in Lightroom while creating your own Ansel Adams inspired black and white photos. My key take-away from this Lightroom tutorial is to utilize the tools you have available, such as masking, to help emphasize the subject and minimize distractions. Linear Gradient Masks, Radial Masks and Brushes are great ways to edit smaller, controlled portions of your photograph, instead of making global edits to everything. If you’d like to dive deeper into Lightroom’s editing tools, check out my free 30 Days of Lightroom Tutorial series for Beginners!
If you found this tutorial valuable, be sure to Subscribe to my newsletter down below for helpful tutorials and updates. Also, be sure to Follow my YouTube Channel: Run N Gun Photography!