Light Meter & Exposure
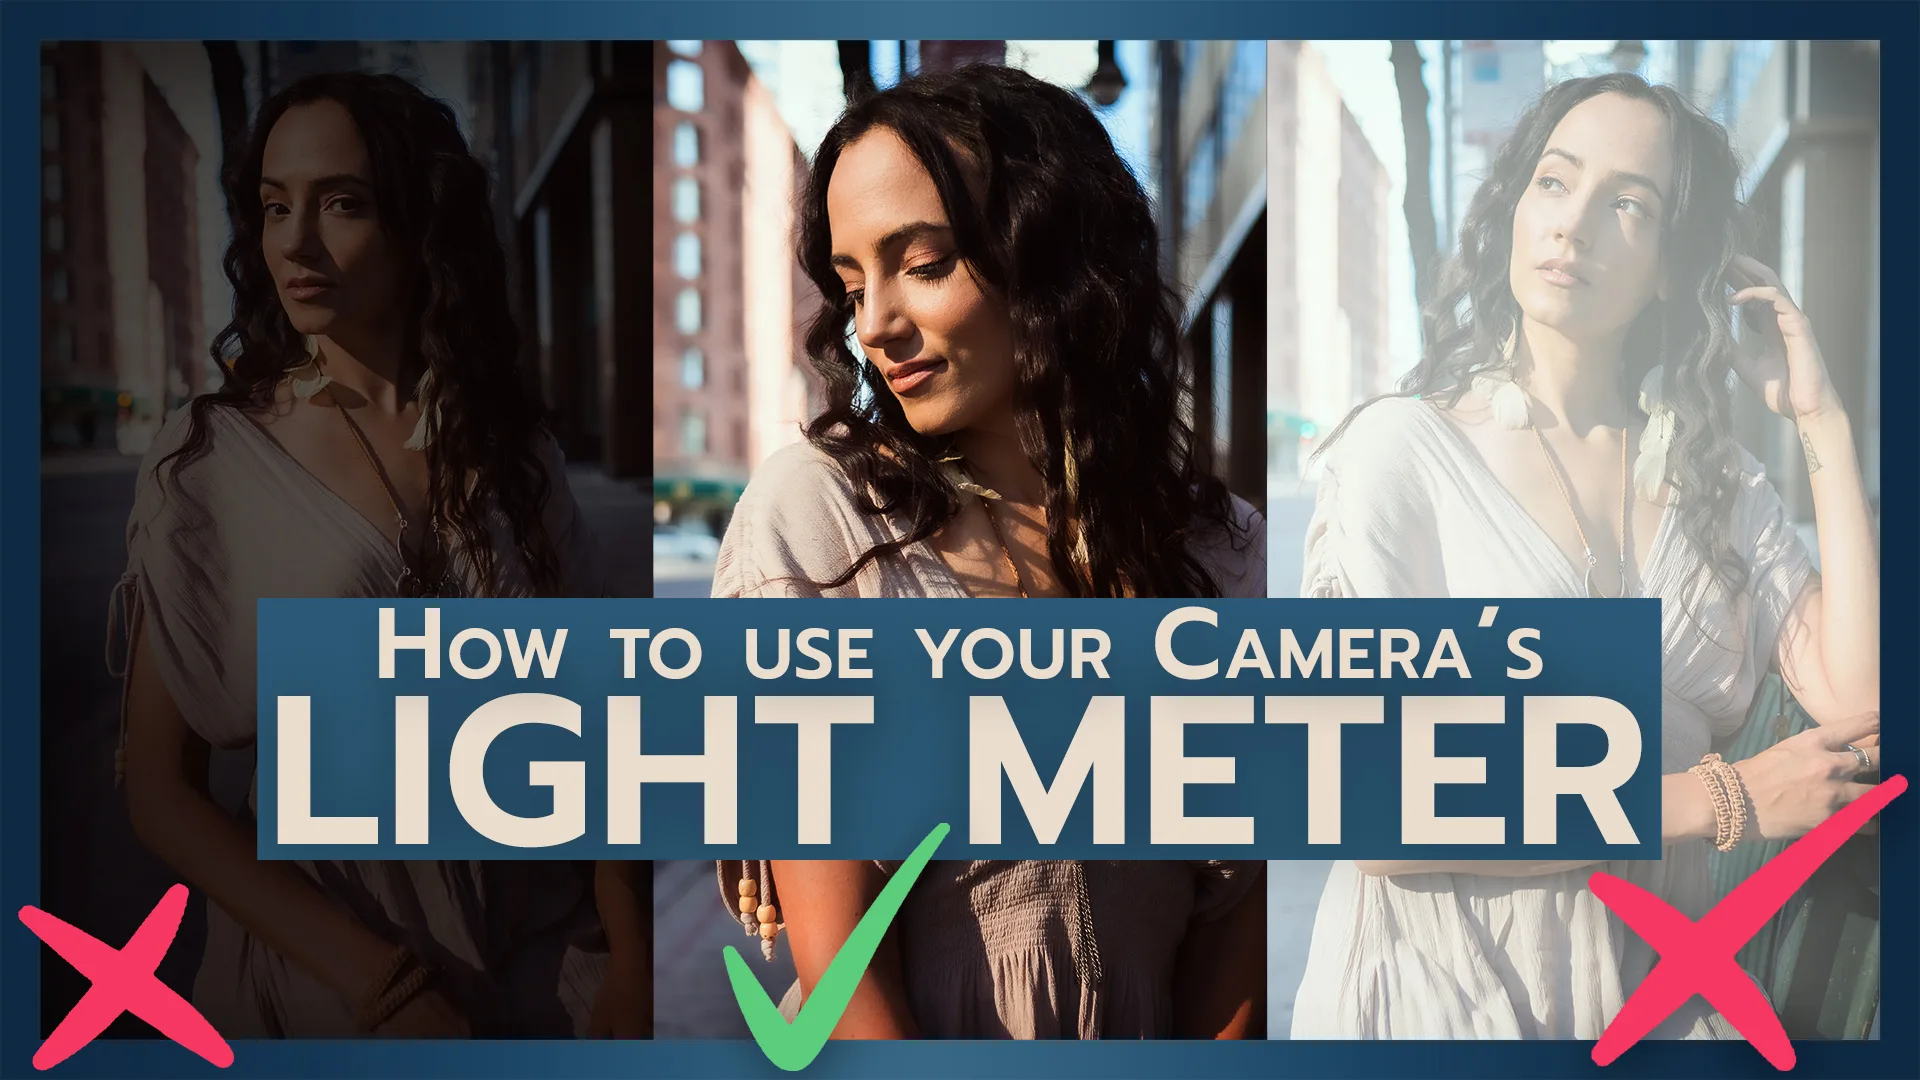
Are you struggling with Exposure? We’re going to save your exposures starting today! We’re going to learn to read our camera’s internal light meter and never take another under exposed or over exposed photo ever again! Knowing how your camera sees light and what settings to use are critical to growing as a photographer. After all, photography is all about light!
So, what exactly is a light meter, and how does it work?
How to Read a Light Meter
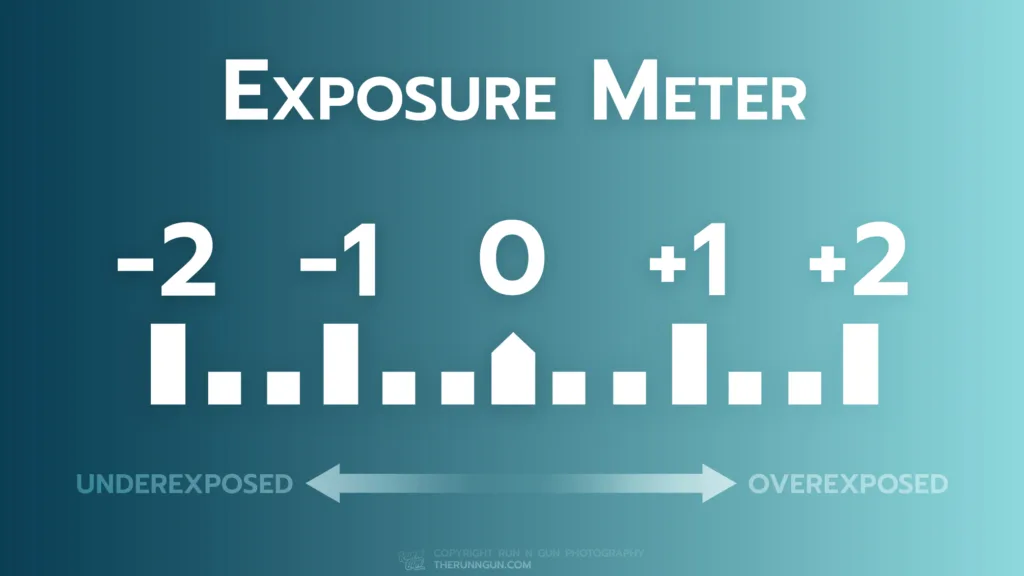
All modern digital cameras have a built-in light meter. Simply put, your light meter analyzes how much light is hitting your sensor, and indicates whether your image will be overexposed, properly exposed or underexposed. You camera displays this information as an indicator commonly called an Exposure Meter or Light Meter, with small hashmarks and numbers. This indicator is typically on a scale: -2, -1, 0, +1, +2, OR –3, -2 -1, 0, +1, +2, +3. I created a graphic so you can see an example of this.
The numbers on this scale measure stops of light. Stops are how we measure Exposure. So for example, if your meter is reading +2, then your photograph will be 2 stops over exposed. If it is at -1, your photo will be 1 stop under exposed. A zero (centered meter reading) is indicating that your exposure is properly balanced.
Remember: Positive numbers on your meter mean too much light (overexposed). Negative numbers mean not enough light (underexposed).
Light Meter and Camera Settings
So now that we know how to read our light meter, we should be continuously checking it to ensure we’re getting an accurate exposure. I’m checking my exposure meter just about every shot if I’m photographing outdoors. If I’m indoors, I’m checking my exposure anytime the lighting conditions change or if I’m shooting in a different direction.
Remember, three camera settings control the exposure of your photograph: Aperture, Shutter Speed and ISO. Proper exposure is all about balancing our three settings. You can read more about Mastering Exposure and Manual Settings here.
Your Light Meter is Lying… Or is it?
Here’s where Exposure and Photography in general get interesting. Light meters aren’t perfect; meaning it’s not the the be-all and end-all of exposure. So, what does that mean? Photography requires a little bit of thinking, which can be hard for some people.
So, we’ve established that our camera’s light meter analyzes how much light is coming through your lens. However, it can’t think — that’s your job! Your light meter can only tell you if your image will be light or dark, it’s up to YOU to decide if that’s an accurate representation of the scene. Check out this example below-
Two Exposure Scenarios
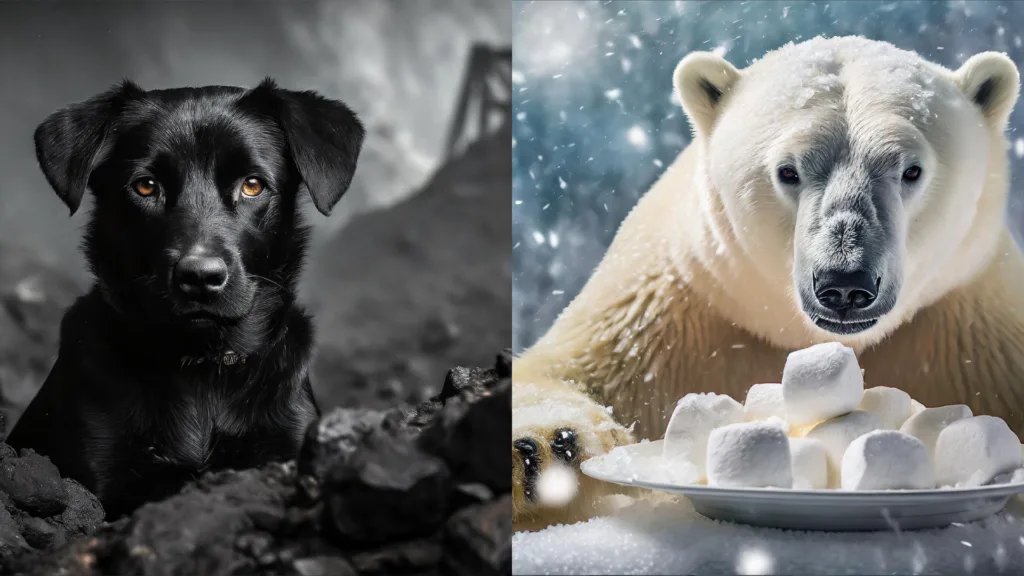
Take a look at the two images above. One is a black dog in a coal mine at night (left), the other is a polar bear eating marshmallows in a blizzard (right). So, let’s discuss the dog photograph. If I were photographing this scene, my light meter would tell me it’s underexposed. Why? Because, it’s mostly dark, black tones. My meter, only analyzing light, is right… It’s a dark scene!
If I were to adjust my settings to center exposure meter, the resulting image would be too bright, and not accurately represent the scene. Make sense? Let’s look at one more example, the polar bear.
If I were photographing a white polar bear eating white marshmallows off a white plate in a snow storm, my meter would say it’s too bright. Because, yes you guessed it, it’s all bright, white tones! Your meter is going to tell you that you should lower your exposure, the inverse of the black dog scenario. Remember, your meter only analyzes light, not the scene. It has no context for tones or balance. That’s your job as a photographer!
Final Thoughts: How to Read Your Camera’s Light Meter
Overall, using your exposure or light meter is critical to getting a good exposure. However, it’s important to remember the context of your scene. The photographer is also a critical component of any photograph. Only the photographer knows the context of the light within the scene. Don’t forget the black dog and white bear examples. Hopefully, those analogies stick with you when you’re out shooting.
If you enjoyed this read (or watching my video tutorial), be sure to subscribe to my Photography Insider Newsletter below, and Download my Free Pocket Exposure Guide PDF!. Until next time, get out and go shoot!

