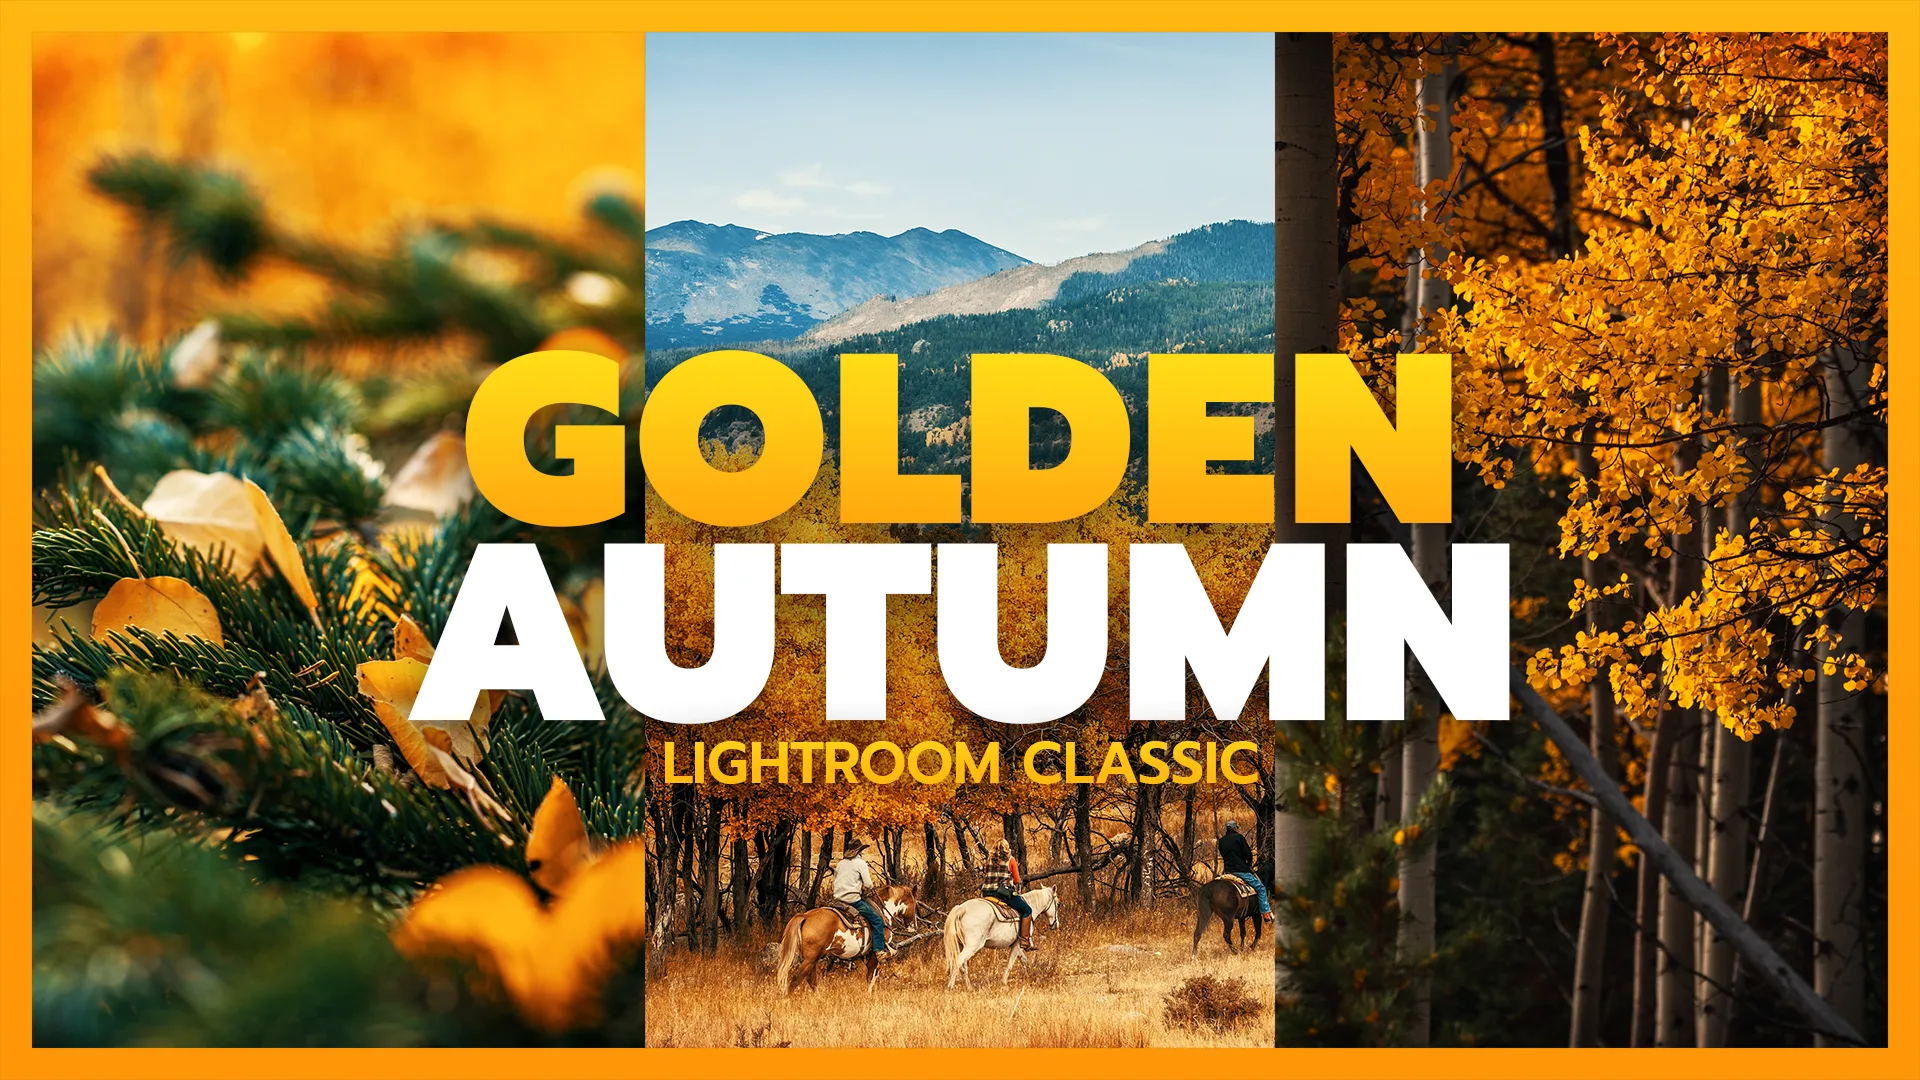
Autumn Colors Lightroom
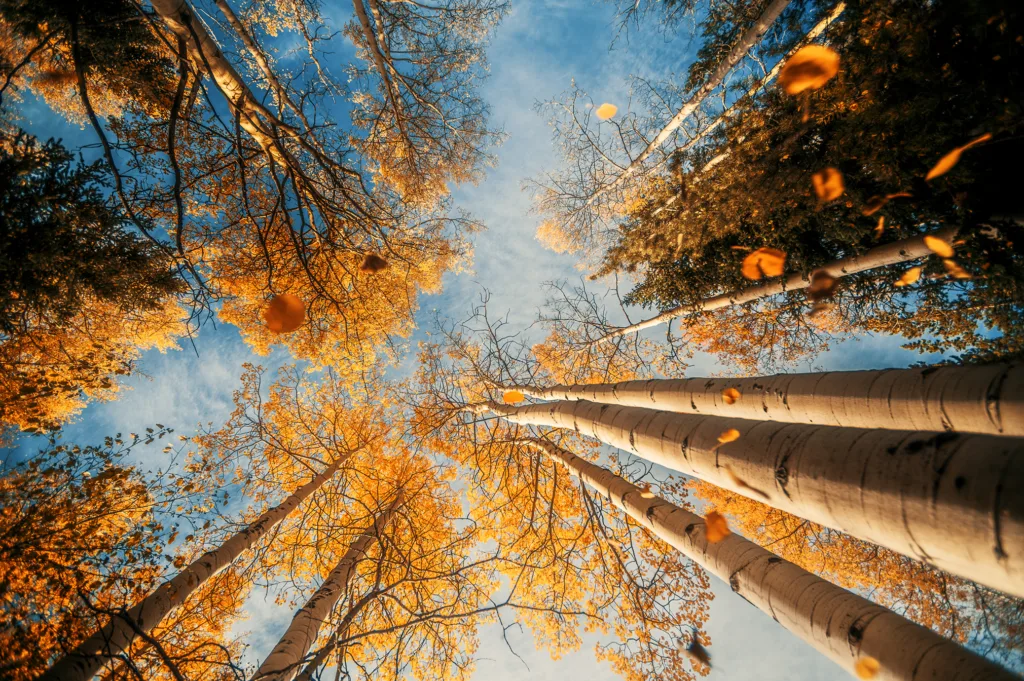
Autumn is an awesome time of year for photography, especially in Colorado. It paints the landscape with fiery reds, oranges and yellows of Aspen trees. Unfortunately, our RAW photographs of fall leaves can turn out a little flat sometimes. Not to worry! In this tutorial, I’ll show you how I get vibrant, golden autumn colors to pop in your photos using Lightroom.
You can follow along with my tutorial (below) as you edit your own autumn color photos. Additionally, I’ve added a Golden Autumn Lightroom Preset Pack below, if you’re trying to save some time. So, let’s hope right into this Lightroom editing tutorial!
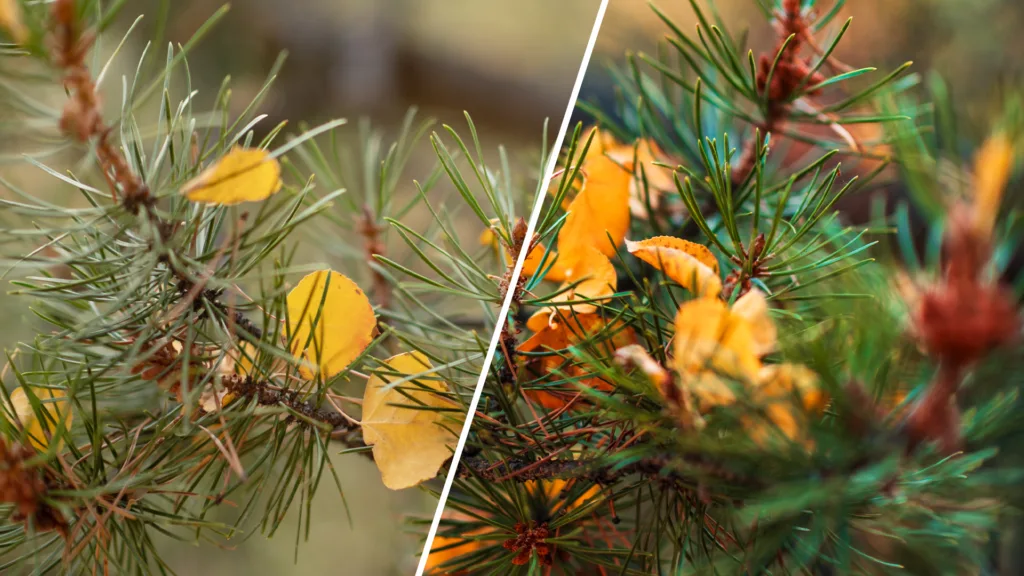
Autumn Colors: Before & After
As I mentioned above, it’s an unfortunate truth that our RAW photographs aren’t always pretty straight out of camera (SOOC). But, with a little editing in Lightroom, we can make our autumn colors pop off the screen, and recreate that same golden, awe-inspiring view we saw with our own eyes.
This is why I always recommend Shooting in RAW if you camera allows it. You’re capturing the maximum amount of data to edit with later. Pretend you’re a painter: Would you rather paint with 10 colors or 10-thousand? Accordingly, this RAW sensor data allows us to utilize with more hues and shades in our photograph. We just can’t do that with lossy JPEGs.
Calibrating RAW Autumn Photos
There’s an important step that I like to do first when I begin editing a raw photograph: Calibration. Now I use the calibration tab in Lightroom to do 2 types of editing: balancing & grading. When I say “balancing” I mean using these sliders to remove any strange color casts, and match what I saw on-location. Also, I typically use calibration in conjunction with my white balance sliders. Just like Color Correction.
Now, when I saw Color Grading, I’m referring to creating a stylistic look for your image. If you have a specific look, or feel in mind, you can start working your colors right away. Additionally, if you’d like to know more about the difference between these two ideas, be sure to check out my video — Color Correction vs. Color Grading.
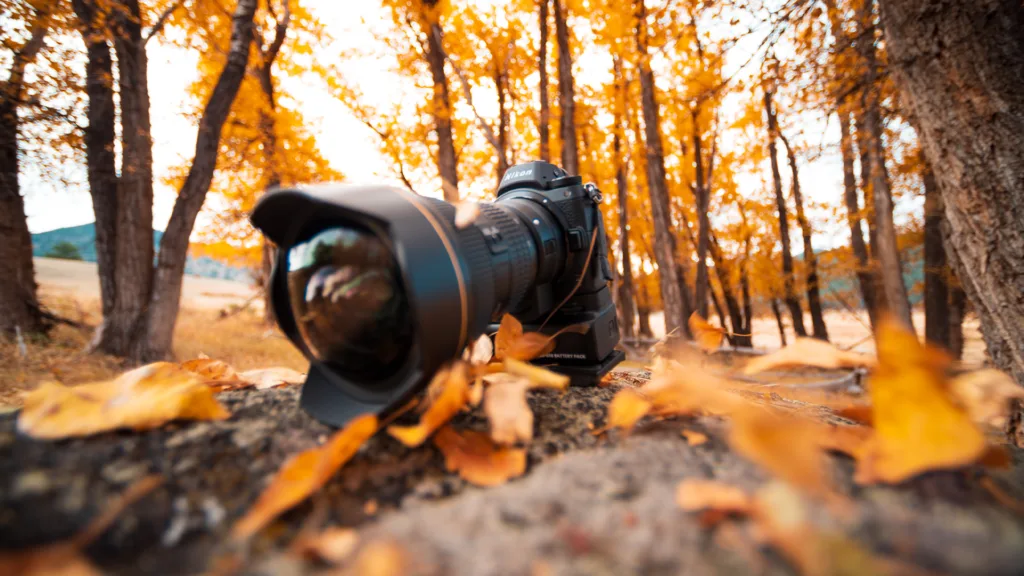
Toning Your Autumn Colors
It’s time to tone your image and do the core edit. Adjust your overall exposure while remembering that darker colors are more saturated. You’ll see your autumn leaf tones best if your photo isn’t overexposed. Just pay careful attention to your histogram, and you’ll be fine! Most importantly, don’t just slide your Color Temp warmer for more golden colors! I actually find that a cooler (4700K – 5500K) Kelvin temperature adds more color contrast to your autumn colors.
When it comes to tools like Vibrance and Saturation, it’s easy to take it too far. A little goes a long way in Lightroom Editing. I actually prefer adding a touch of vibrance, and if anything, actually decreasing saturation a little bit. It really comes down to personal preference and style when you’re editing your raw photos.
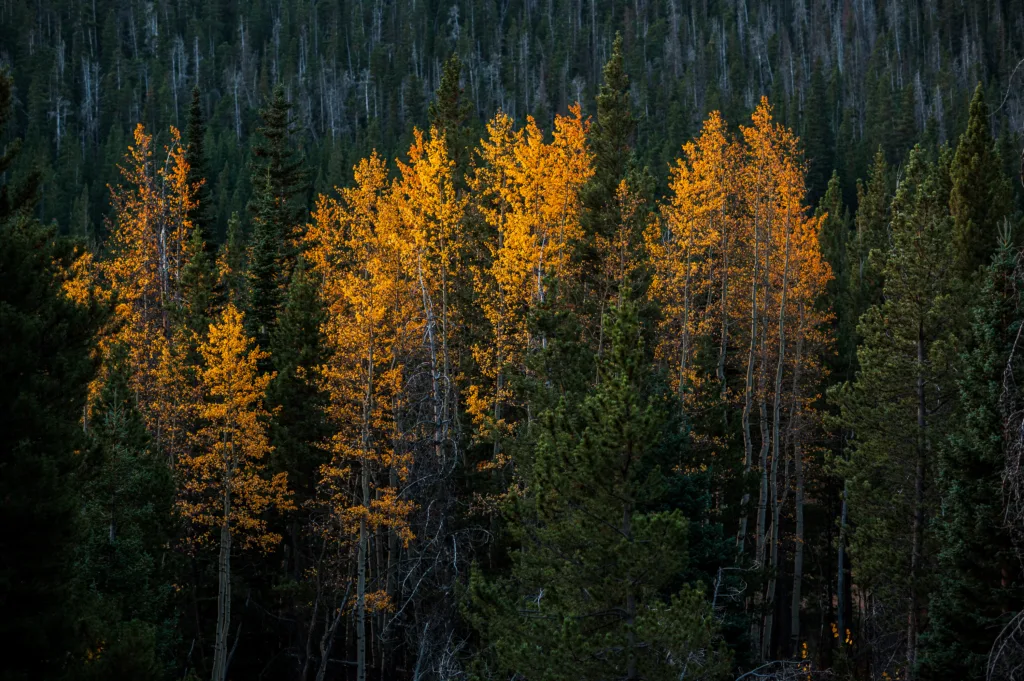
Lightroom Color Mixer Tab
Lightroom’s Color Mixer Tab was formerly known as Hue, Saturation & Luminance (HSL). When you open it, you can still see these are the 3 ways in which you can edit your autumn colors. As always, a little can go a long way with HSL in Lightroom.
You can see in my video above, color mixing is a little bit of a trail and error process. I will make one adjustment at a time, paying careful attention to my image. The targeted adjustment tool is fantastic for selecting specific hues from your photo and adjusting them. Red, Orange and Yellow hues in autumn color photos can be especially tricky to adjust, in my opinion. So, you should always keep an eye on your histogram to avoid clipping.
Autumn Lightroom Preset
If you haven’t noticed, autumn is my favorite time of year to capture rich, colorful landscape photos. If your images fall a little flat, not to worry, a little help in Lightroom is all you need! To get you started, I’ve created some Autumn Lightroom Presets, which are available for download.
So, here’s the LR preset pack with a little extra “secret sauce”: My Autumn Colors Lightroom Preset. It contains 3 LR Presets specifically designed to make your autumn photos pop! Lastly, if you found this tutorial helpful, then be sure to subscribe to my Photography Youtube Channel: Run N Gun Photography!
Until next time, get out and go shoot!

